
Caves

5,306
13
Advertisement
I've been working on a cave map for the past few days and I thought it was time to post a journal update. The cave will be composed of many connecting passages and smaller rooms. I thought it would be interesting to see one of the cave's building blocks come to existence.
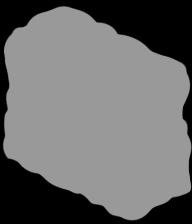
1. This first image is quite important as it must conform to my 3d tile size. This particular rock has a dimension of 4x2x4. In other words it is half as long as it is wide/high. This mounts to an image size of 192x224 pixels (a tile with a width/height/depth of 1x1x1 is 64x64 pixels). Other than that this image is just a clump of grey.
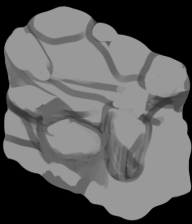
2. Here the first smaller stones are outlined. I try to imagine how big I want the rocks to be in the final image and I draw from that.
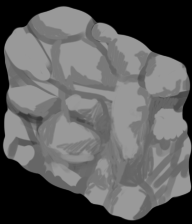
3. In this image I try to flesh out the shape of the rocks. I only use 2-3 colors as it is easiest to work with at this early stage. Intricate shapes are somewhat simplified.
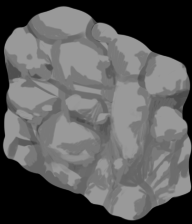
4. More detailing work, still only using few colors. One rather dull grey and another a little bit darker.
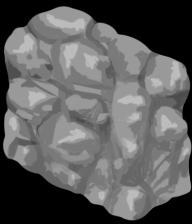
5. Here I fill in the areas that I want highlighted with a brighter color. Trying to accentuate ridges and creases in the rock.
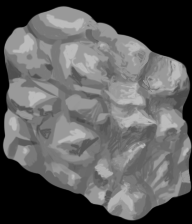
6. Up until now I have only used a rather big brush. Now I begin detailing with a smaller brush. This allow for finer details. Ridges and creases get a more rough look. I also deform parts of the original shape to make it stand out more.
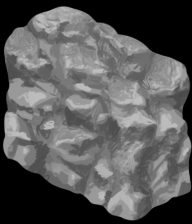
7. I give the rock more contrast by filling in the shadows with a dark color.
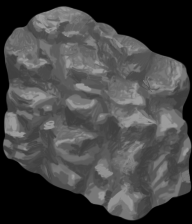
8. I thought the rock was a little too bright so I brought down the overall intensity.
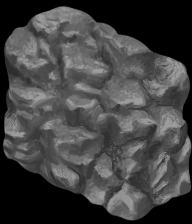
9. Here I have filled in the creases between each rock with a 1px size brush and a dark colour.
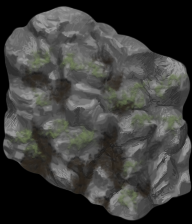
10. Adding moss and earth between and on top of some rocks.
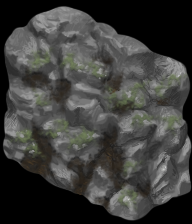
11. Final adjustment to the rock and moss. I highlighted the rock edge against the moss, making the moss stand out more.
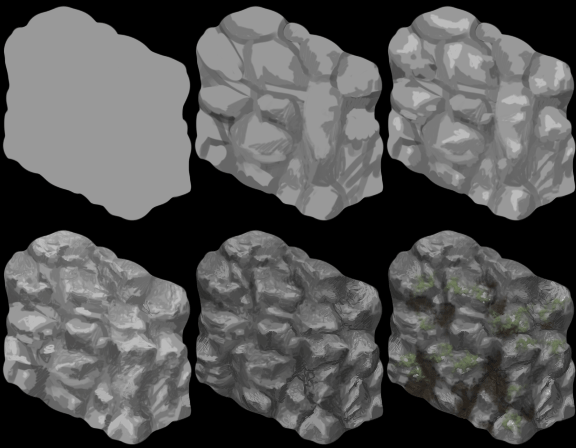
An animated GIF created from the different steps above. It took me around 45 minutes to paint the rock from scratch.
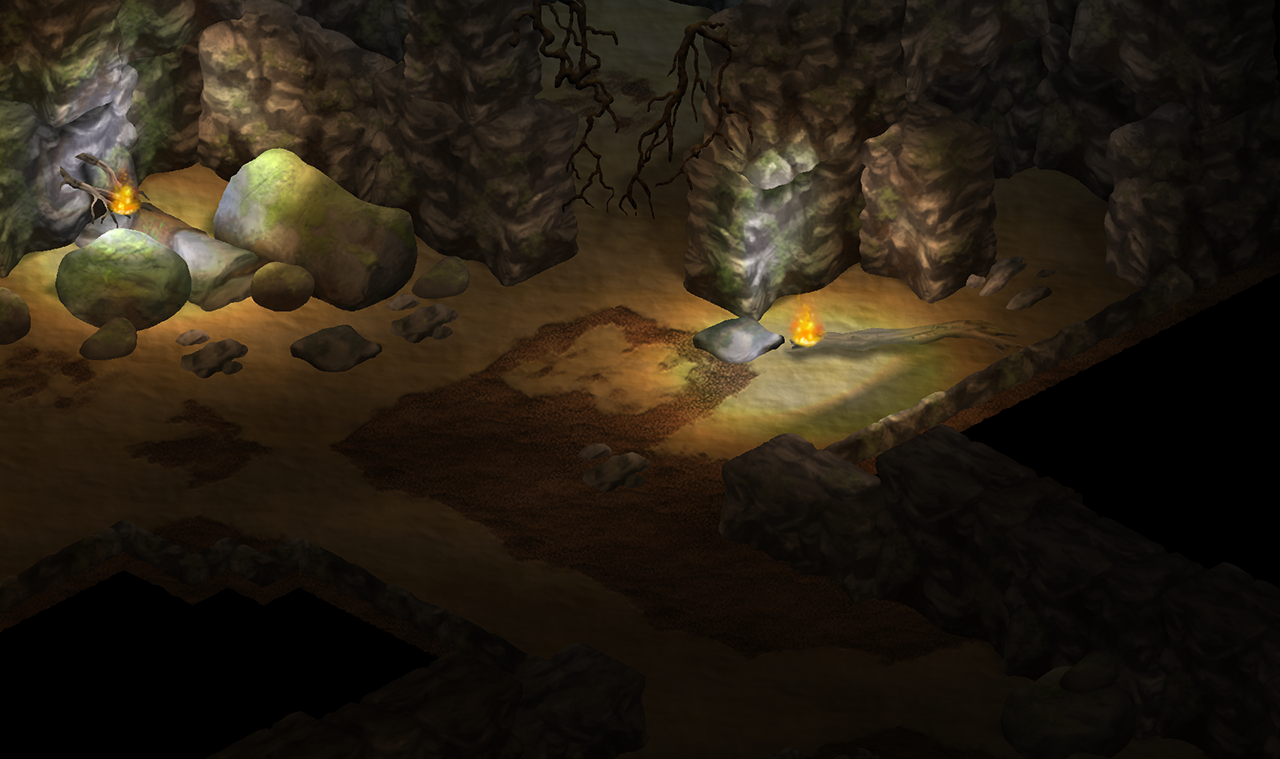
Here is how the rock looks like inside the cave.
Thanks for reading!
1. This first image is quite important as it must conform to my 3d tile size. This particular rock has a dimension of 4x2x4. In other words it is half as long as it is wide/high. This mounts to an image size of 192x224 pixels (a tile with a width/height/depth of 1x1x1 is 64x64 pixels). Other than that this image is just a clump of grey.
2. Here the first smaller stones are outlined. I try to imagine how big I want the rocks to be in the final image and I draw from that.
3. In this image I try to flesh out the shape of the rocks. I only use 2-3 colors as it is easiest to work with at this early stage. Intricate shapes are somewhat simplified.
4. More detailing work, still only using few colors. One rather dull grey and another a little bit darker.
5. Here I fill in the areas that I want highlighted with a brighter color. Trying to accentuate ridges and creases in the rock.
6. Up until now I have only used a rather big brush. Now I begin detailing with a smaller brush. This allow for finer details. Ridges and creases get a more rough look. I also deform parts of the original shape to make it stand out more.
7. I give the rock more contrast by filling in the shadows with a dark color.
8. I thought the rock was a little too bright so I brought down the overall intensity.
9. Here I have filled in the creases between each rock with a 1px size brush and a dark colour.
10. Adding moss and earth between and on top of some rocks.
11. Final adjustment to the rock and moss. I highlighted the rock edge against the moss, making the moss stand out more.
An animated GIF created from the different steps above. It took me around 45 minutes to paint the rock from scratch.
Here is how the rock looks like inside the cave.
Thanks for reading!
Advertisement
Advertisement
Advertisement
Discussion