
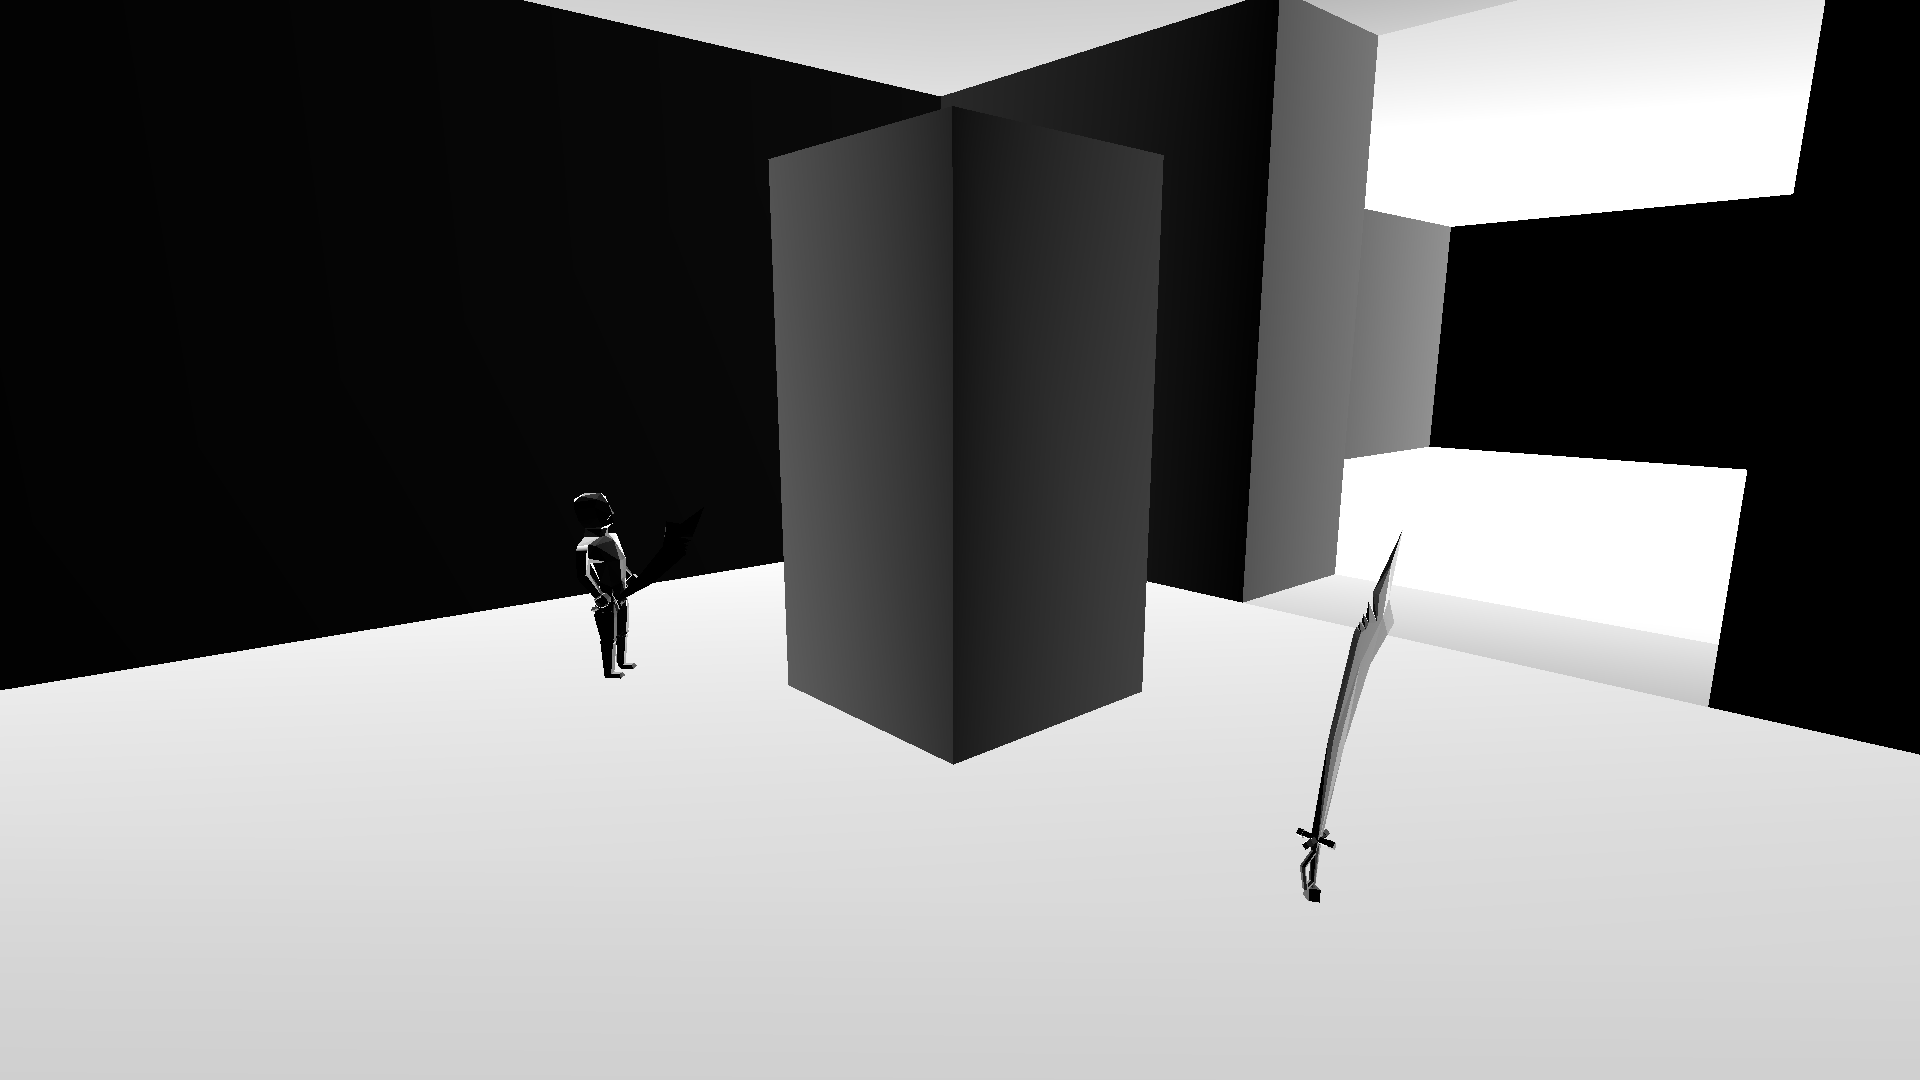
Fresnel Outline Shader for Picking up Items

Subscribe to our subreddit to get all the updates from the team!
Idea
We wanted units in our game to be able to pick up items, including the player. But how can the player know which item will be picked up when he executes that action? Traditionally, video game developers and designers do this by using an outline shader. However, in our game, we thought that it was too "normal", cartoonish and not enough A E S T H E T I C.
Solution
The solution was to use Fresnel optics to simulate a cooler outline. The Fresnel Effect is used, approximated actually because it is extremely complex, in shaders such as a reflection shader for specular colors. In real life, this visual effect occurs on surfaces that reflect and refract light. An object that refracts light lets a fraction of the incoming light pass through its body. A good example for this is water.
Examples and Tutorials
Here are examples and tutorials for the Fresnel Effect in computer graphics programming :
- Simple demonstration of what is the Fresnel Effect
- Tutorial and more profound explanations on the subject
- Simple get to the point tutorial with Unity as tool
How to Do It
Here's how I did it with the jMonkeyEngine, which is a Java 3D game engine.
Firstly, you need to create a material definition that will describe what will be the shaders and their inputs.
Material Definition
MaterialDef Fresnel Outline {

    MaterialParameters {
        Color FresnelOutlineColor
        Float FresnelOutlineBias
        Float FresnelOutlineScale
        Float FresnelOutlinePower
    }

    Technique {
        VertexShader GLSL100:   shader/vertex/fresnel_outline/fresnel_outline_vertex_shader.vert
        FragmentShader GLSL100: shader/fragment/fresnel_outline/fresnel_outline_fragment_shader.frag

        WorldParameters {
            WorldViewProjectionMatrix
            WorldMatrix
            CameraPosition
        }
    }
}
Material Parameters
As you can see, there are 4 uniforms that we need to specify to the shaders for them to function properly :
- FresnelOutlineColor - The color of the Fresnel Effect. Usually, it is an environment map that deals with that.
- FresnelOutlineBias - Acts like a diffuse color for the specular component.
- FresnelOutlineScale - How far the Fresnel Effect affects the model. The smaller the angle between I and N (the surface's normal), the less Fresnel Effect there is and the more scale is needed for that surface to be lit by it.
- FresnelOutlinePower - Exponentially increases the Fresnel Effect's color but decreases the scale.
We will need to either set them in the material or in the code. You'll see about that later in the article.
Technique
The technique describes what shaders to execute and their engine's uniforms.
There's no need to use a recent version of OpenGL / GLSL for this shader. The first GLSL version will do.
For the Fresnel shader, we need to the following uniforms to be supplied by the game engine :
- WorldViewProjectionMatrix - The MVP matrix is needed to compute each vertex' position
- WorldMatrix - The world matrix is needed to compute the position and normal for each vertex in world coordinates
- CameraPosition - The camera position is needed to calculate the I (incident) vector
Material
The material uses a material definition and then applies render states and parameters to it. It is instantiable codewise.
Material Fresnel Outline : material_definition/fresnel_outline/fresnel_outline_material_definition.j3md { MaterialParameters { FresnelOutlineColor : 1.0 0.0 0.0 1.0 FresnelOutlineBias : 0.17 FresnelOutlineScale : 2.0 FresnelOutlinePower : 1.0 } }
As you can see, we can set the uniforms right here instead of doing so in the code, which saves us programmers from dealing with design components.
Vertex Shader
#import "Common/ShaderLib/GLSLCompat.glsllib"

uniform vec3 g_CameraPosition;
uniform mat4 g_WorldMatrix;
uniform mat4 g_WorldViewProjectionMatrix;

uniform float m_FresnelOutlineBias;
uniform float m_FresnelOutlineScale;
uniform float m_FresnelOutlinePower;

attribute vec3 inPosition;
attribute vec3 inNormal;

varying float fresnelOutlineR;

void main() {
    vec3 worldPosition = (g_WorldMatrix * vec4(inPosition, 1.0)).xyz;
    vec4 worldNormal = normalize(g_WorldMatrix * vec4(inNormal, 0.0));

    vec3 fresnelI = normalize(worldPosition - g_CameraPosition);

    fresnelOutlineR = m_FresnelOutlineBias + m_FresnelOutlineScale * pow(1.0 + dot(fresnelI, worldNormal.xyz), m_FresnelOutlinePower);

    gl_Position = g_WorldViewProjectionMatrix * vec4(inPosition, 1.0);
}
This is how each vertex position, normal, color, texture coordinates [...] are transferred into the vertex shader by the jMonkeyEngine.
attribute vec3 inPositionThe same procedure is applied onto g_ and m_ variables. g_ variables are definied by the engine, whilst m_ variables are defined by the material definition.
Here's how to do the Fresnel outline shader on the vertex side :
- Compute the world position and normal
- Compute the eye to vertex direction
- Compute the Fresnel Effect R variable (description reference)
Quote
R is a Fresnel term describing how strong the Fresnel effect is at a specific point
Fragment Shader
#import "Common/ShaderLib/GLSLCompat.glsllib"

uniform vec4 m_FresnelOutlineColor;

varying float fresnelOutlineR;

void main() {
    gl_FragColor = mix(vec4(0.0, 0.0, 0.0, 1.0), m_FresnelOutlineColor, fresnelOutlineR);
}
All that's left to do is a linear interpolation between the black color and the desired color with R being the interpolation value between the two.
Because this is a simple tutorial, it only shows how to compute the Fresnel outline specular color.
Result
And with a bias of 1.0.
Teal!
Tested on a pickable item
Recommended resources
3D Art

3D Environment Design with Blender 5
Amazon · Book
Based on Blender 5, this updated second edition simplifies the complexities by guiding you through clear, practical workflows to overcome those challenges. You’ll start by addressing common modeling and proportion mistakes, then move on to realistic texturing and unwrapping to create stunning scenes based on actual references.
GameDev.net may earn a commission if you purchase through these links. This helps fund the site at no extra cost to you.

Low Poly 3D Modeling in Blender
Amazon · Book
Step into the world of low poly 3D art with Low Poly 3D Modeling in Blender—your entry point into Blender and mastering the fundamentals of 3D art. This beginner-friendly guide ensures that you’re fully prepared for the creative adventure that follows. Through a step-by-step learning process starting with the principles of low poly art, this book gradually immerses you in the intricacies of modeling. As you progress, you’ll gain hands-on experience creating diverse projects ranging from designing a simple 3D crate to rendering complete low poly scenes. The book covers a wide spectrum of topics as you navigate Blender's interface, mastering essential modeling tools and exploring both basic and advanced modeling techniques. Advancing to the final chapters, you’ll find ways to breathe life into your models with material creation and gain practical insights into modeling a variety of low poly objects. From end-to-end scene construction to configuring Blender for rendering high-quality images, you’ll be equipped with the foundational skills to propel your career in 3D modeling and explore the boundless creative possibilities that Blender offers. By the end of this book, you'll have a solid understanding of Blender, 3D modeling, low poly methodologies, material design, 3D rendering techniques, and the broader world of 3D art.
GameDev.net may earn a commission if you purchase through these links. This helps fund the site at no extra cost to you.
Discussion