
Into The Berg
.thumb.png.a9a17286792efc179caccc72c3e67c21.png)
So here we are. I'm not a seasoned blogger, or skilled game dev or any such thing. Social media is, in my opinion, a bit of a pain, so don't be expecting regular daily updates or anything like that. They'll happen when they happen.
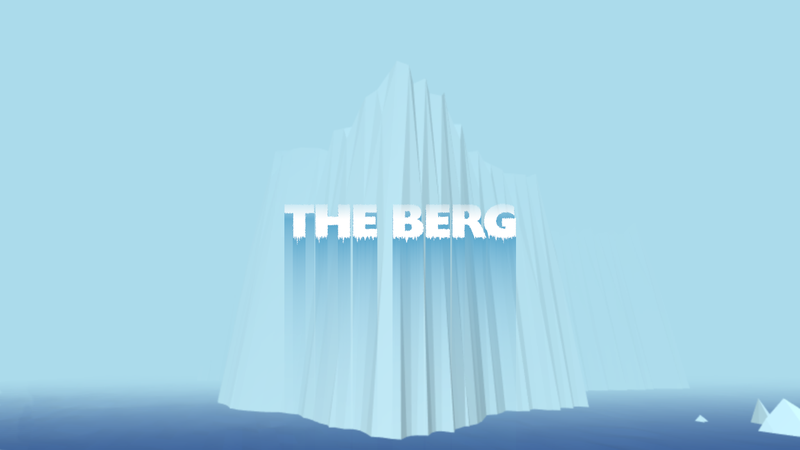
This project (The Berg) is just my idea of fun in my spare time. I didn't want to use any fancy game engines or integrate a full-blown physics engine. The idea is to keep it retro, as simple as possible while still creating something that a) looks fairly decent and b) is fun(ish) to play.
I have no idea how this is going to turn out, or if it will ever get completed but we'll all have a good old laugh at my incompetance along the way I'm sure. ?
Anyway, so I already got part way in to building this thing and thought 'Hey, here's a really dumb idea, why not blog about it for a laugh and waste more of my precious spare time!'. Awesome!
So what I have so far is a simple Node/ExpressJS/ThreeJS set up in VS Code and I've created the island geometry from a 2D texture passed into a custom vertex shader which takes a flat subdivided plane and applies a displacement to each vertex based on the appropriate UV co-ords. I want to keep a retro look and feel so this isn't some smooth terrain; it's full of lovely flat shaded triangle-y goodness.
So I created a terrain height map in Gimp (with the help of an online island generator tool for the contour -> http://exupero.org/hazard/post/islands/).
The real size is 2048 x 2048. I want to create something on the larger scale here!
Once my Node/ThreeJS setup was up and running, I built a Terrain class (this is all in Javascript by the way) and set about loading the texture using the ThreeJS loaders and passing it through to my terrain vertex displacement shader.
P.S. The terrain shader took me a while to figure out. Initially it didn't work quite as expected but eventually I got there. Essentially I pass the player position to the shader and only sample a smaller portion of the heighmap depending on what view distance I want. So I'm only ever rendering a small sub-section of the heightmap which changes as the player moves. This was easier said than done... in my head at least.
In the end it looks something like this...
	float step = viewSize / subdivisions;
	vec2 pp = vec2(playerPos.x, -playerPos.z);
	vec2 adjPlayerPos = floor(pp / step) * step;
	vec2 remainderPP = pp - adjPlayerPos;

	float uvScale = viewSize / mapSize;
	vec2 uvOffset = vec2(adjPlayerPos + (mapSize / 2.) - (viewSize / 2.)) / mapSize;
	vec2 newUV = uvOffset + uv * uvScale;

	vec4 dm = texture2D(heightMap, newUV);
	vec3 newPos = vec3( position.x - remainderPP.x, position.y - remainderPP.y, dm.r * heightScale );
	vec3 transformed = newPos;
Sheesh! That looks... err... complicated, but it gives a great result....
Recommended resources
3D Art

3D Environment Design with Blender 5
Amazon · Book
Based on Blender 5, this updated second edition simplifies the complexities by guiding you through clear, practical workflows to overcome those challenges. You’ll start by addressing common modeling and proportion mistakes, then move on to realistic texturing and unwrapping to create stunning scenes based on actual references.
GameDev.net may earn a commission if you purchase through these links. This helps fund the site at no extra cost to you.

Low Poly 3D Modeling in Blender
Amazon · Book
Step into the world of low poly 3D art with Low Poly 3D Modeling in Blender—your entry point into Blender and mastering the fundamentals of 3D art. This beginner-friendly guide ensures that you’re fully prepared for the creative adventure that follows. Through a step-by-step learning process starting with the principles of low poly art, this book gradually immerses you in the intricacies of modeling. As you progress, you’ll gain hands-on experience creating diverse projects ranging from designing a simple 3D crate to rendering complete low poly scenes. The book covers a wide spectrum of topics as you navigate Blender's interface, mastering essential modeling tools and exploring both basic and advanced modeling techniques. Advancing to the final chapters, you’ll find ways to breathe life into your models with material creation and gain practical insights into modeling a variety of low poly objects. From end-to-end scene construction to configuring Blender for rendering high-quality images, you’ll be equipped with the foundational skills to propel your career in 3D modeling and explore the boundless creative possibilities that Blender offers. By the end of this book, you'll have a solid understanding of Blender, 3D modeling, low poly methodologies, material design, 3D rendering techniques, and the broader world of 3D art.
GameDev.net may earn a commission if you purchase through these links. This helps fund the site at no extra cost to you.
Discussion