Advice for Creating a Hand Drawn 2D RPG

Started by
6 comments, last by Scouting Ninja 5 years, 10 months ago

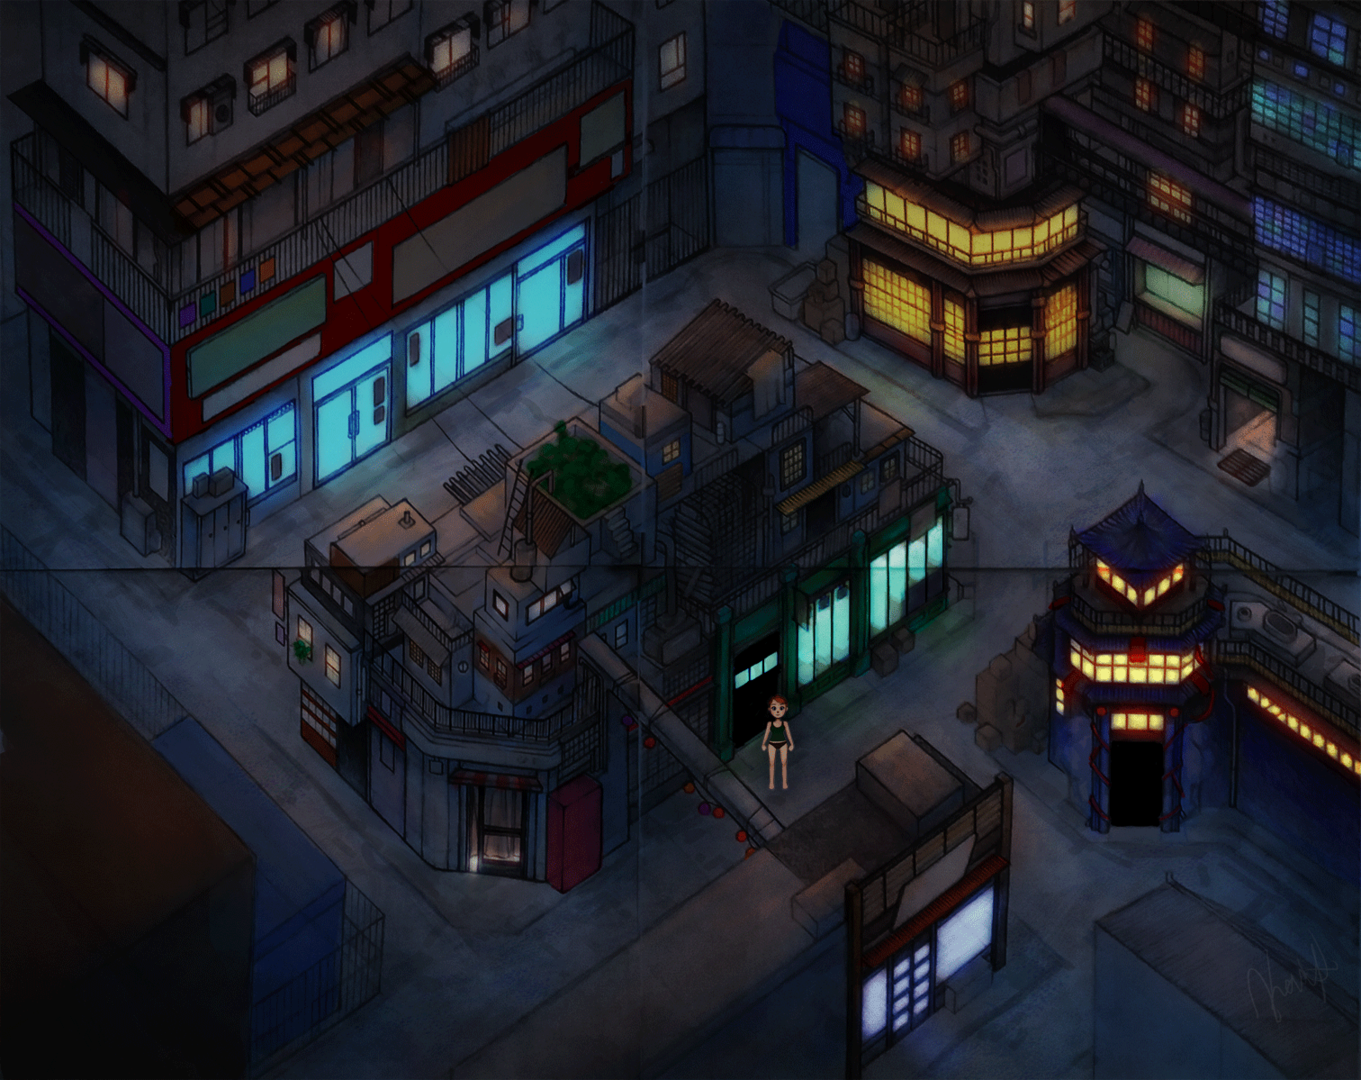
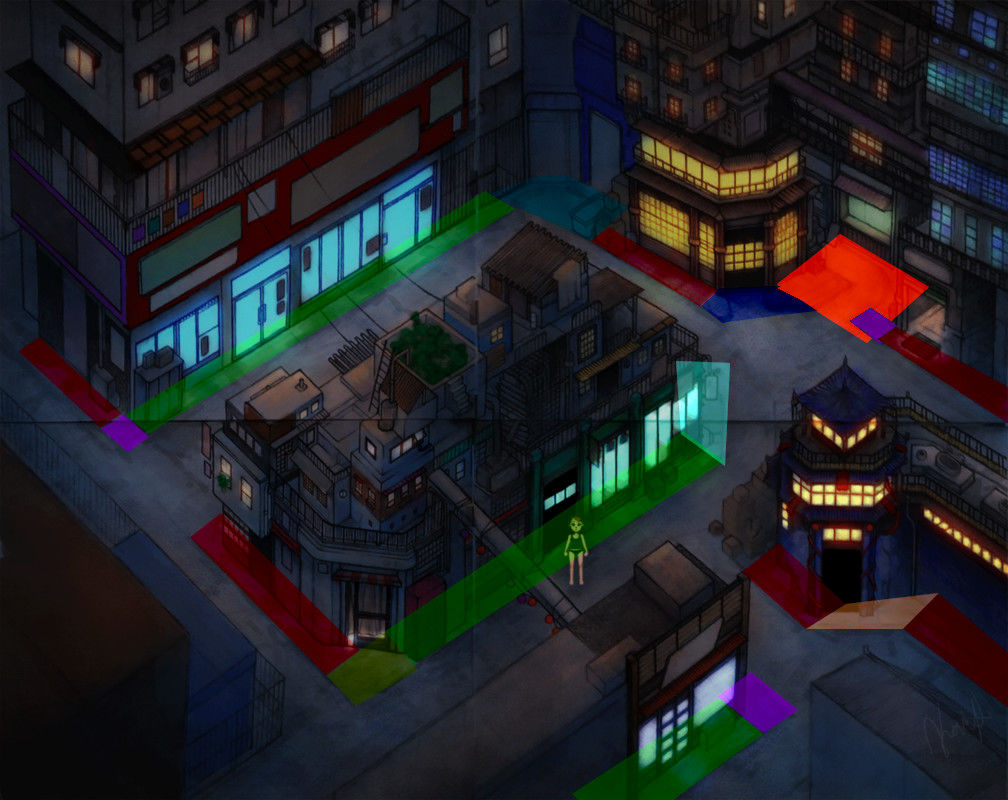
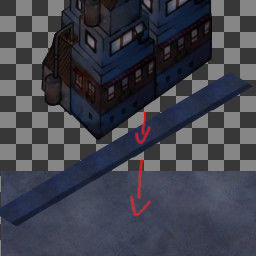
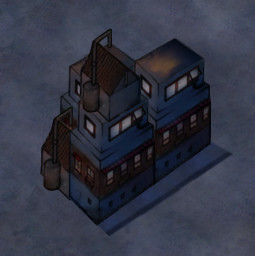
Hi, everybody! This is my first official forum post here so I hope this isn't too messy or hard to follow. I might be super duper new at this, but I've got some questions I hope someone might be able to help me with. I've been researching how to create an open world 2D RPG using Unity. My idea has been to hand draw sections of my maps first on paper, then bring them into Photoshop, string them together, and finish painting the areas digitally. I attached a very rough map sketch to this post that I threw a little bit of color and a test sprite on for reference. More than anything I wanted to show that I imagined the map free, more abstract maybe, with the possibility of both "isometric-ish" buildings drawn free-hand and other areas of the map with more verticality. In all my searching I'm still not sure if I've found very many examples of this. Maybe there's very good reason for that, haha.

So I'm wondering how realistic is this design? I've read mixed opinions on not using tiles in these types of games, especially if the maps might be big. Is a free-hand design like this too unrealistic for an open world with sprawling maps? Are there key fundamentals that are just going right over my head? How would I go about implementing tiles in my design if that's the most viable option for something like this? I know I'll have to make a lot of compromises in some way, but I don't know which would be the wisest. Thank you so, so much in advance to anyone who might have some answers for me. I hope it wasn't too painful to read, but I really appreciate any guidance you might be able to give me!

mapsketch2.png

Advertisement

I don't use Unity but generally it's advised to use a tiling approach. You would need make your maps based on layers, so one layer would be the ground, another could be buildings, and another could be objects like planters, ect...

If you decide not to use a tiling based method then you would have to consider loading in your texture files based on quantity and size, and when you're drawing to the screen only draw based on what the user can see, not the entire world map.

You could create quads for each part of the world map or level, and each quad would be assigned to a texture map. Then only render visible quads.

There are many options available to you, and solutions to optimize the second approach. You'll need to see what you can get away with and look into splitting parts of the world into levels if you don't have enough memory to work with based on your requirements.

Programmer and 3D Artist

1 hour ago, RooneyRocket said:

I've read mixed opinions on not using tiles in these types of games, especially if the maps might be big.

This has a lot to do with how computers render things. By using this style normal advantages, like mip maps etc, will actually be working against you instead of helping you.

You could just try it, modern computers are actually good at dealing with large images.


A other more game friendly style would be to either seperate parts using Gimp or other photo editing software. Then to load these in and to reconstruct the scene. You will break them up like this:

Draw1.png.8e366f7428c46b177cdb0cce92b8147f.png

Draw2.png.e0c2d52199b318ea0859300f75afc507.png

Then after this you store all the extracted parts on a sprite sheet. Sprite sheets should be power of two 256x256, 1024x1024, 512x128 etc.

SpriteSheetExample.png.13906ab6c5c87367fe38c239de26638b.png

In Unity you would extract these images, and rebuild the original drawing, using the now more computer friendly sprites.

It will be a extra bit more work, yet you will get better performance and still keep your style. The other advantage is that it turns these little pieces into modular assets; that you can re-use to create more content:

Draw3.png.ea1a70f96a7df0b91f3633a5c9ce688b.png

If you had a whole library like this, made from parts of the other exclusive buildings, you could create a very unique world full of details.


I really like your art style. Fantastic colors and shading.

Aah, thank you so much for the really informative replies! I really, really appreciate it.

14 hours ago, Scouting Ninja said:

A other more game friendly style would be to either seperate parts using Gimp or other photo editing software. Then to load these in and to reconstruct the scene. You will break them up like this:

Draw1.png.8e366f7428c46b177cdb0cce92b8147f.png

Oh my gosh, this break down was super helpful, thank you for taking the time! This might be a silly question, but if I were to break up my buildings and objects into sprites this way, do you have any advice for how I should go about the ground? Should I be reconstructing it in a similar way? I had wanted to paint some more textured roads, and nature with paths and grass. Should I keep it simple? With this method is it more about those cleverly varied sprite placements to achieve more detail and unique areas? Sounds like trees, bushes, and those sorts of objects would also be sprites that I could re-use to add detail, which would be great!

A little off topic, but I just wanted to say that I love your art style. The environment, shading, glows, etc. all look really cool. Well done.

59 minutes ago, RooneyRocket said:

do you have any advice for how I should go about the ground?

You would need to figure out your tile size then make a variety of versions which are seamless otherwise the edges wont match up when tiled. Some tiles can be just a sidewalk, road, or grass, others will need to have grass edges or road, ect... and keep in mind you need to consider all directions and corners.

This is a tile map example:

Swamp_Village_MacBlue.png

Image result for rpg tile sheet example


Programmer and 3D Artist

7 hours ago, RooneyRocket said:

Should I be reconstructing it in a similar way?

Like @Rutin pointed out, ground is often made with tiling textures; because one large ground image will eat into your performance.

I would look for the biggest patch to create a tiling texture, then using Gimp's heal brush and tiling effect would make a very simple texture that can tile:

BigPatch.jpg.f44d91de2ab563ca6bcde1caccba0492.jpg

Then I would make my lowest layer from this tile. Find the most defining details of the sidewalks and make sprites using them:

Extract.jpg.a85e3a4cce712adca1e92ee968b8d79e.jpg

Each color shows a unique part that would need a sprite of it's own. For the red and green I would make into small tiles that can be repeated like this:

TilingSidewalk.png.3ef65dcf9b843605735fe14ac8aad901.png

I rushed it a bit, sorry if it doesn't look right. Then I just keep stitching them together to form the long sidewalk.

Tiling.png.541c7e19b6434666a9f78573f21544da.png

There is a little tiling artefact here, you will want to spend some time on these small parts to see that each tiles perfectly. Then from here you layer the sprites like this:

Layer.jpg.9135b893fe1d95bc094061e761dd5312.jpg

The floor tile first, sidewalks second and last building layers. This will make each object render above each other. In Unity you can use the Z depth, because 2D just uses X and Y. The unity 2D collisions will still work perfectly even if the object have different Z depth.

Should look something like this in the end:

Res.jpg.32b269f872e7945e1dce249f63a57269.jpg

So you will be building the whole image again, using little computer friendly part. The good news is that as you make more and more sprites this will be very easy for you to do.

This topic is closed to new replies.

Advertisement