Introduction
Back in January 2019 when we started talking about our new game — tint. watercolor paint quickly became its crucial element. Inspired by this Bulgari ad we knew that our watercolor implementation paint needs to match the high fidelity of the rest of the assets we were planning to create. We came across an interesting paper by researchers from Adobe(1). The watercolor technique described there looked beautiful, and thanks to its vector (as opposed to pixel) scope it was able to run on lower-end mobile devices. Our implementation is based on this research, we altered and/or simplified some of its parts as we had different performance requirements. tint. is a game, so besides the paint itself, we had to render a full 3D environment and execute the game logic in the same frame. We also wanted the simulation to execute in real-time, while the player was painting.
This article shares some details of our implementation of this technique in the Unity game engine and describes how we adapted it to run smoothly on lower-end mobile devices in real-time. We describe the core steps of this algorithm in higher detail without posting the actual code. The following implementation was made in Unity 2018.4.2 and later updated to 2018.4.7.
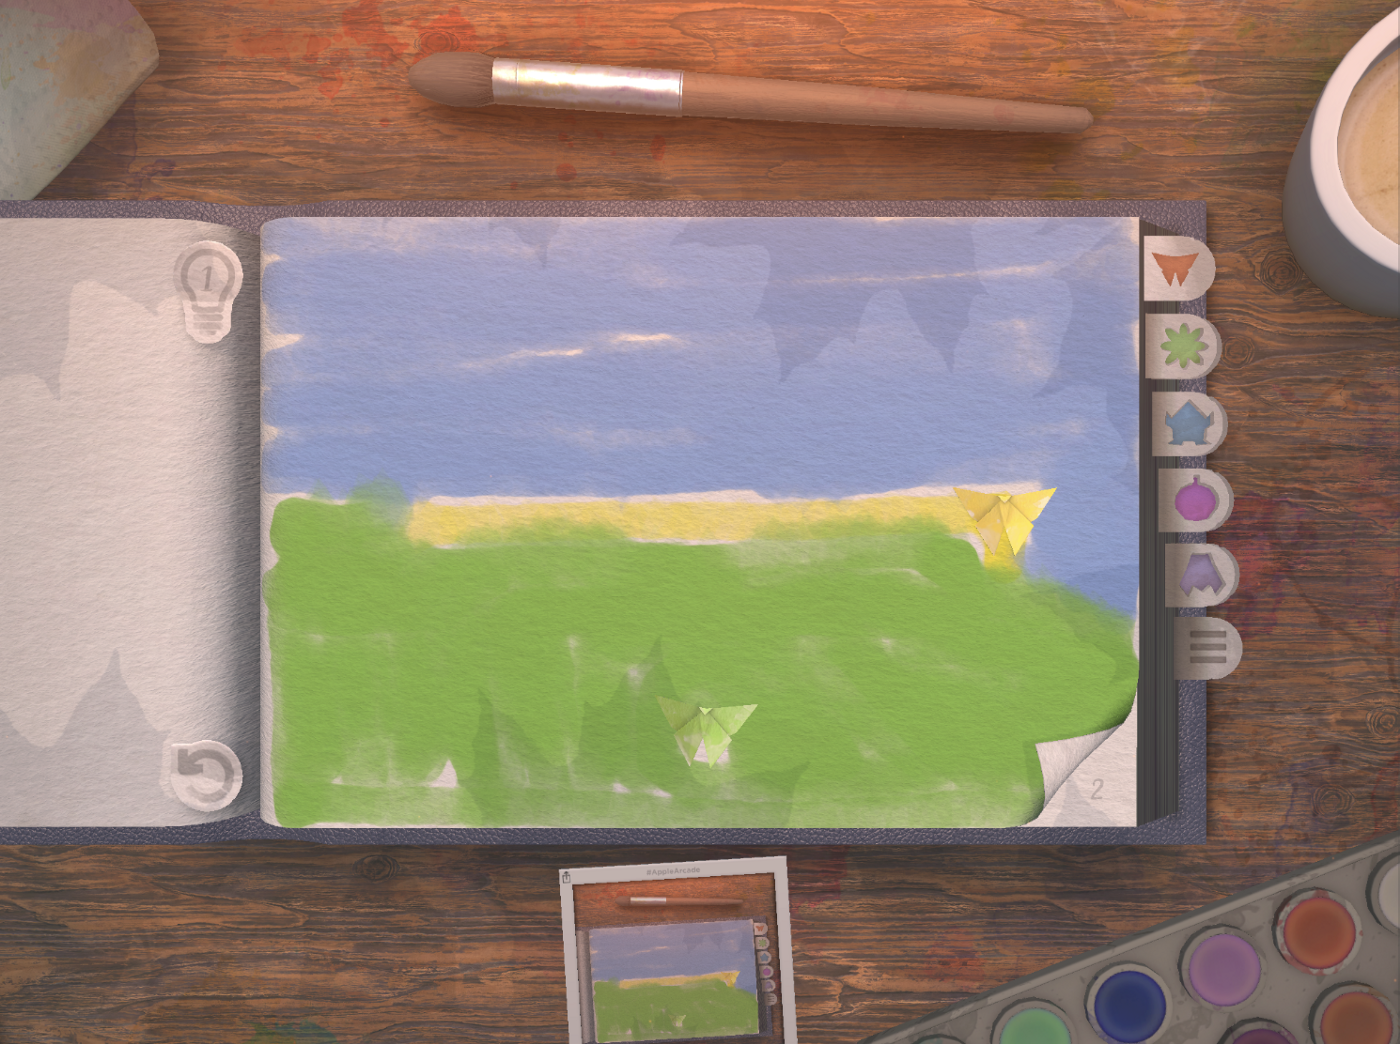
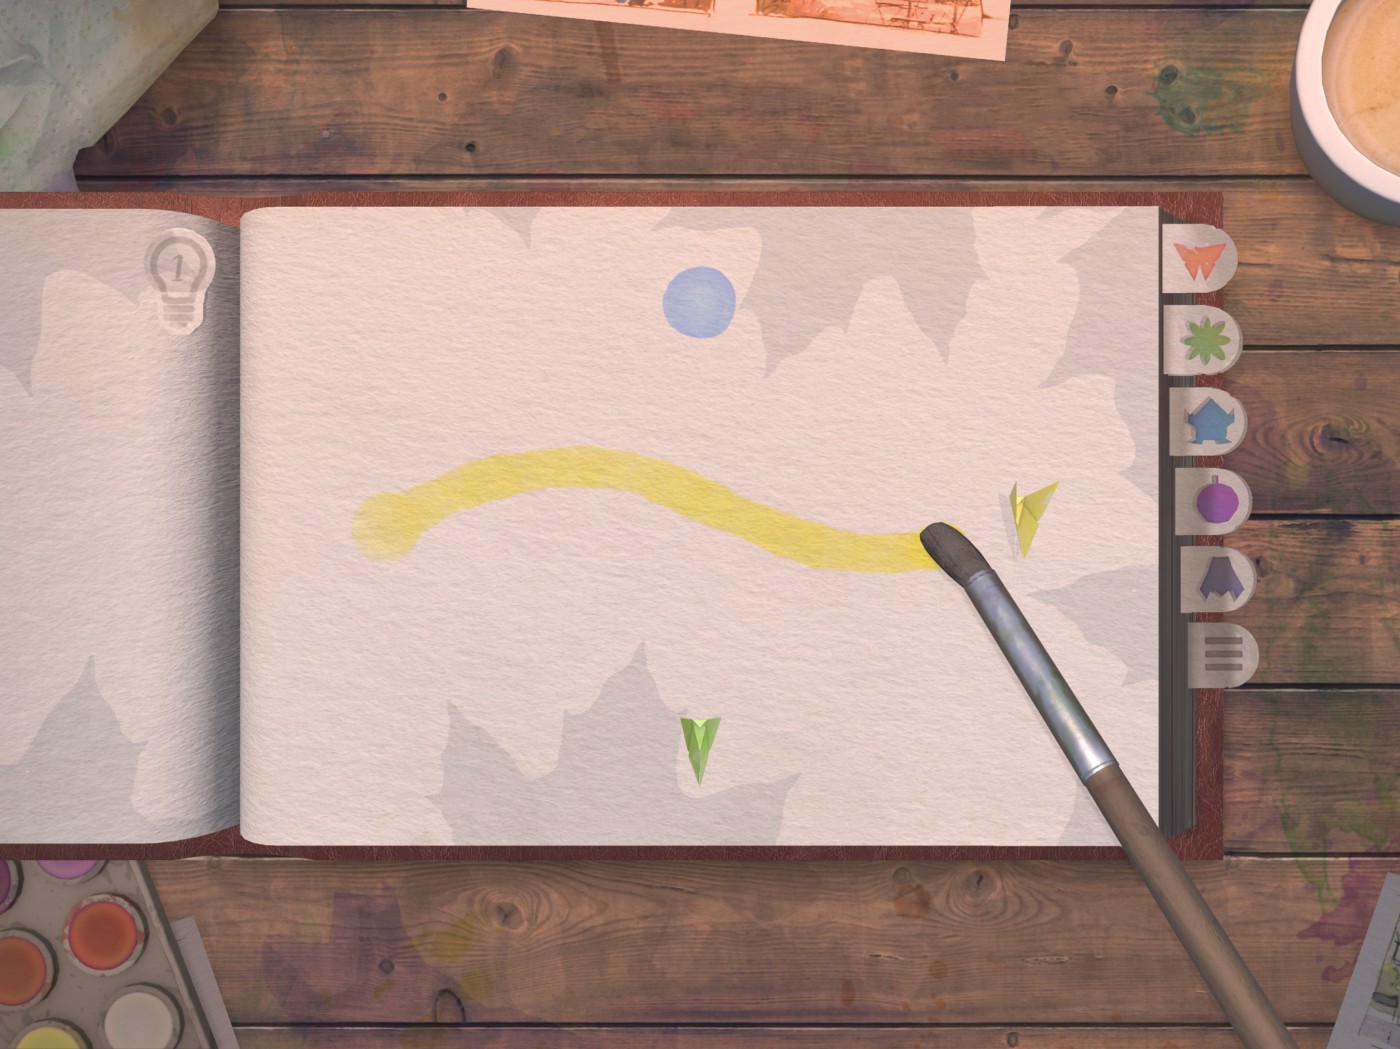
What is tint.?
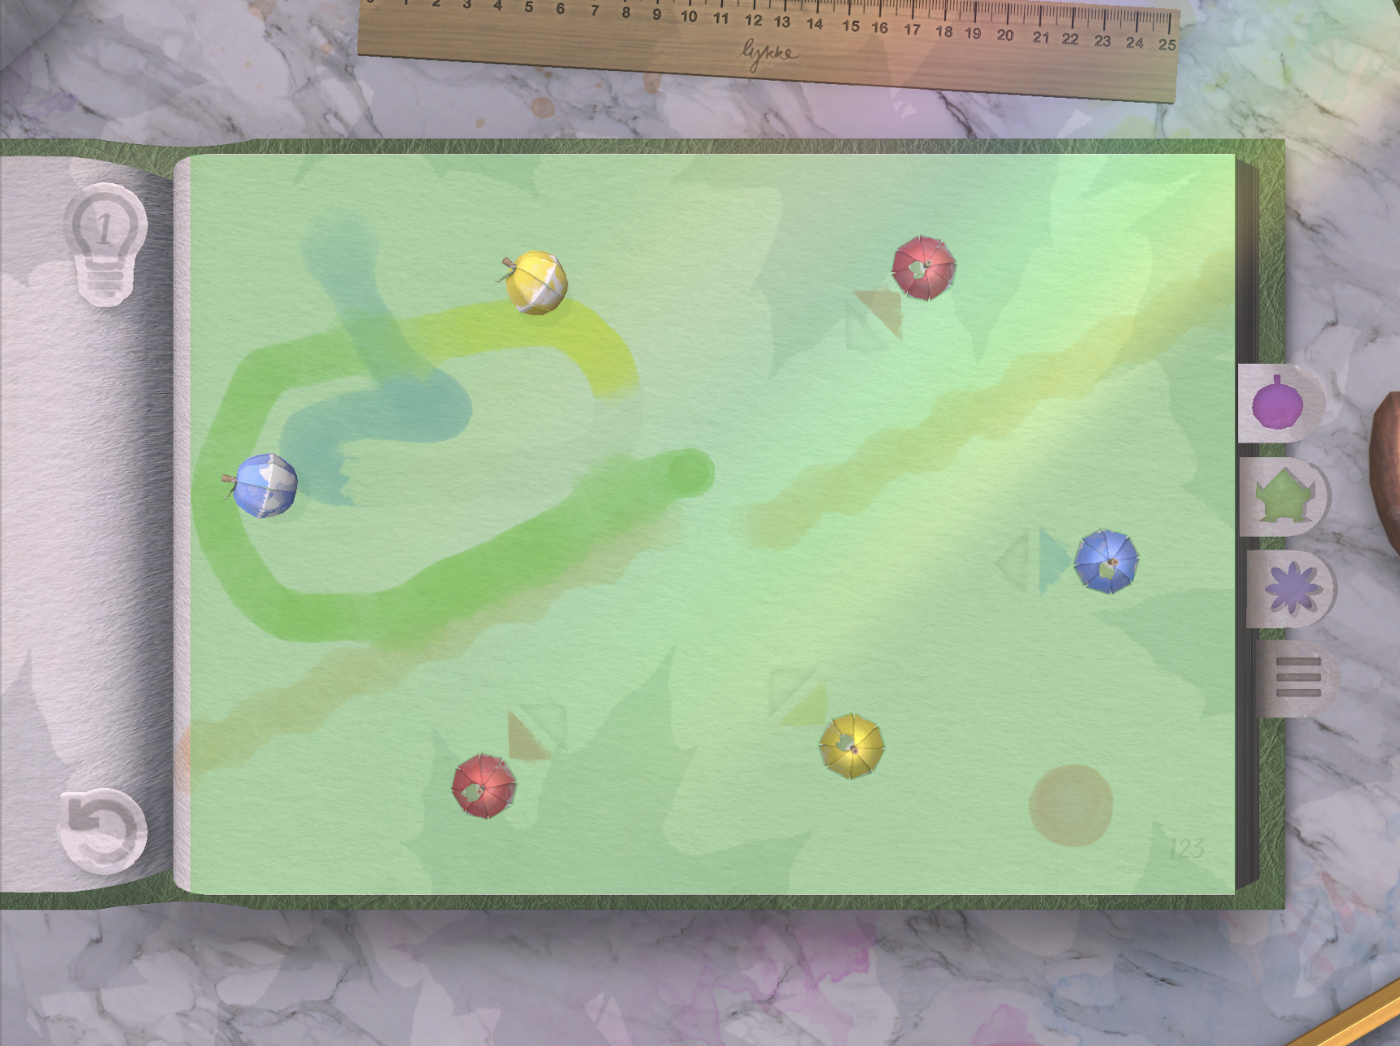
Tint. is a puzzle game that lets you solve levels by mixing watercolors to the matching origami. The game was released in the fall of 2019 on Apple Arcade for iOS, macOS, and tvOS.

Requirements:
The technique described in this article can be broken down to three core steps executed at every frame:
- Generate new splats based on player input and add them to splat list
- Simulate paint for all of the splats from the list
- Render the splats
The following sections explain how we approached each of these steps in detail.
Our target FPS is 60, which means that these steps and the whole logic described in the following chapters are executed 60 times every second.
Collecting Input:
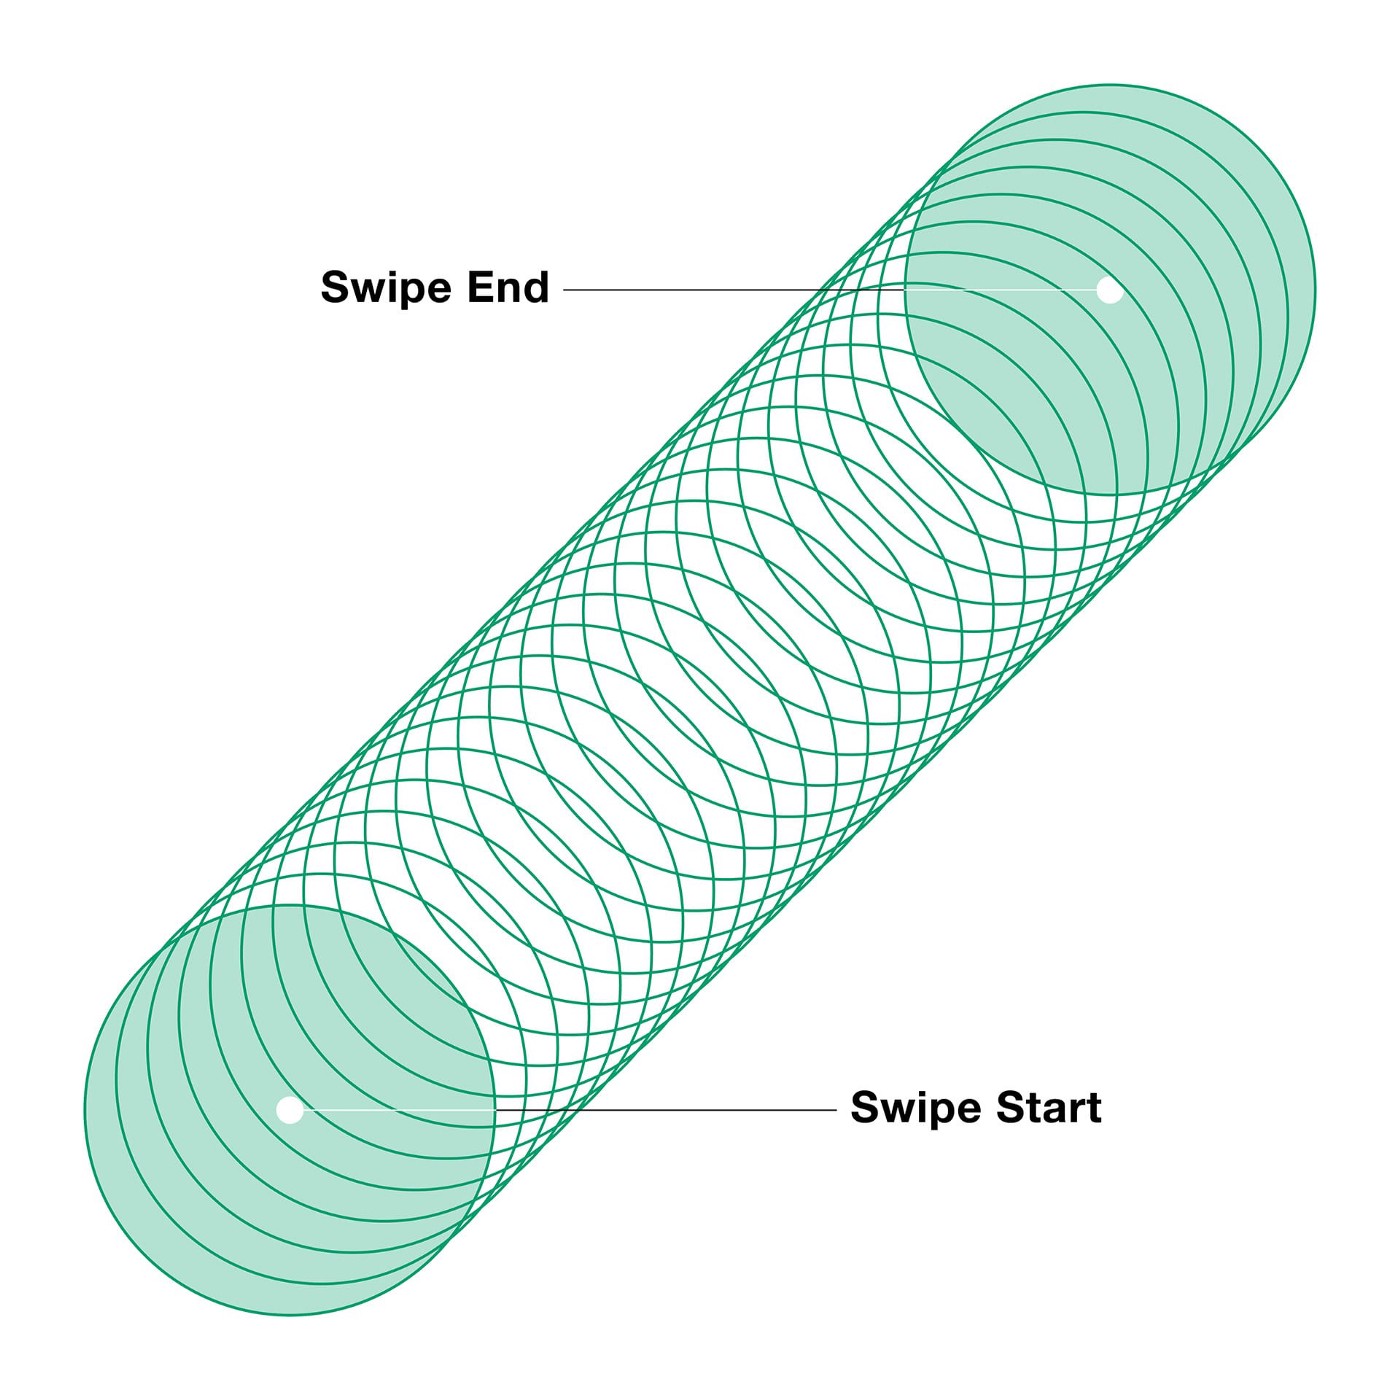
During every frame, we convert player input (touch, mouse position or virtual cursor depending on the platform) into splatData structure which includes position, motion bias vector, color, and pressure(2). We first check for the length of the players swipe on the screen and compare it to the pre-defined threshold. For short swipes, we generate one splat per frame at the input position. In the opposite case, we fill the distance between the start and end point of the player swipe with new splats spawned with predefined density (this guarantees constant paint thickness regardless of the swipe speed). Color represents the currently used paint, and the motion bias vector is the direction of the swipe. Newly spawned splats are added to a collection called splatList, which also contains all previously spawned splats, and will be used to simulate and render paint in the following steps. Each individual splat represents a paint “blob” that has to be rendered — a base building block of the watercolor paint, the final watercolor paint look is a result of rendering tens/hundreds of overlapping splats. Newly spawned splat is also assigned a lifetime value (in frames), which describes how long the splat is allowed to be simulated.
The Canvas:
Similarly to real painting, we need a canvas to paint on. For that purpose, we created a confined area in 3D space, which on the visual side looks like a sheet of paper. Player input coordinates and any other operation such as rendering the mesh are expressed in canvas-space. Similarly, the size in pixels of any buffer used for paint simulation is based on that of the canvas. The canvas term that we use throughout this article has no relation to Unity’s UI Canvas class.
The Splat:
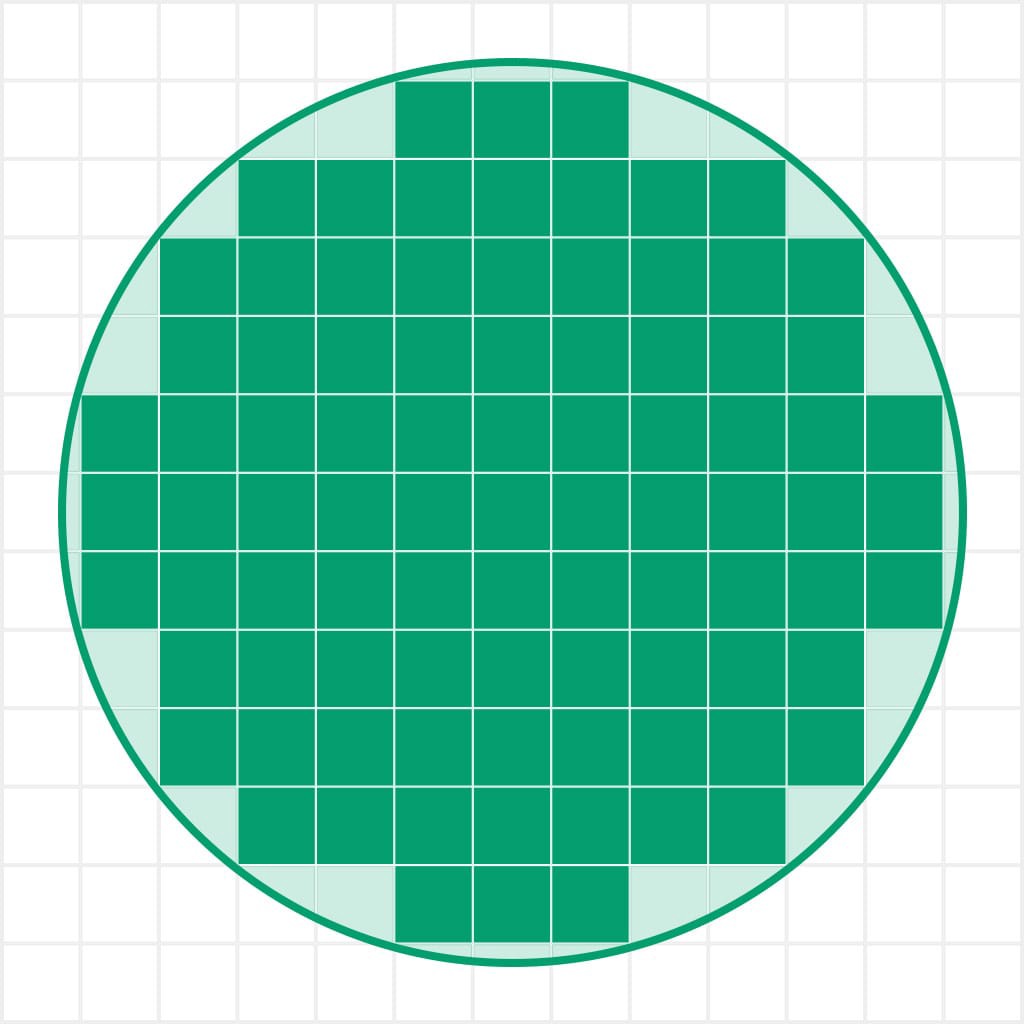
The visual part of the splat is represented by a circle-shaped mesh with 25 vertices on the edge. You can think of it, as the “blob”, that a wet paintbrush would leave on a sheet of paper while tapping for a very short period of time. We add a small random offset to each vertex position, which guarantees irregular edges of the paint strokes.

For each vertex, we also store a pointing outwards velocity vector which is later used in the simulation stage. We generate several of these meshes with small variations in shapes between each of them and store their data in a scriptable object. Every time a new splat is painted by the player during runtime, we assign it a mesh randomly picked from this set. It is worth mentioning that for different screen resolutions the canvas will have a different size in pixels. To assure the same splat size ratio across devices, we rescale the templates based on the size of the canvas upon the launch.

At the time of splat mesh generation, we also store its “wet area” which defines a collection of pixels that are inside the initial splat bounds. The wet area is used for the advection simulation. During the runtime, every time a new splat is spawned, we mark the canvas below it as wet. While simulating the movement of paint, we only allow it to “flow” to the areas of the canvas that are already wet. We store the canvas wetness in a global wetmap buffer, which is updated every time a new splat is added. Besides two colors blending, advection also plays an important role in the final look of the paint stroke itself.
Finally, each splat also contains an opacity value which is a function of its area and represents the effect of pigment conservation (constant amount of pigment per splat). When the splat size increases through simulation, its opacity decreases, and vice versa.
Simulation loop:
Once the player input in the current frame was collected and converted into new splats, the next step is to simulate the splats to imitate watercolor paint flow. At the starting point of the simulation, we have a list of splats that need to be updated and actualized wetmap.
In every frame, we iterate over the splat list and modify the positions of all splat vertices using the following equation:

Where:
m — new motion vector
a — constant tuning parameter (0.33)
b — motion bias vector = player swipe direction normalized multiplied by 0.3
cr — canvas roughness scalar = Random.Range(1,1 + r)
r — global roughness parameter, for standard paint we set it to value of 0.4
v — velocity vector, pre — generated along with the splat mesh
vm — velocity multiplier, a scalar we use locally in certain situations to speed up the advection
x(t+1) — potential new vertex position
x(t) — current vertex position
br — branching roughness vector = (Random.Range(-r, r), Random.Range(-r, r))
w(x) — wet value in the wetmap buffer.
The result of these equations is called a biased random walk and imitates the behavior of particles in real watercolor paint. To disentangle, we try to move each vertex of the splat outwards of its center (v) adding some randomness to it. Movement direction is then slightly modified by the stroke direction (b) and randomized again by another roughness component (br). This new vertex position is then compared against the wetmap. If the canvas in the new position was wet (value in the wetmap buffer is bigger than 0) we update the vertex to the new position x(t+1), in the opposite case we keep the vertex without updating its position. As a result, the paint will flow only to these regions of the canvas that are already wet. In the last step, we recalculate the splat area which is used later in the rendering loop to update its opacity.
Rendering loop — the wet buffer
Once we recalculated the splats, it is time to render them. As the outcome of the simulation step, splat meshes are often deformed (i.e. self-intersecting), therefore to render them correctly without the need and cost of re-triangulating, we use a two-pass stencil buffer approach. For rendering splats, we use Unity’s drawing interface Graphics and the rendering loop is executed inside the OnPostRender Unity method. Splat meshes are rendered to a render texture (wetBuffer) using a dedicated camera. At the start of the loop, wetBuffer is cleared and set as render target using Graphics.SetRenderTarget(wetBuffer). Next for each active splat from the splatList we execute the sequence depicted in the following diagram :

We start with clearing the stencil buffer before every splat, so a new splat is not affected by the stencil buffer state from the previous one. We then select the material used to draw the splat. This material is responsible for the splat color, and we choose it based on the color index stored in the splatData when the splat is drawn by the player. We adjust the color opacity (alpha channel) based on the splat mesh area calculated in the previous step. The actual rendering is performed using a two-pass stencil buffer shader. In the first pass (Material.SetPass(0)), we send the original splat mesh to write ones to the stencil buffer wherever the mesh is filled. This pass uses ColorMask set to 0 so the mesh itself is not rendered. In the second pass (Material.SetPass(1)), we use a quad superscribed on the splat mesh. For each pixel of the quad, we check for the value of the stencil buffer; if the value equals one the pixel is rendered and ignored otherwise. As a result of this operation, we render the same shape as the splat mesh but guaranteed to contain no unwanted artifacts such as self-intersections.


Once all splats have been rendered to the wetBuffer, it is then displayed in the actual game scene. Our canvas uses a custom shader that combines wetBuffer, paper diffuse and paper normal maps.

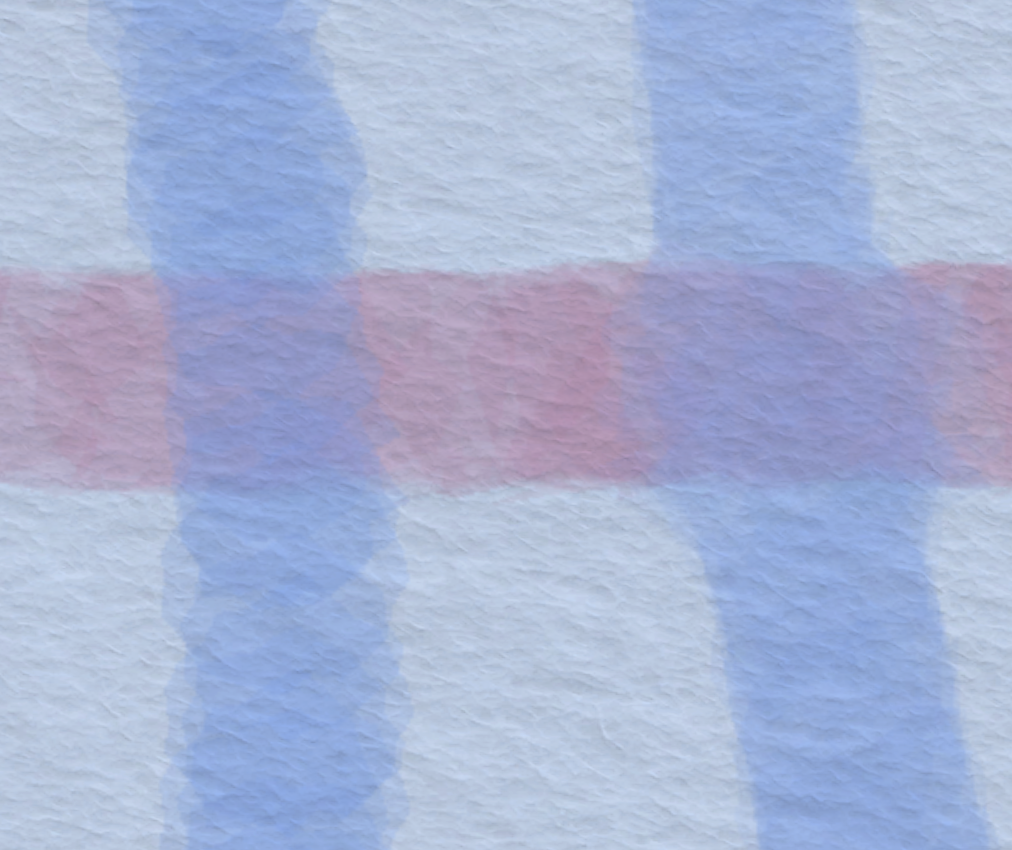
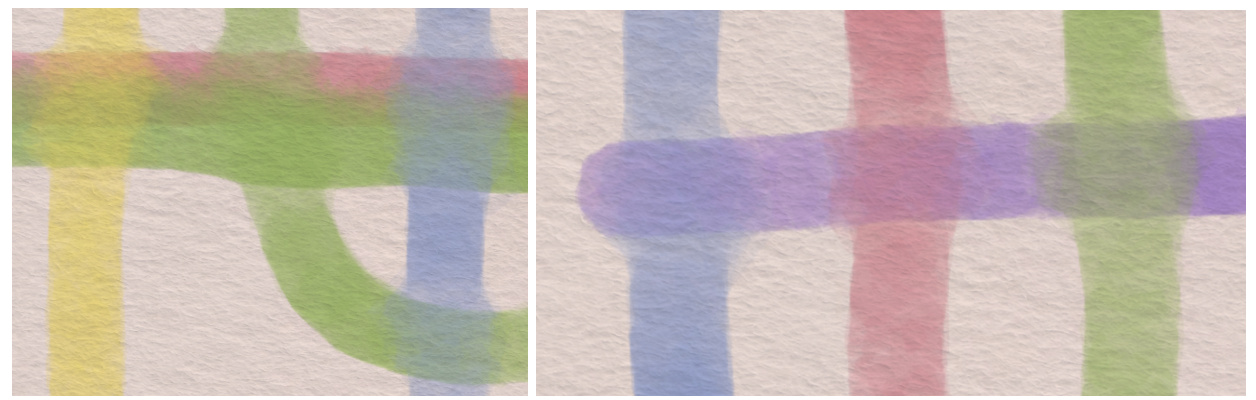
tint. supports colorblind mode, in which we overlap distinct patterns on top of the paint. To achieve that, we modified the splat material by adding a tileable pattern texture. The patterns are set to follow the tint. color mixing rules i.e. blue (grid) + yellow (circles) results in green (circles in the grid). For seamless pattern blending, they need to be rendered in the same uv space. We adjust the uv coordinates of the quad used in the second stencil pass by dividing both x and y position values (those are expressed in canvas space) by canvas width and height respectively. This results in the correct u,v values in 0 to 1 space.

Optimization — the dry buffer
As mentioned before, one of our goals was to support lower-end mobile devices. The splat rendering was the bottleneck of our game. Each splat yields three draw calls (2 set pass calls + clearing stencil buffer), and since a paint line combines tens or hundreds of those, the draw calls quickly add up resulting in the framerate drop. To battle this, we applied two optimization techniques; first is to render all “dried out” splats at once to a dryBuffer, and the second is to locally speed up the drying up of a splat, once a certain limit of active splats was reached.
The dryBuffer is an additional render texture that was added to the rendering loop. As mentioned before, each splat has a lifetime (in frames) which is decreased every frame. Once the lifetime reaches 0, the splat is considered “dry”. “Dry” splats will no longer be simulated, their shape won’t change and therefore they don’t need to be re-rendered every frame.

Each splat whose lifetime reached 0 is removed from splatList and “copied” to the dryBuffer. The copying process reuses the rendering loop, this time the target render texture is set to dryBuffer.
The correct blending between the wet and dry buffers cannot be achieved by just overlaying the buffers on top of each other in the canvas shader, because the wetBuffer render texture contains splats already rendered with alpha (equivalent to premultiplied alpha). In our workaround, we modified the rendering loop adding one step in the beginning before iterating through the splats. In this step, we render a quad with the size of the camera frustum, which displays the dryBuffer. This way, any splat rendered to the wetBuffer will already be blended with the dry, previously painted splats.

The dryBuffer accumulates all “dried” splats and doesn’t get cleared between frames. Therefore any memory associated with expired splats can be disposed of once they were “copied” to the buffer.
Using the dryBuffer technique alone allows the player to paint virtually infinite amounts of paint but does not guarantee smooth performance at all times. As previously mentioned the paint stroke has a constant thickness, which is achieved by drawing many splats between the start and end point of player swipe using interpolation. With many quick and long swipes, the player can generate big amounts of active splats. These splats will then be simulated and rendered by the number of frames defined by their lifetime value, which ultimately leads to the framerate drop.
To guarantee smooth framerate, we modified the algorithm so that the number of active splats will be capped by a constant value maxActiveSplats, and any splats above that will be instantly “dried out”. This was done by immediately decreasing the lifetime of the oldest active splats to 0, which subsequently copies them to the dry buffer earlier. Since by decreasing the lifetime we would end up with splat in unfinished simulation state (and looking a bit peculiar), at the same time we increase the speed of paint flow. With increased speed, the splat reaches a similar size, as it would with the normal speed and default lifetime.


The maxActiveSplats is the ultimate performance setting, it lets us precisely control the number of draw calls we want to allocate for the watercolor paint rendering. We adjust it at launch based on the device’s platform and tier. It is also possible to adjust this value on the runtime whenever a framerate drop is detected.
Endnote
Implementing this algorithm was a fun and challenging task. We hope that the readers will find the contents of this article interesting. Please do not hesitate to ask any questions you might have in the comment section. Lastly, if you want to check out our watercolor in action, try tint. on Apple Arcade.
(1) S. DiVerdi, A. Krishnaswamy, R. MÄch and D. Ito, “Painting with Polygons: A Procedural Watercolor Engine,” in IEEE Transactions on Visualization and Computer Graphics, vol. 19, no. 5, pp. 723–735, May 2013. doi: 10.1109/TVCG.2012.295
(2) Pressure only applies when painting with Apple Pencil on iPad.


How did you blend the overlapping splats of the same color in the wetmap buffer? Was it some specific blend mode in the shader?