
Autodesk Maya 2015 Review
Maya 2015 is packed full of new features, new effects engines, improvements and updates that make it one strong tool for game artists
Bifrost Simulation
Maya 2015 introduces a new liquid simulation platform called Bifrost. It was initially created by Naiad and has now been fully integrated into Maya 2015. It is quite powerful and surprisingly easy to use. To create a liquid effect, you simply need to select a geometry object and choose the Create Liquid option from the Bifrost menu. Then you need to select the collision objects and change settings as needed. Bifrost will automatically compute all the splashes and spray from the water particles caused by the collisions and their fall due to gravity. You can also specify animated geometry to act as emitters and accelerators for the simulation. These emitters and accelerators are used to add forces to the liquid object to create flowing rivers and gentle waves. Figure 1 shows an example of the type of results that Bifrost can create.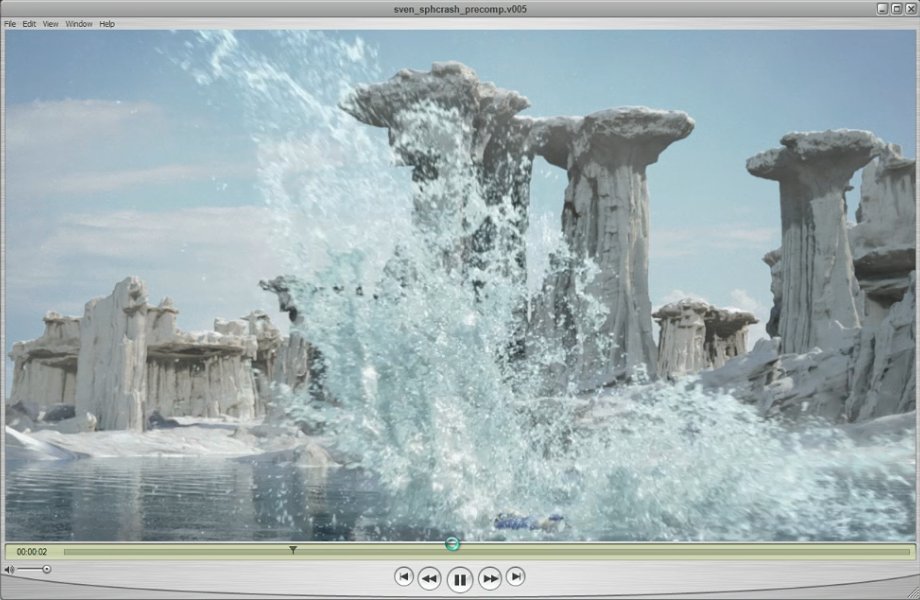 Figure 1: Bifrost makes it possible to create amazing liquid effects.
 XGen Particles
The new XGen system gives you great control over the placement and style of curves, spheres and instanced geometry particles on the surface of other objects. This is a great system for creating unique hair and fur styles. It can also be used to populate an environment with instanced models such as trees and flowers. Custom objects can be exported as an archive and then read back in as multi-instances spread across the face of the scene and multiple archives can be selected and used together. For all the instanced geometry, you can control the length, width, depth, tilt, twist and density of their placements or even define them using expressions. The XGen system also includes an array of brushes that are used to edit various attributes of the applied objects. These brushes include the ability to attract, repel, part, bend, twist, smooth and add noise, among other things. The system includes support for Ptex maps that can define areas clear of particles. Figure 2 shows a scene where the plants are populated using the XGen system.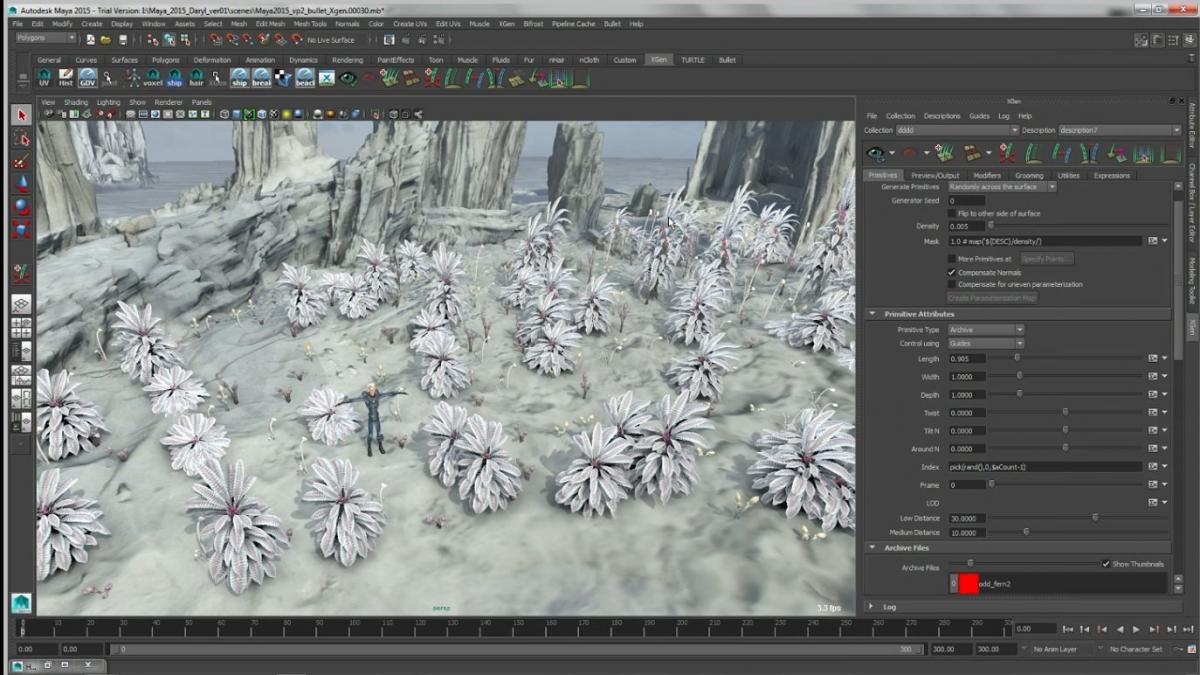 Figure 2: The XGen system is great for adding a variety of plants to the current scene.
 Bullet Physics
Dynamic animations are a breeze with the new Bullet Physics features. Simply select an object, choose an effect and click the Play button. The constraints and forces, such as gravity, are automatically applied and a full set of settings are available for tweaking the results to get just the motion you want. The Bullet engine includes support for both rigid and soft-body objects and ragdolls. Be aware that the Bullet engine has to be loaded using the Plug-In Manager before it can be used. Selected objects can be set as Active Rigid Body objects or Passive Rigid Body objects. Active objects will react to gravity and will collide with other rigid body objects. Passive objects will stay put and will collide unyielding with active objects. You can also animate rigid body object to interact with other objects such as a meteor impacting a group of rocks. Using the Shatter effect, you can break solid objects into pieces which break upon on impact.ShaderFX Editor
Shaders can now be created within Maya using a real-time shader editor called ShaderFX. This node-based editor lets you connect nodes together and see the results directly within Viewport 2.0. The ShaderFX Editor supports both OpenGL and DirectX 11. Once a shader is applied to an object, you can select the Open ShaderFX option in the Attribute Editor for the shader node. Within the editor, you can add nodes using the list to the right or you can right click and select them from the menu. Input and output channels are connected by simply dragging between them and color coding between the channels makes it easy to know which channels are compatible. Each node also has a preview that you can access. Shaders can be saved to the HLSL, GLSL and CgFX formats.Viewport Improvements
Maya's Viewport 2.0 now supports viewing dynamics and particles. This is a huge benefit for simulations allowing you to see the results without having to wait for the render. There is also support for viewing Paint Effects, Toon shading, nCloth, nHair, nParticles and fluids. There are also controls to enable and disable Ambient Occlusion and Anti-Aliasing on the fly. Viewport 2.0 is now set up to be the default renderer in Maya 2015.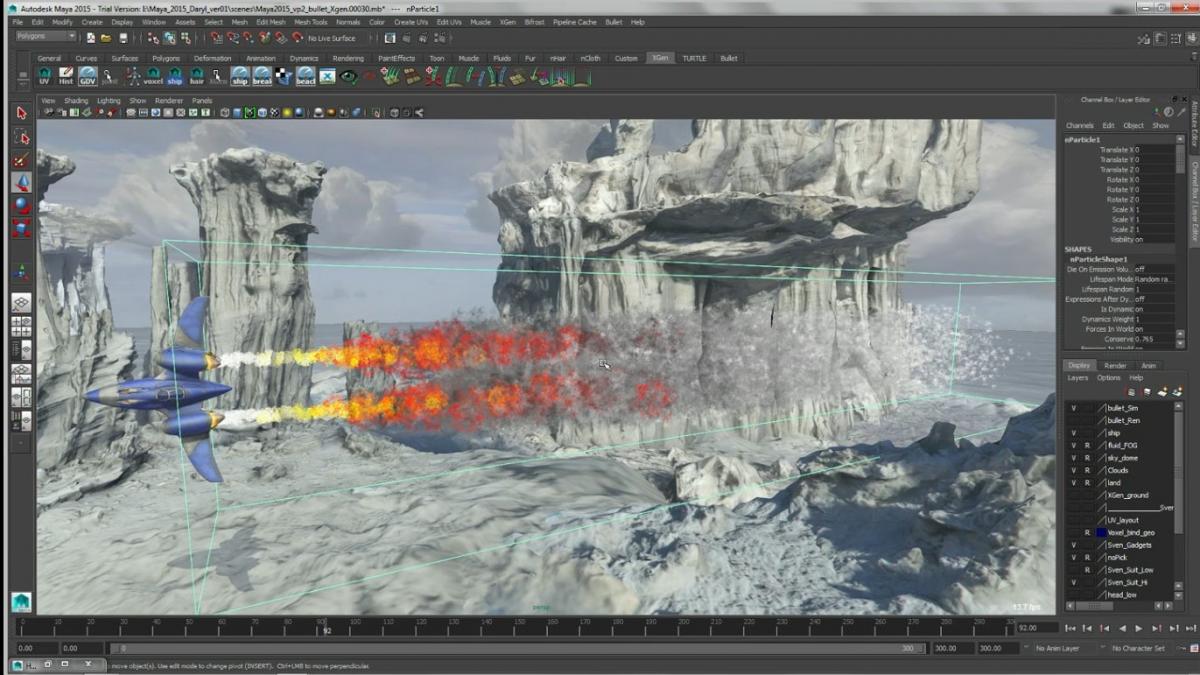 Figure 3: Viewport 2.0 supports particles and makes it easy to tweak effects to get the right look without having to render the scene. Image courtesy of Autodesk
 Texture and Shrinkwrap Deformers
Texture Deformers provide an easy way to view and use displacement maps. Once applied you can control the amount of influence the texture has over changing the surface of the model. Another new deformer is the Shrinkwrap deformer that wraps one object around another. This is a great way to apply flat textures to the surface of another object like a decal or to completely engulf an object like armor on a character's arm would.OpenSubDiv Support
Maya 2015 now supports Pixar's OpenSubDiv mesh smoothing method. This allows for much faster playback of animated meshes over legacy smoothing methods. This is possible because OpenSubDiv utilizes parallel CPU and GPU architectures. Support for OpenSubDiv lets you view animated mesh-smoothed characters and objects as smoothed meshes without slowing down the frame rate.Modeling Improvements
If you look closely at the manipulator for moving and scaling, you'll see that there are now plane handles that let you move and scale within a plane along two axes at once. The Quad Draw tool has been updated with some great new features including Edge Extend and Auto Weld. Edge Extend lets you create new polygons by extending a current edge and when vertices are place near one another, they can automatically be welded together when Auto Weld is enabled. There is also a new Relax brush that smoothes the mesh across the surface. The Make Live tool lets you set a scanned or dense mesh as a surface to follow. This makes tasks such a retopology much faster and easier. The Quad Draw tool also includes a new setting that lets you customize the hotkeys for controlling the different tool features. You can also customize the color display that is highlighted when using the different tools. The Split Polygon tool has been combined with the Interactive Split tool and the Cut Faces tool to create a single cutting tool called the Multi-Cut tool. This single tool can now be used to cut, split and combine polygons without having to switch to different tools. Beveling has been improved allowing for non-destructive bevel of corners. Boolean operations have also been improved to be faster and cleaner. There is also a new Convert Selection option to change the current component selection to the edges or vertices that make up the perimeter of the selection.UV Updates
The UV Editor has also been improved with several great new features. The new multi-threaded Unfold3D mapping option lets you define cuts and then automatically unfolds the mesh for painting. The results are good because neighboring faces are kept together. There is also an Optimize feature that cleans up the UVs that are twisted along with a Distortion shader that lets you visually see the areas that are tightly bunched with red areas showing the stretched UVs and blue areas showing the compressed UVs, as shown in Figure 4.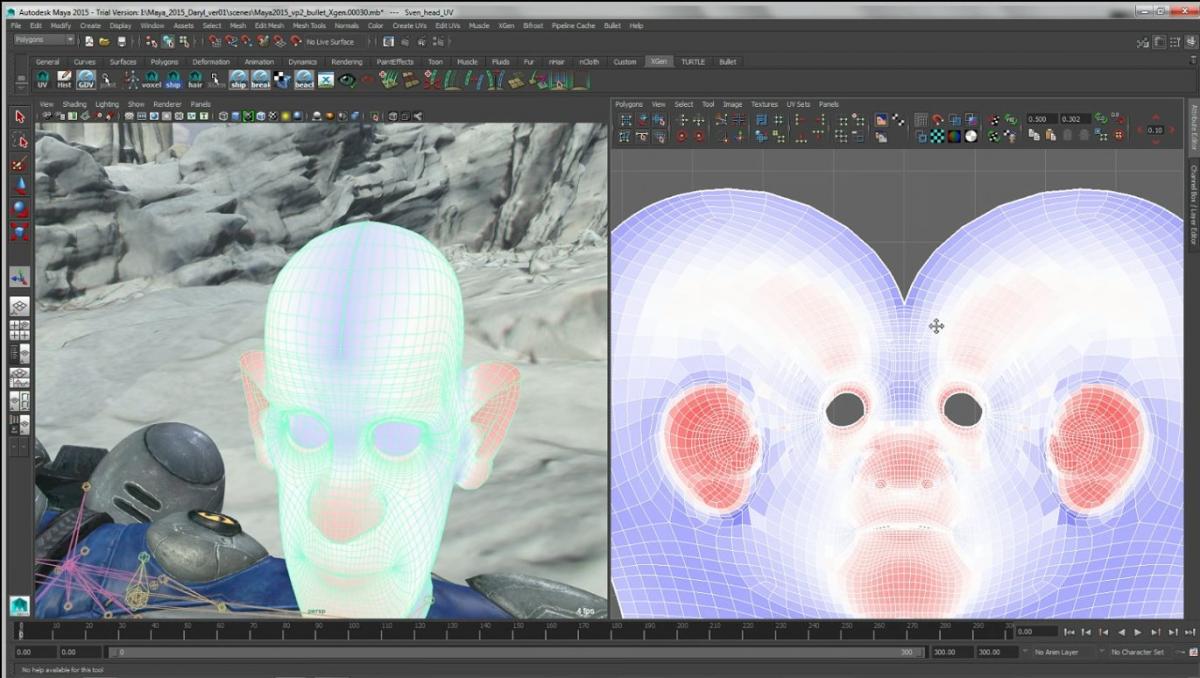 Figure 4: The Distortion shader quickly shows which UVs are stretched and compressed. Image courtesy of Autodesk
 Character Skinning
Skinning characters is one of the trickiest aspects of character modeling, but the new Geodesic Voxel Binding feature handles this task by allowing for some flexibility when dealing with overlapping objects. It can also work with multiple objects. The system voxelizes the skeleton and the skin mesh and computes a good fit. This results in skin weights that are more realistic than other binding options and the system is compatible with most game engines.Summary
Since Maya is used in so many different industries, it is common to see features custom-made for other types of users. However, with this release, game developers should rejoice because almost every new feature is specifically designed to help game creators be more efficient and cool effects just got easier to do. From the advanced simulation tools like Bifrost and Bullet Physics to the new ShaderFX Editor and improved Quad Draw and Multi-Cut tools, game developers have a lot to be happy about. And all the back-end engines wouldn't be that helpful if you couldn't see their results, but the new Viewport 2.0 improvements make it possible to see all these simulation improvements directly in the viewport letting you tweak the effect until it is just right and rendering it out only once. Maya 2015 is available for Windows, Linux, and Macintosh OS X. For more information on any of these products, visit the Autodesk web site located at http://www.autodesk.com. A free trial version is also available at http://www.autodesk.com/freetrials.Related Tutorials
Why Animation and Cinematics Matter in Horror Games
Learn how animation and cinematics can become part of gameplay in horror games by teaching mechanics, creating vulnerab…
 huseyin_onur
Designing Horror Games Inspired by Real-Life Experiences
Learn how real-life experiences can inspire more authentic horror stories, stronger emotional connections, and memorabl…
huseyin_onur
Balancing Game Development and Creative Direction in Indie Production
A practical look at how indie developers can balance creative direction with hands-on game development. This article co…
huseyin_onur
My Unreal Engine Development Process: From Core Idea to Playable Build
A practical overview of my Unreal Engine development process, covering how I move from a core game idea to a playable b…
huseyin_onur

Introducing LaneGraph: The Ultimate Road Network Solution for Unity
Discover the power of LaneGraph, a lightweight and flexible lane-based navigation system for Unity. LaneGraph makes it…
Retargeting Mixamo Characters with Root Motion In Unreal Engine 5.4.
I have always found Retargeting Mixamo Characters To have Root Motion is a serious lengthy Tast, Recently I stumbled up…
Discussion
More from Kelly L. Murdock
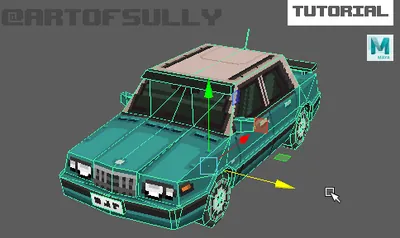
Reverse-Normal 3d Outline Tutorial
A simple trick for getting a crisp outline on a 3d mesh.
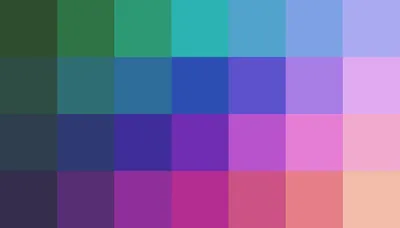
Color Palettes
Creating a custom color palette can be a very satisfying and powerful way to establish your own unique look. I'll guide…
Composition 101: Balance
What are the principles of Balance in Composition? Otto Ostera discusses the 3 elements of balance: shape, direction, a…
Discussion