Hey! My name’s Tim Trankle and I’m a 3D Artist for Pixelmatic.
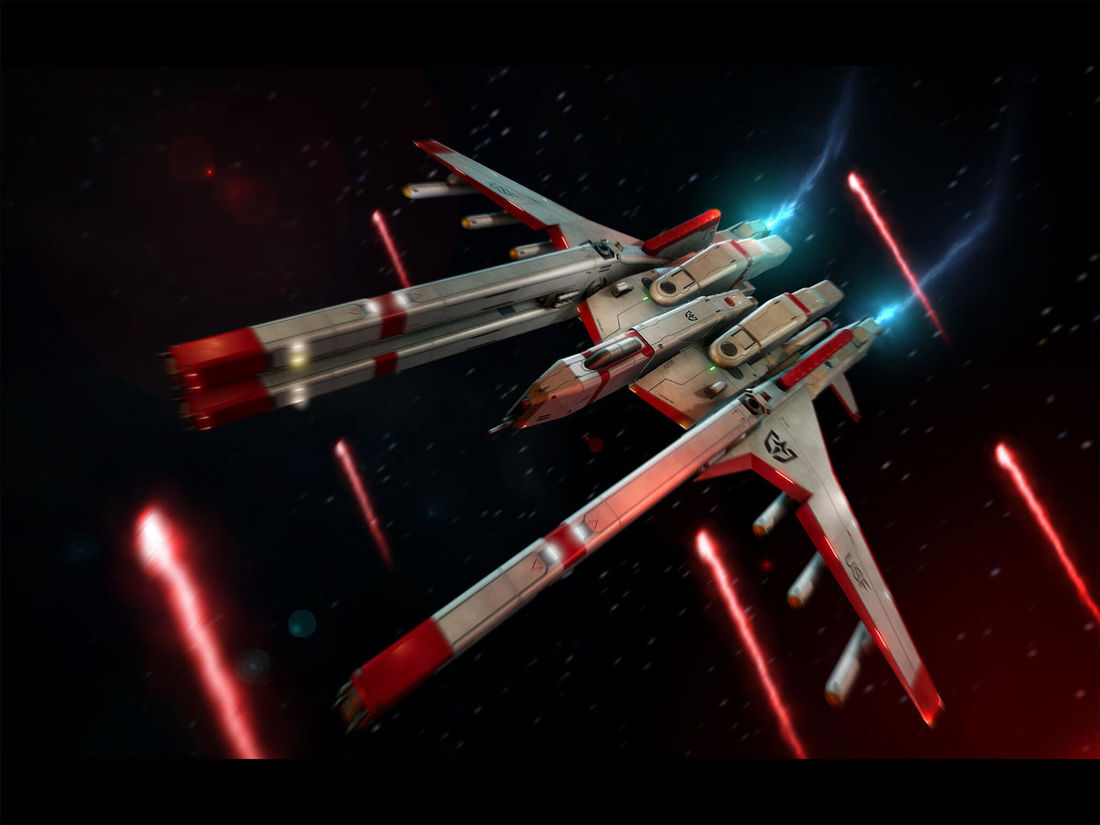
My most recent task was to create the XM-03 Hornet for Infinite Fleet. I overhauled our 3D asset production workflow to take advantage of new tools and techniques to keep our visuals on the cutting edge. The new workflow has really taken our ships to another level and I’d like to show you just how I make them.
The Model
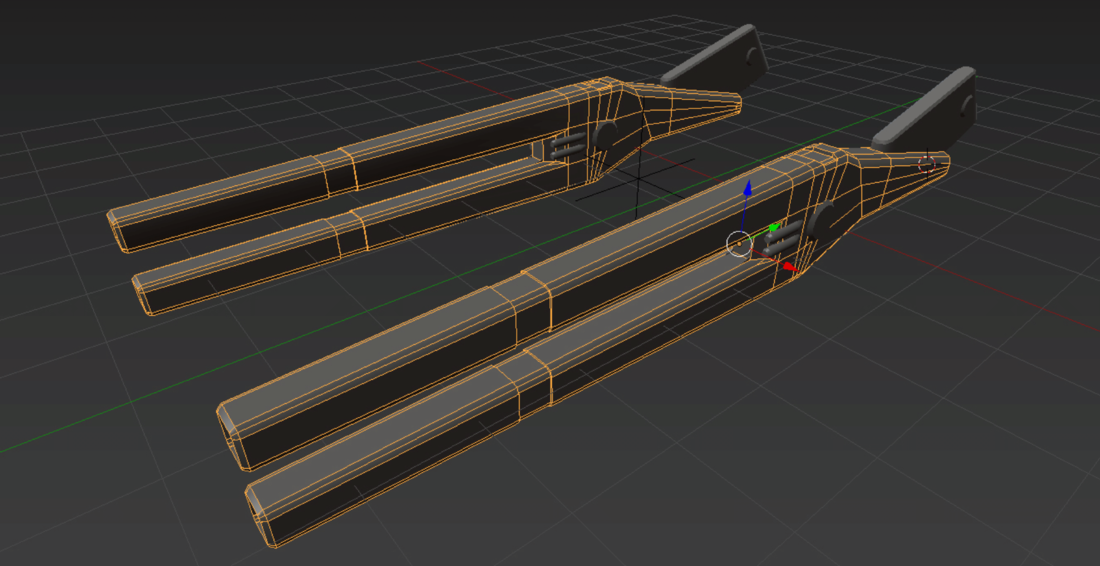
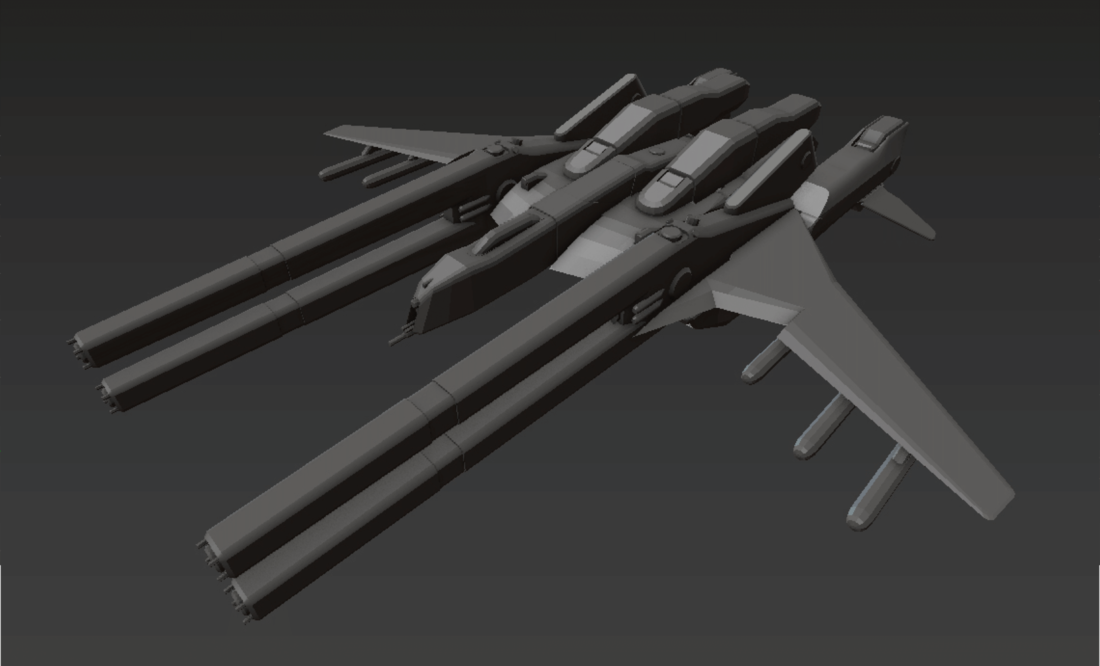
Every ship model has to start somewhere, and I usually start a ship by making its most recognizable features. In the case of the Hornet, that would be the energy-sapping arms and the wings. They contribute heavily to the silhouette and help guide the overall shape.
While I’ve worked with several modelling packages, my go-to for hard surface work is Blender. This is because its modifier toolset is great for creating detail in a non-destructive way and the modelling tools themselves are built for making meshes quickly. It also has great addon support for extending its functionality and there’s one addon that was crucial to this ship’s production that I’ll talk about in a little bit.
For hard surface modelling, I usually like to start with a single polygon plane and build my way up from there. I find that it allows for the most flexibility when creating more unusual shapes. For the Hornet, nearly every large component that wasn’t based on a cylinder started its life as a single plane.
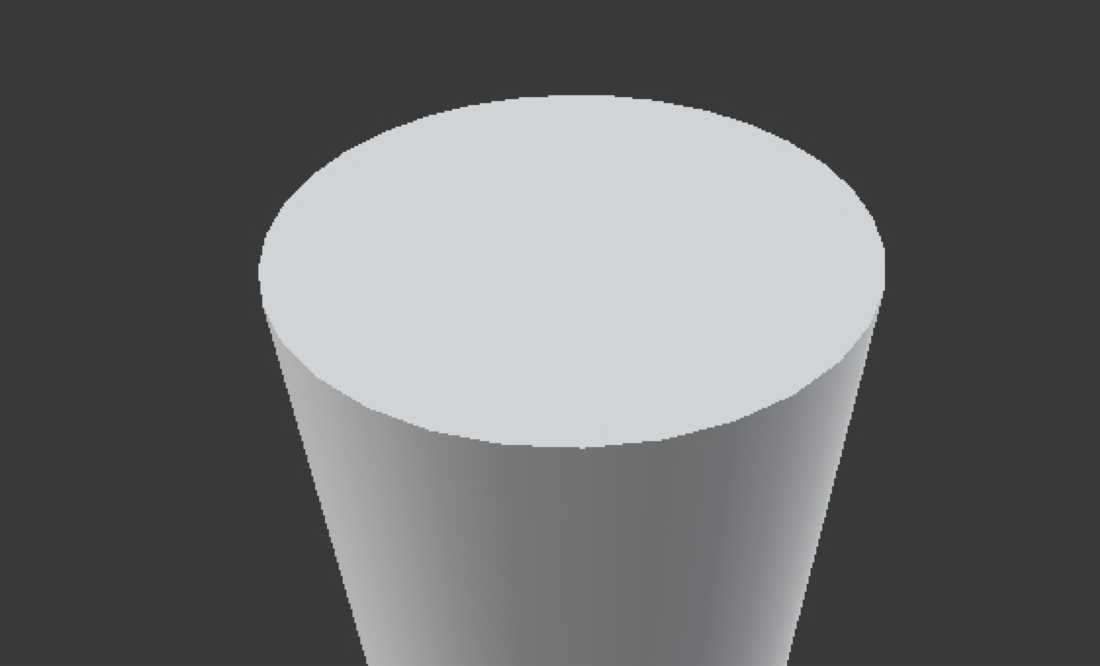
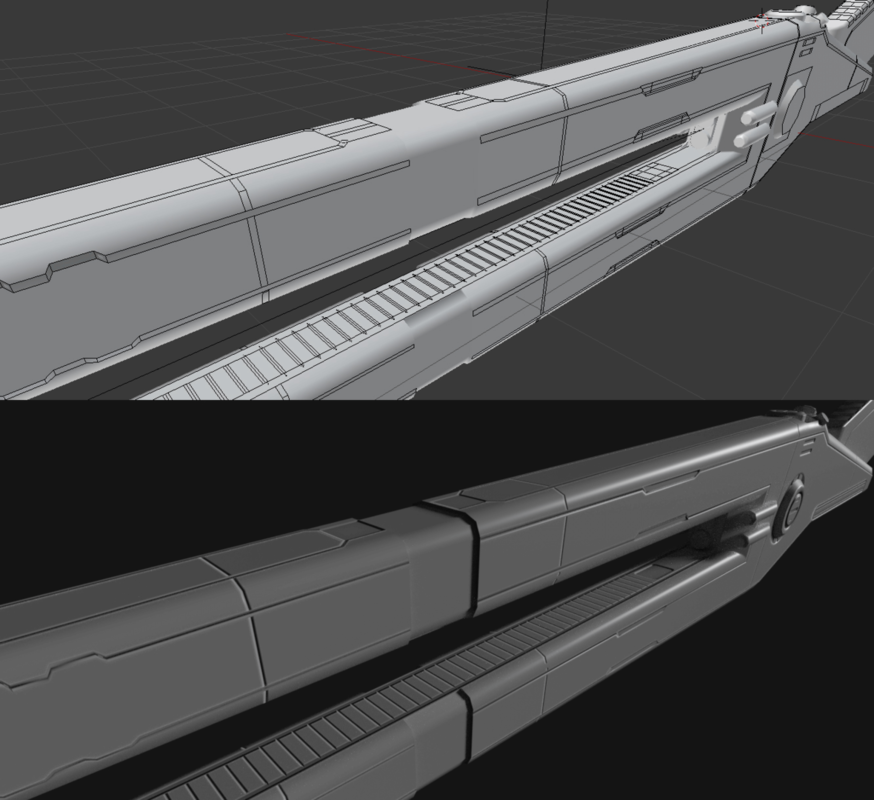
Here, all of the components are finished, but the polygons need to be smoothed. Right now, you can see that they are all hard shaded and identifiable. Typically, the solution to this is to create Smoothing Groups where some edges are soft shaded and others are hard shaded.
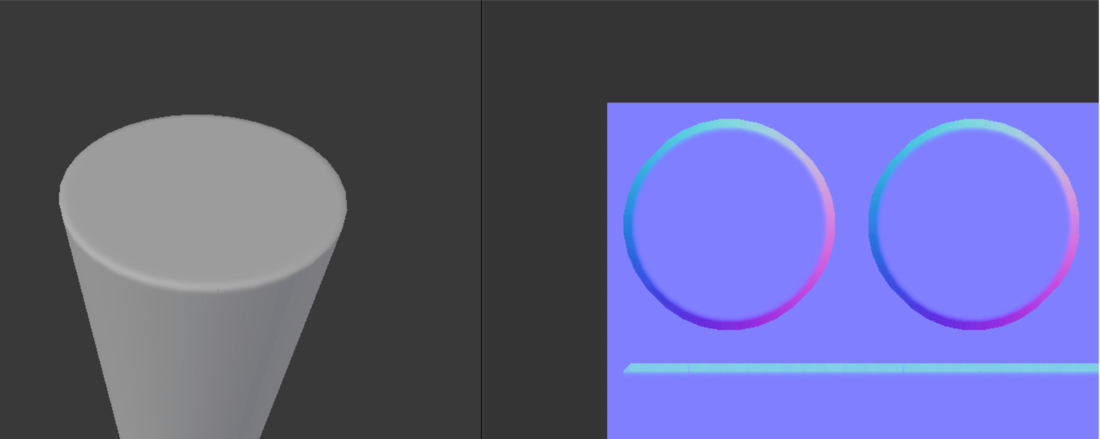
This gets you most of the way there, but the edge between the two surfaces is perfectly sharp. On any surface, no matter how sharp the edge is, you’ll still see a highlight due to a bevel between the sides. Simply changing the smoothing groups doesn’t give you this. In the past, I’ve used an addon for Blender called TexTools to bake out a specially made normal map which would give me the bevel.
As you can see, the edge around the top has a highlight on it conveying a bevel even though the model itself hasn’t changed. This works very well and requires very little setup but it is dependent on the texture resolution. If the texture is too low-res, then the bevel will appear pixelated and show some artifacts. For a ship as complex as the Hornet, this would’ve required an absurdly high-resolution texture to get a crisp bevel on the entire ship. Since most of the surface is flat, that means the normal map is mostly wasted space. I needed a new solution.
Bevelled Edges and Custom Normals
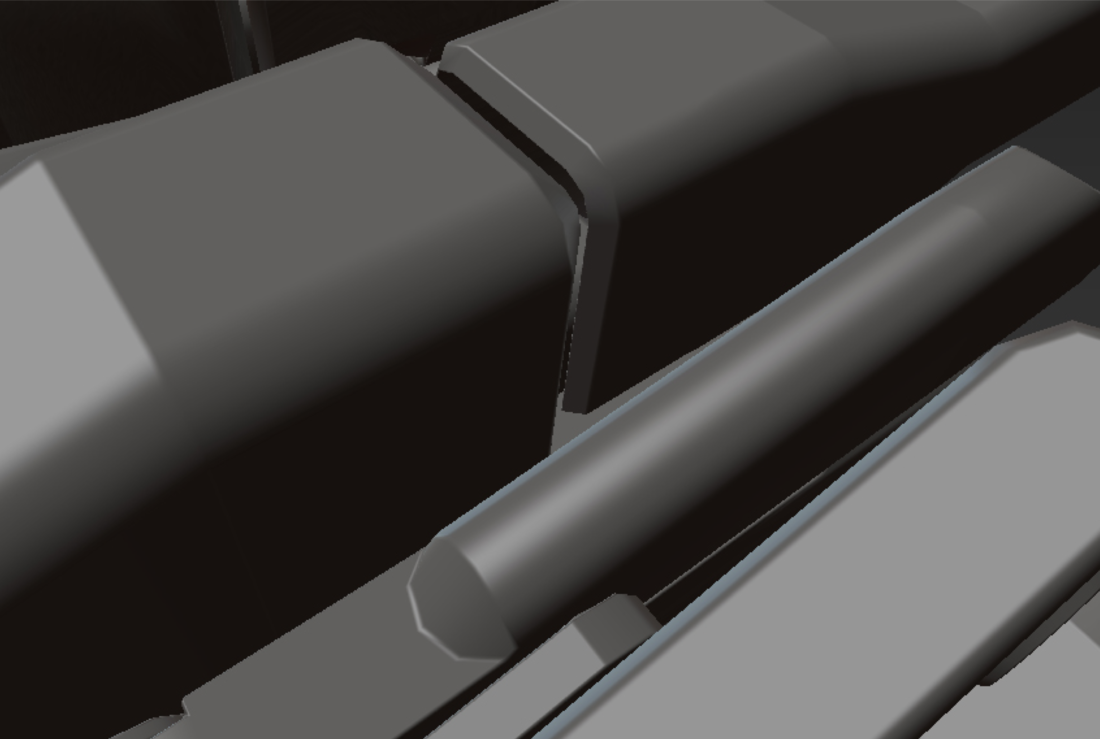
The solution I used was to create real bevels in the model. Normally, doing this by itself would result in shading artifacts as large faces are used to blend between vertex normals that are facing different directions. However, by adjusting the vertex normals manually, I can change the shading to be much cleaner. In Blender, I used an addon called Blend4Web which makes the adjustment of these normals very straightforward.
I went in and added these bevels to all the hard edges around the ship. Now, I don’t need smoothing groups as the entire model would be smooth shaded. I just needed to adjust the vertex normals. The results are edges that give crisp highlights and look much more solid and realistic.
Adding the Detail
The Hornet is covered in panel seams, extrusions, markers, and lights. Before, I’d do all of this with the texture. I’d paint custom normal map details in Quixel nDo and then do the rest of the texturing in 3D-Coat but that strategy wouldn’t work here. Like with the normal map bevels mentioned earlier, the texture for the ship would need to be exceedingly high-res to capture all the detail I wanted to put on and have it be crisp and legible. The answer to this is to only create textures for the area where the detail needs to be. This is accomplished with decals.
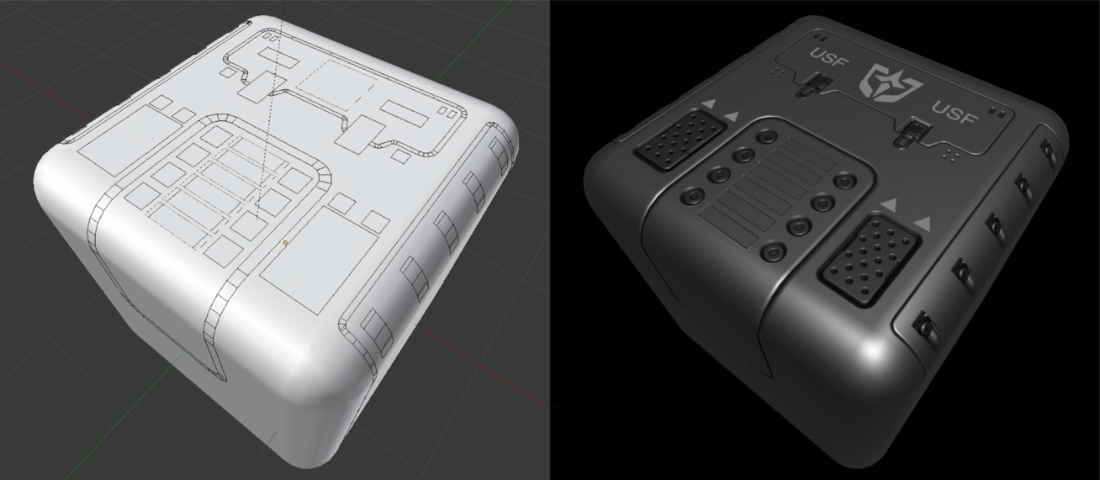
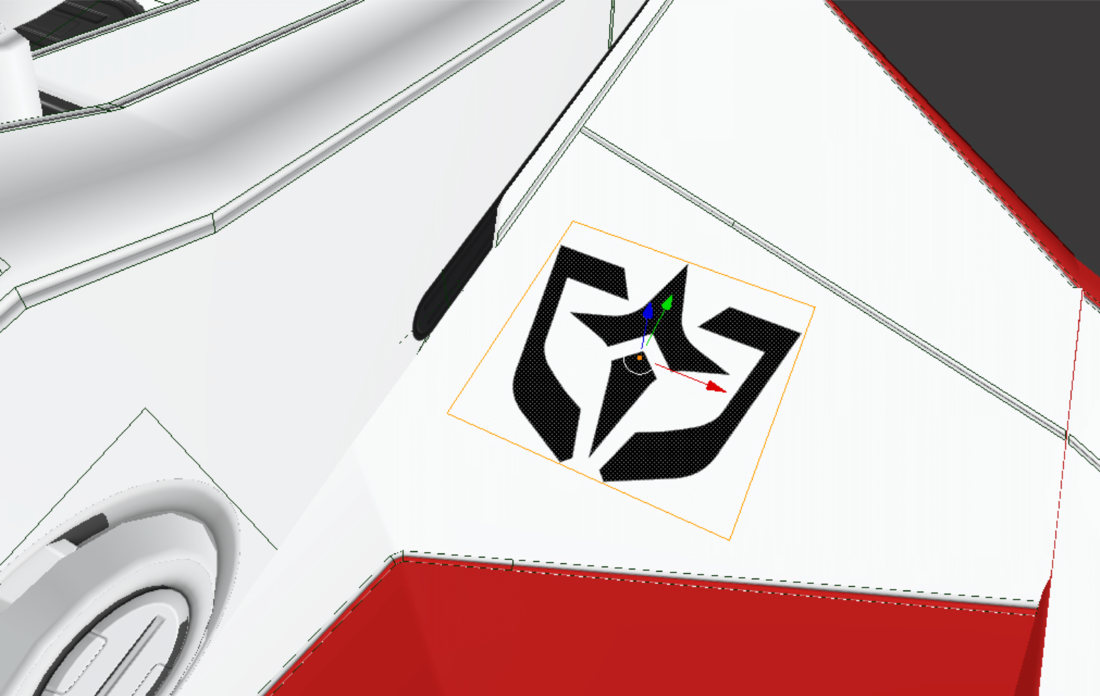
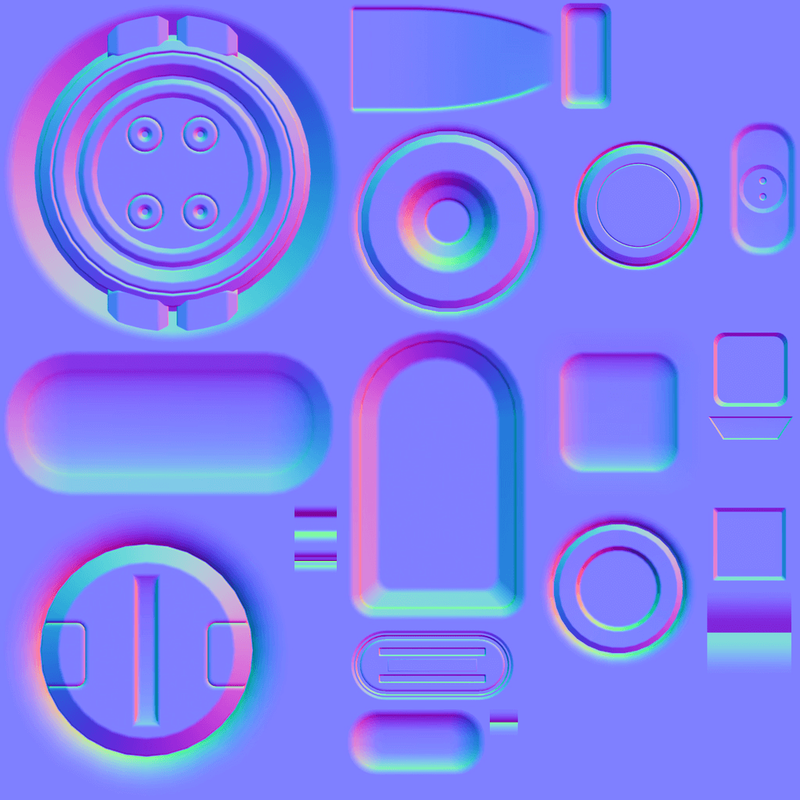
The decals, in this case, are actually polygons that rest just above the surface of the model. They can affect the color, normal, and roughness maps of the surface underneath them. This means that they can add detail that blends seamlessly with the underlying textures and still adhere to all of the environmental lighting conditions.
To create these, I use an addon for Blender called DecalMachine. It provides a wide assortment of tools for creating decal textures and applying them to your model. You can create panel lines based on mesh intersections, place decals directly on the surface, or project planes that will conform to the shape of your model if it’s curved.
All of this makes the decal creation process fast, flexible, and fun. I can place the decals anywhere on the model and use Blenders modifiers like mirroring and creating arrays to easily populate the surface of the ship with detail.
Not only do the decals affect the normal map to create things like rivets or vents, but I can also create text and icons like the USF logo and place it wherever I want without having to erase texture layers or rebake any maps.
Once I place all the decals that the ship needs, I’ll create a texture atlas. This is a single texture that has all of the decals that I used. This is the real power of using decals as this texture is independent of the rest of the ship. I can make the decals as small as I want and they won’t lose resolution.
On top of that, I can use this atlas for all of the ships in the game, which drastically reduces the number of textures that need to be stored in memory.
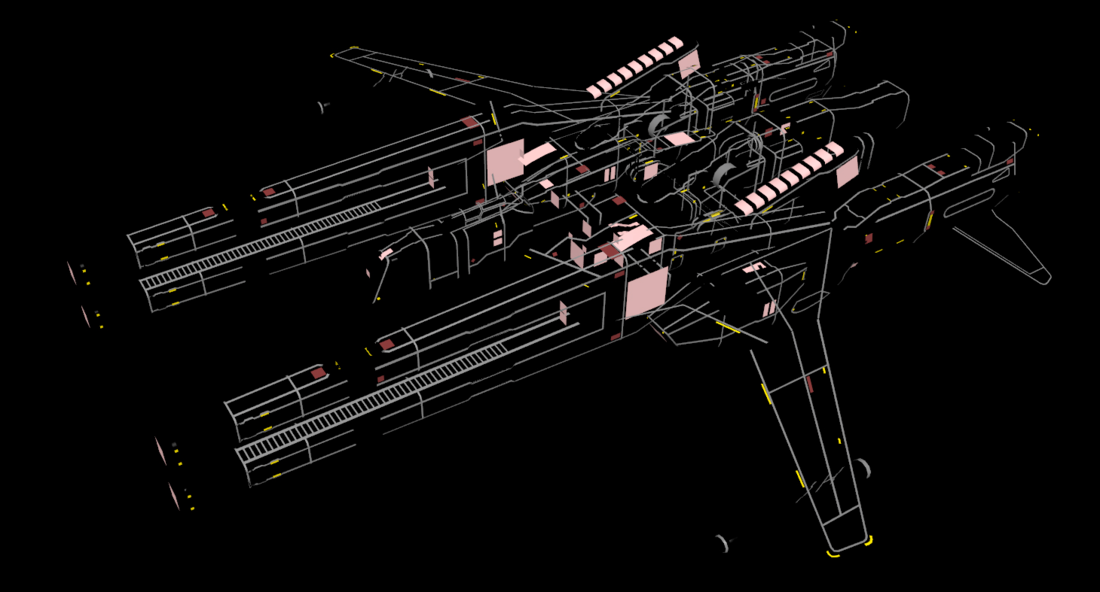
For the XM-03 Hornet, every detail you see is done with decals. The panel seams, the vents, the warning labels, and even the lights are all separate polygons resting on the surface. This results in quite a few decals.
Texturing
Since all of the unique detail on the ship is accomplished with the decals, this means that I can cover the rest of the surface with a set of tiling materials. These textures can tile independently of the decals which means I can scale them down and maintain a high level of detail even when the ship is viewed from very close up. Even though these textures are only 512x512, there is no pixelation.
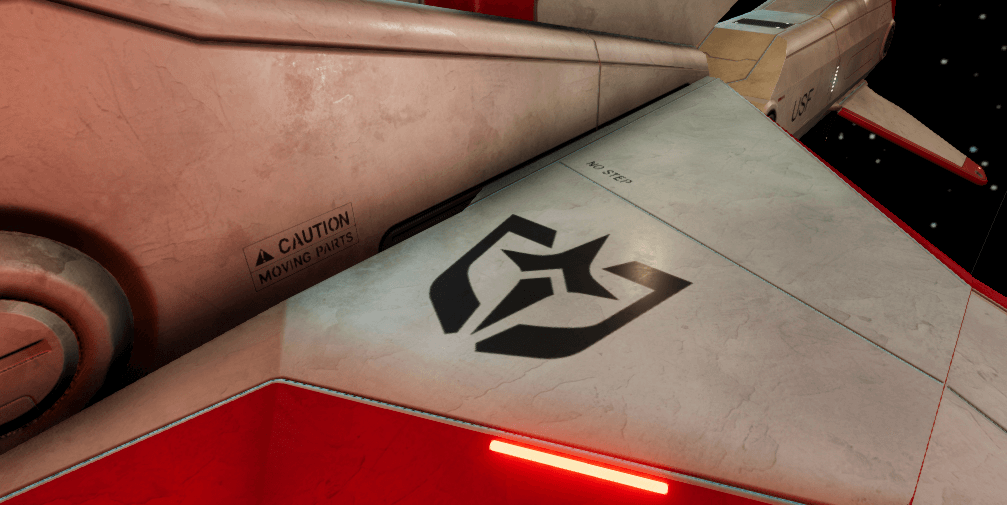
One of the downsides of this approach though is that the surface of the ship becomes very homogeneous since everything is the same color. To break up the color and the roughness, I made a special shader that added a tiling dirt texture to the more occluded areas of the ship based on an ambient occlusion map.
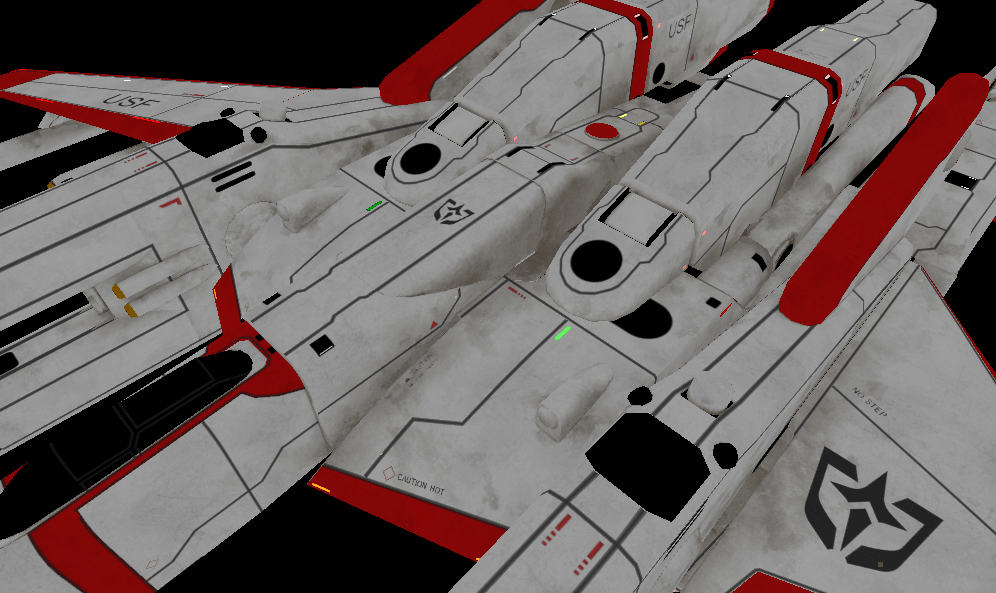
Just like the rest of the textures for the paint, this dirt texture can be tiled independently from the decals or other textures. With that, the ship is finished! All that’s left is to set up some lights and the right post-processing effects to really show it off.
We hope you enjoy gorgeous graphics as much as we do. While we still need to improve and optimize this new workflow, this is a huge step forward for us to be able to provide you with stunning models in Infinite Fleet.
Stay tuned for more to come and feel free to reach us on our Discord if you have any questions.
Note: This article was originally published on the Infinite Fleet blog, and is reproduced here with the kind permission of the author. You can chat with the creators on their Discord or Twitter, or check out the trailer for the game on YouTube.







Thanks for sharing! Really cool!