Hello there.
As mentioned in a previous blog entry, we're developing an adventure game called Outsider, where every puzzle is different. Outsider is being developed in Unity using a plugin called SVG importer, meaning most graphics in the game are vectorial.
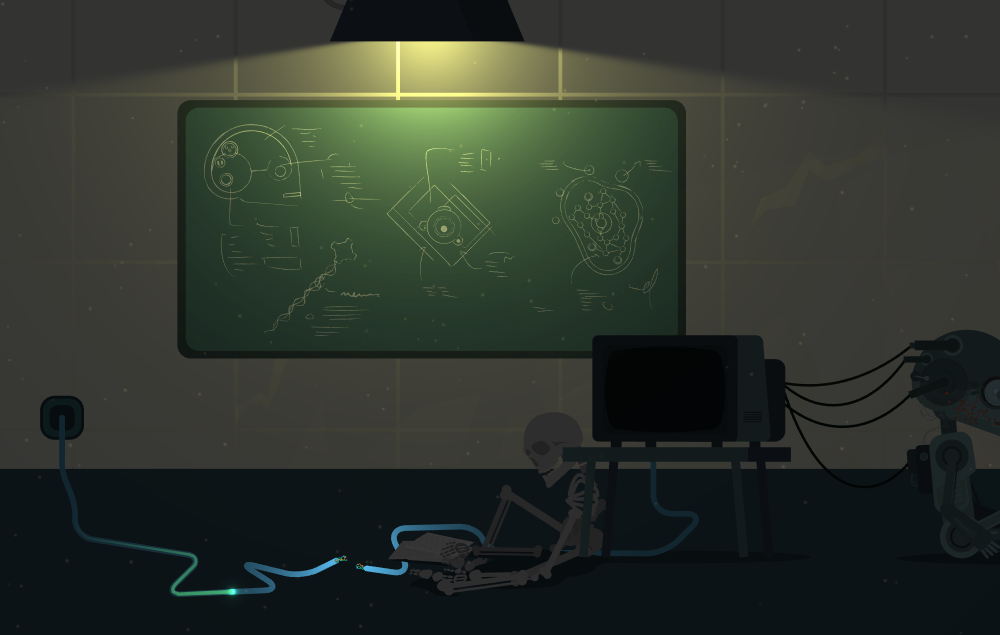
In the past year, we have improved the graphics a lot:
January 2018
April 2019
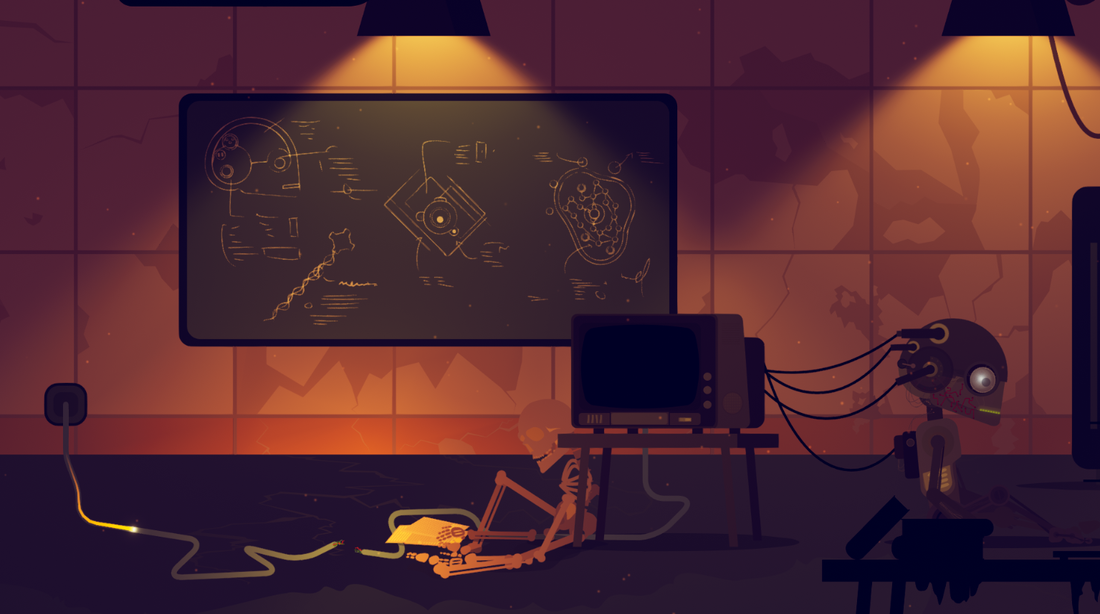
Details were added to the graphics, the lighting was tuned and we also started using Unity's recent post-processing profiles. Meanwhile, the website we built for the game still used screenshots from the old version and looked ancient:
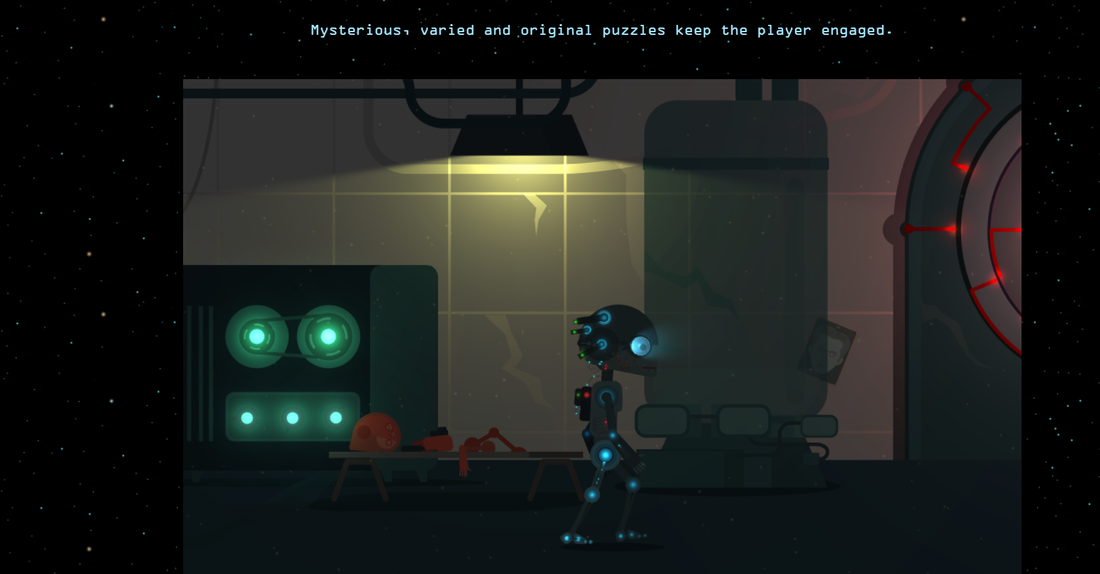
The website was also minimal, consisting of just images and gifs from the game interspersed with minimal text. So, since all the recent browsers support SVG, we decided to use the graphics from this scene, directly from Unity, to create a new website:
If you want to take a look, it's live at www.onceabird.com.
So, on to the code. Unity supports extending the GUI of your behaviours, so we inherited the Editor class in a WebsiteGeneratorEditor class to create a single button to export the scene layout:
[CustomEditor(typeof(WebsiteGeneratorScript))]
public class WebsiteGeneratorEditor: Editor
{
    public override void OnInspectorGUI()
    {
        DrawDefaultInspector();

        serializedObject.Update();

        WebsiteGeneratorScript websiteGeneratorScript = (WebsiteGeneratorScript)target;
        if(GUILayout.Button("Export Scene"))
        {
            websiteGeneratorScript.ExportScene();
        }
    }
}
Each Editor class references another script as a target, in our case it's named WebsiteGeneratorScript. Here's the full source code: WebsiteGeneratorScript.cs, I'll go over it bit by bit. But first some context.
The SVG plugin we're using creates an SVG Renderer component (as opposed to the normal Sprite Renderer or other Renderer components) on each behaviour that uses an SVG asset:
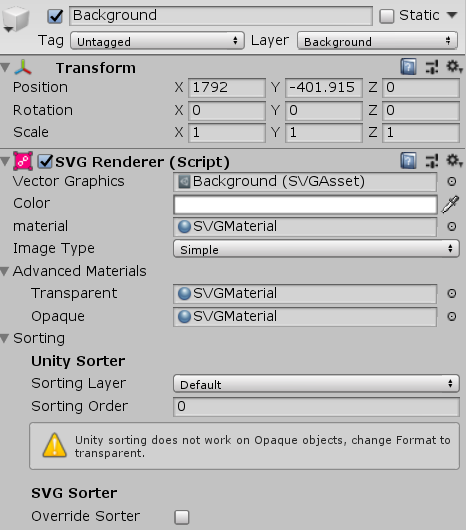
Although some code here is specific to SVG Renderer, most of it is based on Unity's standard position, rotation and scale Transform, so it should be easy to adapt to your project.
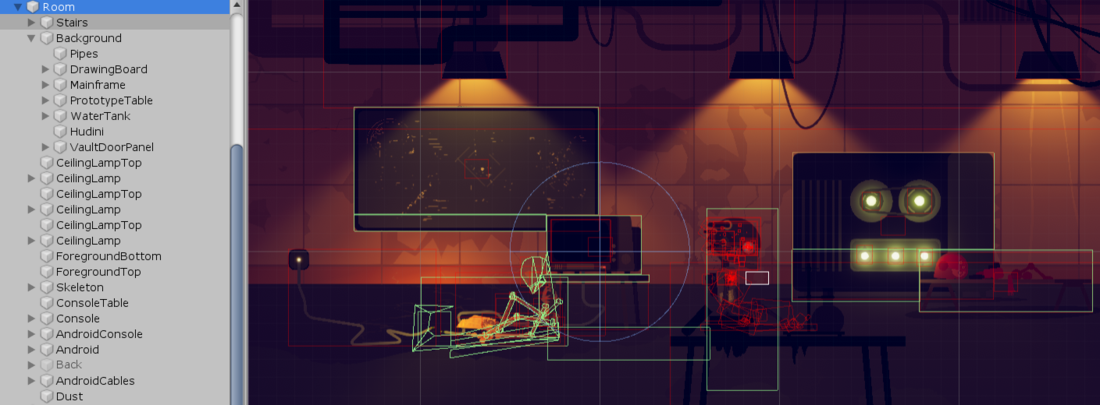
The exported scene's SVG Renderers are contained in a single root transform named Room:
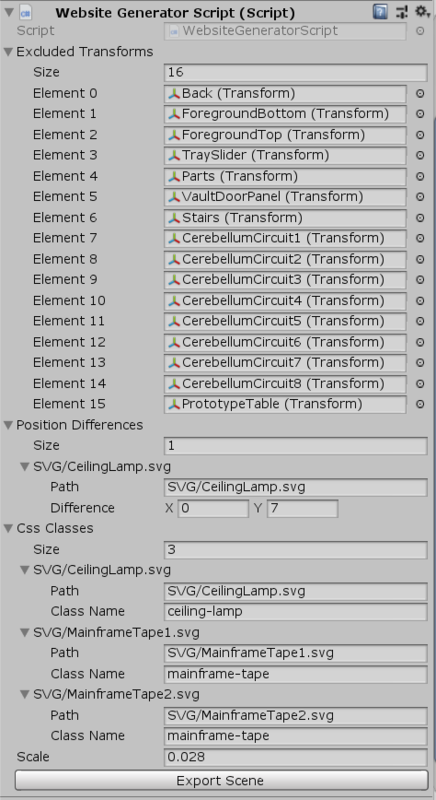
And here's how the WebsiteGeneratorScript component is configured in this scene:
We'll gloss over the details for now. The WebsiteGeneratorScript class contains a recursive method named ExportTransform:
string transformText = "";

ExportTransform(GameObject.Find("Room").transform, ref transformText);
The method searches for an SVGRenderer on each transform, starting from the Room root transform. The transformText variable contains the generated HTML text that will be inserted into an HTML file in the end. Not all the elements in the scene will be exported, so the first thing the method does is return if the transform is in the excludedTransforms list (the contents of which you can see in the WebsiteGeneratorScript component image above):
    private void ExportTransform(Transform transform, ref string transformText)
    {
        if(Array.IndexOf<Transform>(excludedTransforms, transform) >= 0)
        {
            return;
        }
If an SVGRenderer component is found, it generates the corresponding HTML img tag:
SVGRenderer renderer = transform.GetComponent<SVGRenderer>();

if(renderer != null && !transform.name.ToLower().Contains("interactive"))
{
	float width = renderer.vectorGraphics.bounds.size.x * scale * transform.localScale.x;
  	float height = renderer.vectorGraphics.bounds.size.y * scale * transform.localScale.y;

  	float left = transform.position.x * scale - width / 2.0f - (renderer.vectorGraphics.pivotPoint.x - 0.5f) * width;
  	float top = -transform.position.y * scale - height / 2.0f - (renderer.vectorGraphics.pivotPoint.y - 0.5f) * height;

  	string[] pathParts = UnityEditor.AssetDatabase.GetAssetPath(renderer.vectorGraphics).Split(new char[] { '/' });

  	string path = "";
  	for(int i = 3; i < pathParts.Length - 1; i++)
	{
		path += pathParts[i] + "/";
	}

  	string fileName = pathParts[pathParts.Length - 1];

  	path += fileName.Substring(0, fileName.IndexOf(".")) + ".svg";

  	if(positionDifferencesDic.ContainsKey(path))
	{
		Vector2 diff = positionDifferencesDic[path];
		left += diff.x;
		top += diff.y;
	}

	string rotationText = transform.eulerAngles.z == 0.0f ? "" :
           "transform: rotate(" + (-transform.eulerAngles.z) + "deg);" +
           "transform-origin: " + (renderer.vectorGraphics.pivotPoint.x * 100) + "% " + (renderer.vectorGraphics.pivotPoint.y * 100) + "%;";

	string className;
  	if(cssClassesDic.ContainsKey(path))
    	{
		className = " " + cssClassesDic[path];
	}
	else
	{
		className = "";
	}

  	transformText += "<img src='" + path + "' " +
                    "class='transform-image" + className + "' " +
                    "style='left: " + left +
                    "%; top: " + top + "%; width: " +
                    width + "%; height: " + height + "%; " +
                    "z-index: " + renderer.sortingOrder + "; " +
                    rotationText +
                    "' />\n";
}
Since we wanted the website to be responsive, the left, top, width and height style properties are calculated in percentage, and every HTML img element uses position absolute.
Width and height are calculated first, using a scale variable that is applied to all exported SVG, determining the global exported website scale, the transform's local scale and the size of the SVG itself. If you're using sprites, the width and height of the base image should be used here.
Next left and top are calculated. The scale variable is also used, as is the SVG Renderer's vectorGraphics.pivotPoint, which is the center point of any rotation.
The path variable contains the URL to the SVG asset, which must be placed separately from this code on your website's file structure. The UnityEditor.AssetDatabase is used to find the file path on the Unity project and replicate it to the exported website path.
An example exported HTML img tag looks like this:
<img src='SVG/CeilingLamp.svg'
     id="ceiling-lamp-1"
     class='transform-image ceiling-lamp'
     style='left: -24.65349%; top: -58.18391%; width: 10.21898%; height: 38.1918%; z-index: 50;' />
Unity's sortingOrder corresponds to CSS's z-index.
Here's the transform-image CSS class:
.transform-image
{
	position: absolute;
	overflow: visible;
	padding: 0px;
	margin: 0px;
	border: 0px;
	transform: translate3d(0,0,0);
	max-height: 100%;
}
(The rest of the source code for the webpage can be viewed on our website, none of the CSS or JS is minified or obscured.)
The generated HTML was just the starting point:
- We had to condense several SVGs into a single file to improve performance, since SVG rendering still has a way to go on most browsers.
- Some graphics were created just for the website, such as the social media links on the bottom right corner and the trophies.
- We used CSS animations and transitions to do zooms but these made the SVG blurry in the iOS version of Safari, so we had to upscale the "clickable" elements in relation to the rest of the elements on the page.
- The shaking effect was also done with CSS animations.
- To simulate lighting on the webpage we created a transparent SVG shaped like the lamp light and used blend modes to create the simulated effect.
If you want to know more about Outsider and/or our development process, please follow us on Twitter or Instagram ( or on www.onceabird.com ).
And if there's something unclear or missing in this article please let us know. Thanks for reading!




Keeping this in my bookmarks for when I make my game site...which might be sooner than I planned because you're making this sound easy.
I'm want to recreate something like this https://webcapitan.com/cases/gladiatorboost/ 🙂 I really like the way this site looks. To be honest, I would be better of learning web dev. I will always be making games and a website for a game is a must. If I had done that 5 years ago...:)