
Making a Game with Blend4Web Part 2: Models for the Location
We continue working on a simple game. This time we'll discuss modeling and texturing models for the location. All is done with Blender.
Graphical content style
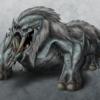
In order to create a game atmosphere a non-photoreal cartoon setting has been chosen. The character and environment proportions have been deliberately hypertrophied in order to give the gaming process something of a comic and unserious feel.Location elements
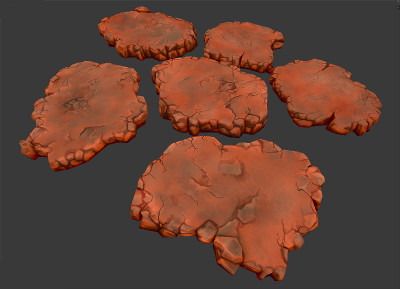
This location consists of the following elements:- the character's action area: 5 platforms on which the main game action takes place;
- the background environment, the role of which will be performed by less-detailed ash-colored rocks;
- lava covering most of the scene surface.
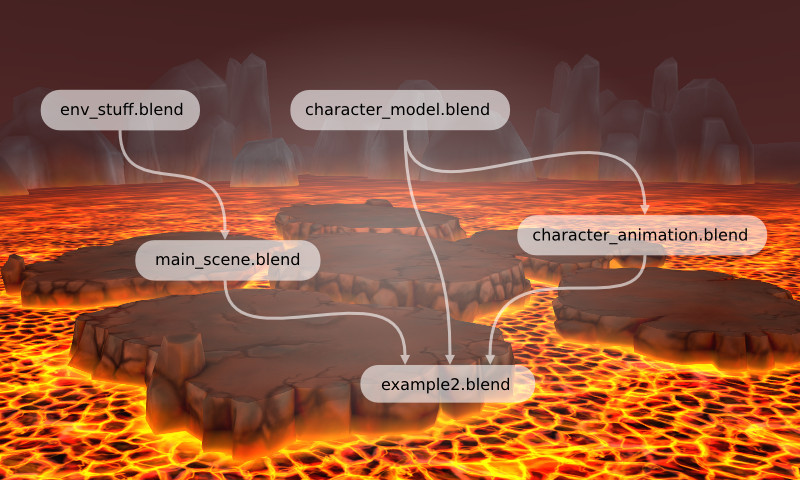
- env_stuff.blend - the file with the scene's environment elements which the character is going to move on;
- character_model.blend - the file containing the character's geometry, materials and armature;
- character_animation.blend - the file which has the character's group of objects and animation (including the baked one) linked to it;
- main_scene.blend - the scene which has the environment elements from other files linked to it. It also contains the lava model, collision geometry and the lighting settings;
- example2.blend - the main file, which has the scene elements and the character linked to it (in the future more game elements will be added here).
Making the geometry of the central islands
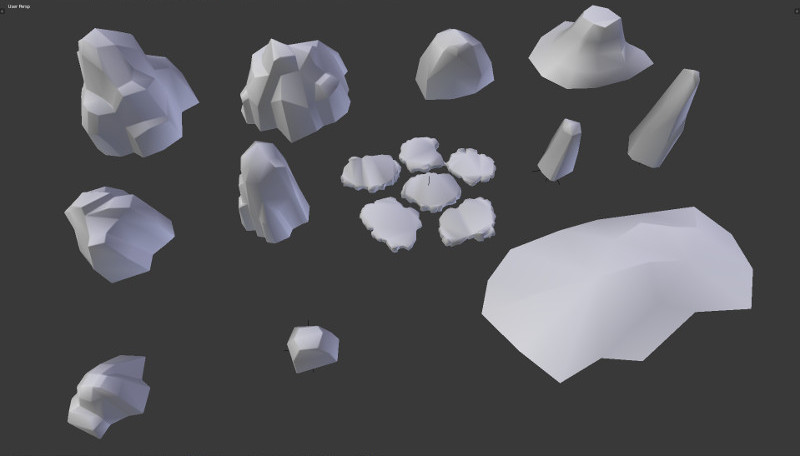
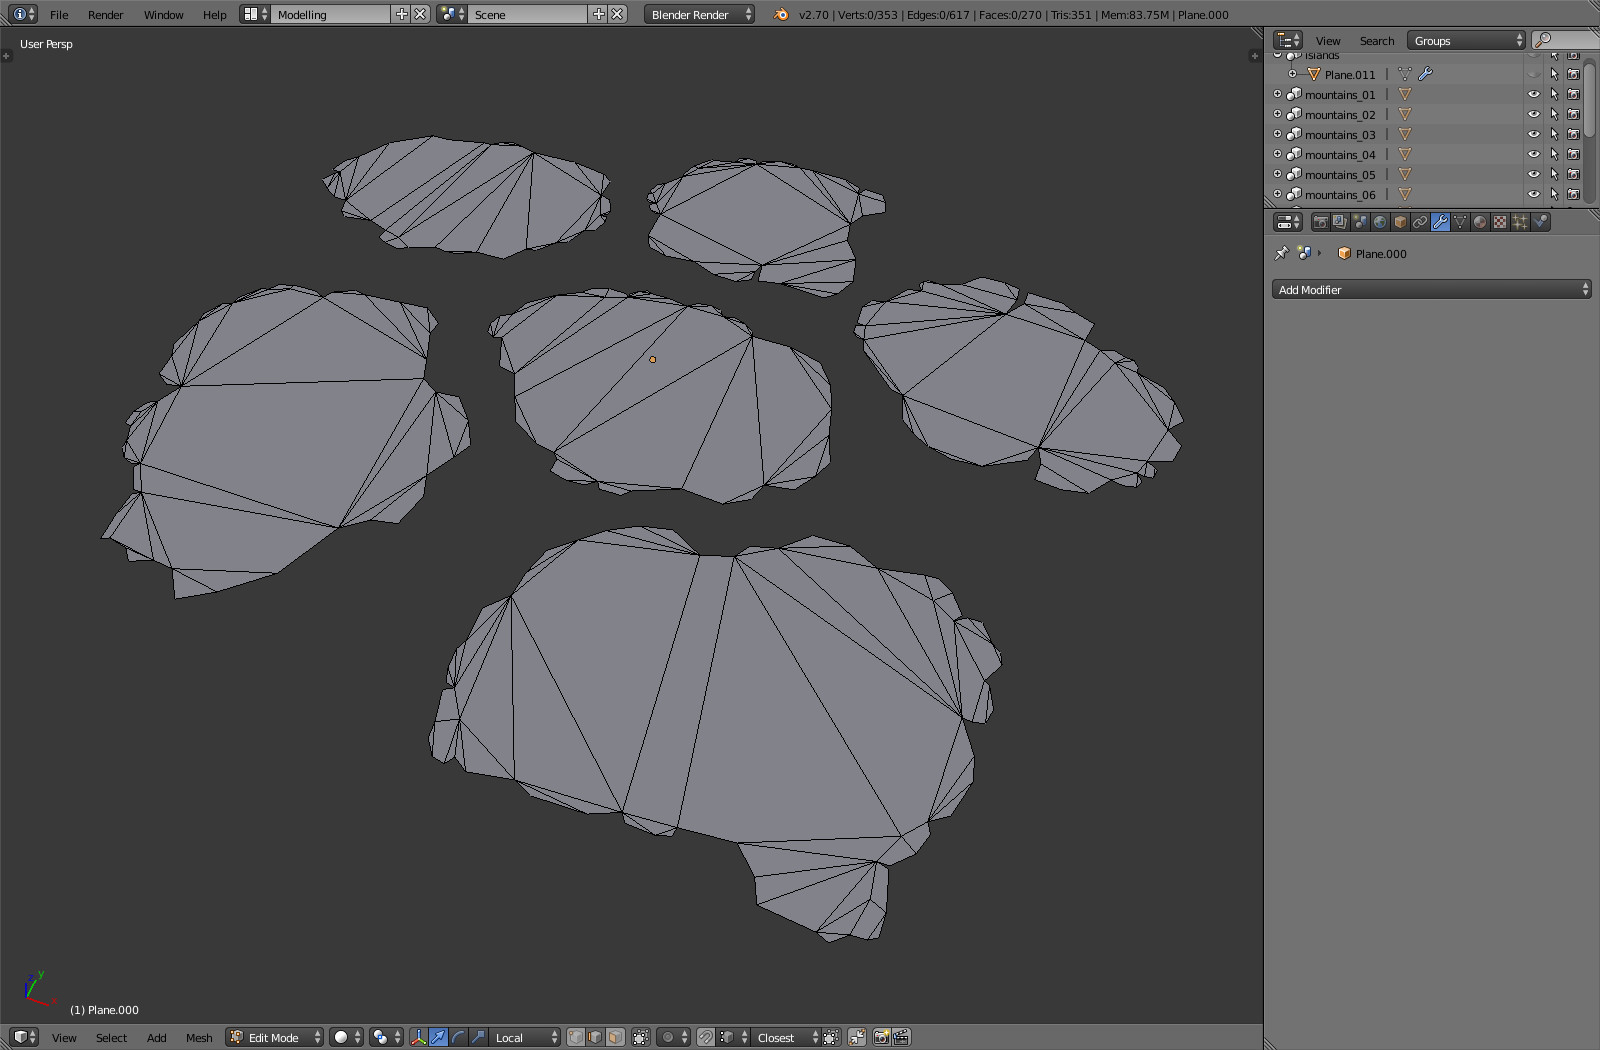
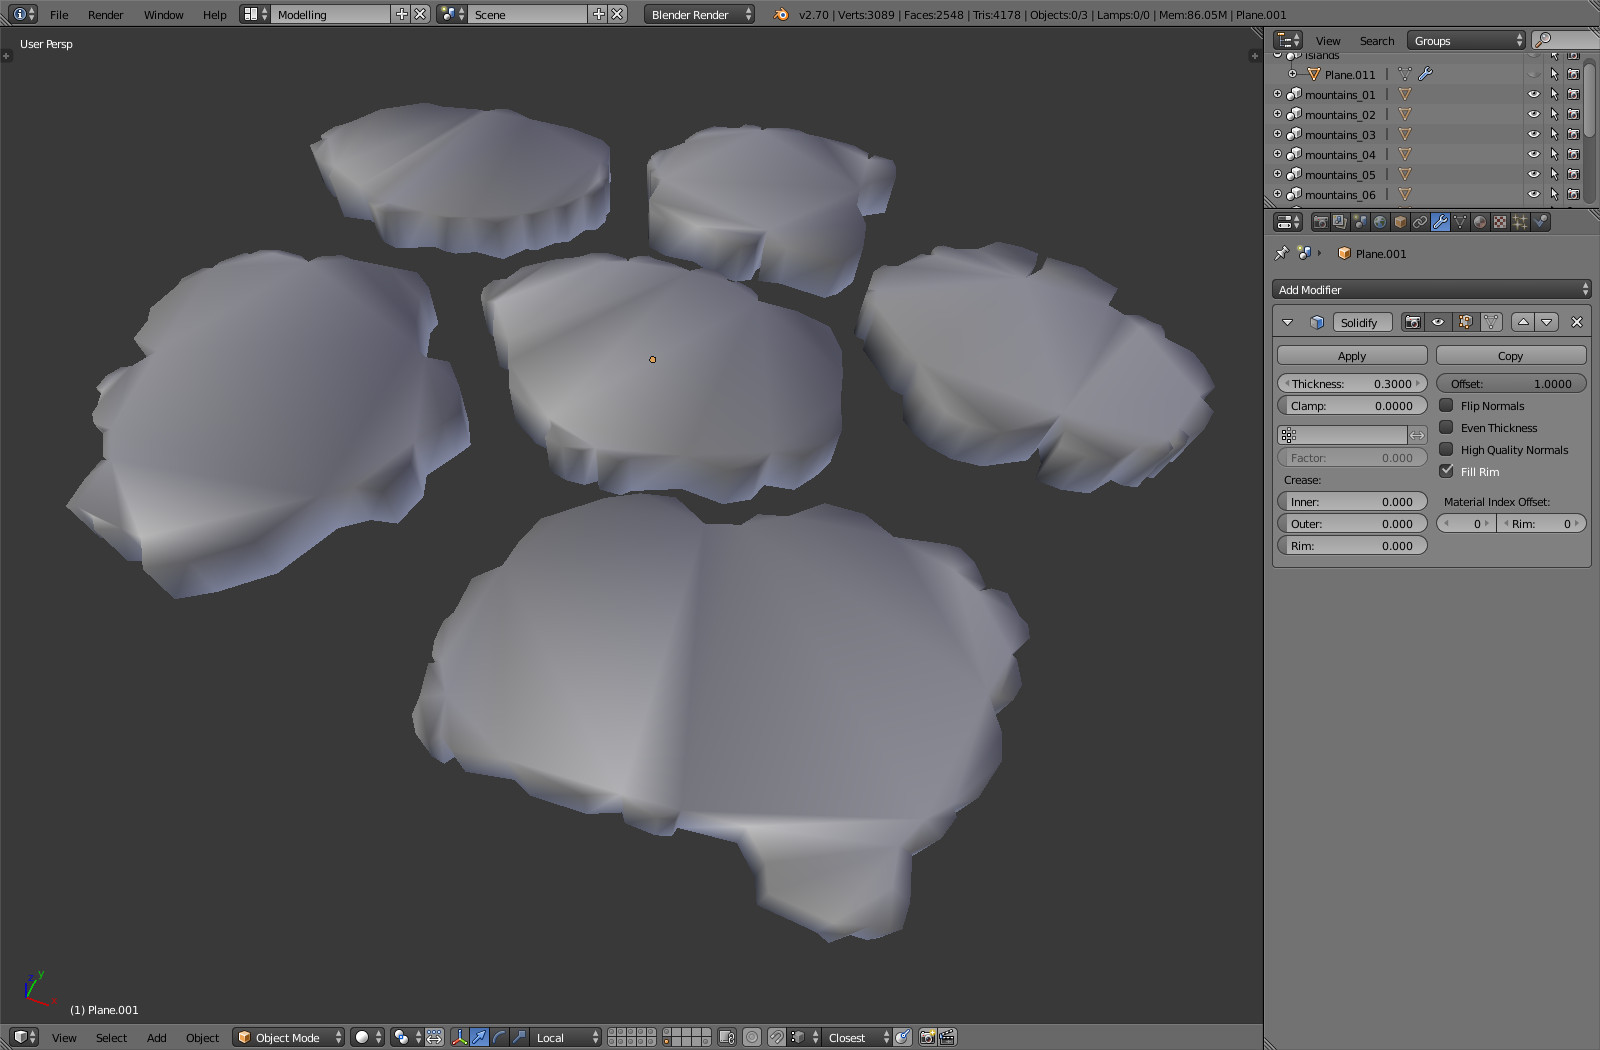
It's not recommended to apply modifiers (using the Apply button). Enable the Apply Modifiers checkbox in the object settings on the Blend4Web panel instead; as a result the modifiers will be applied to the geometry automatically on export.
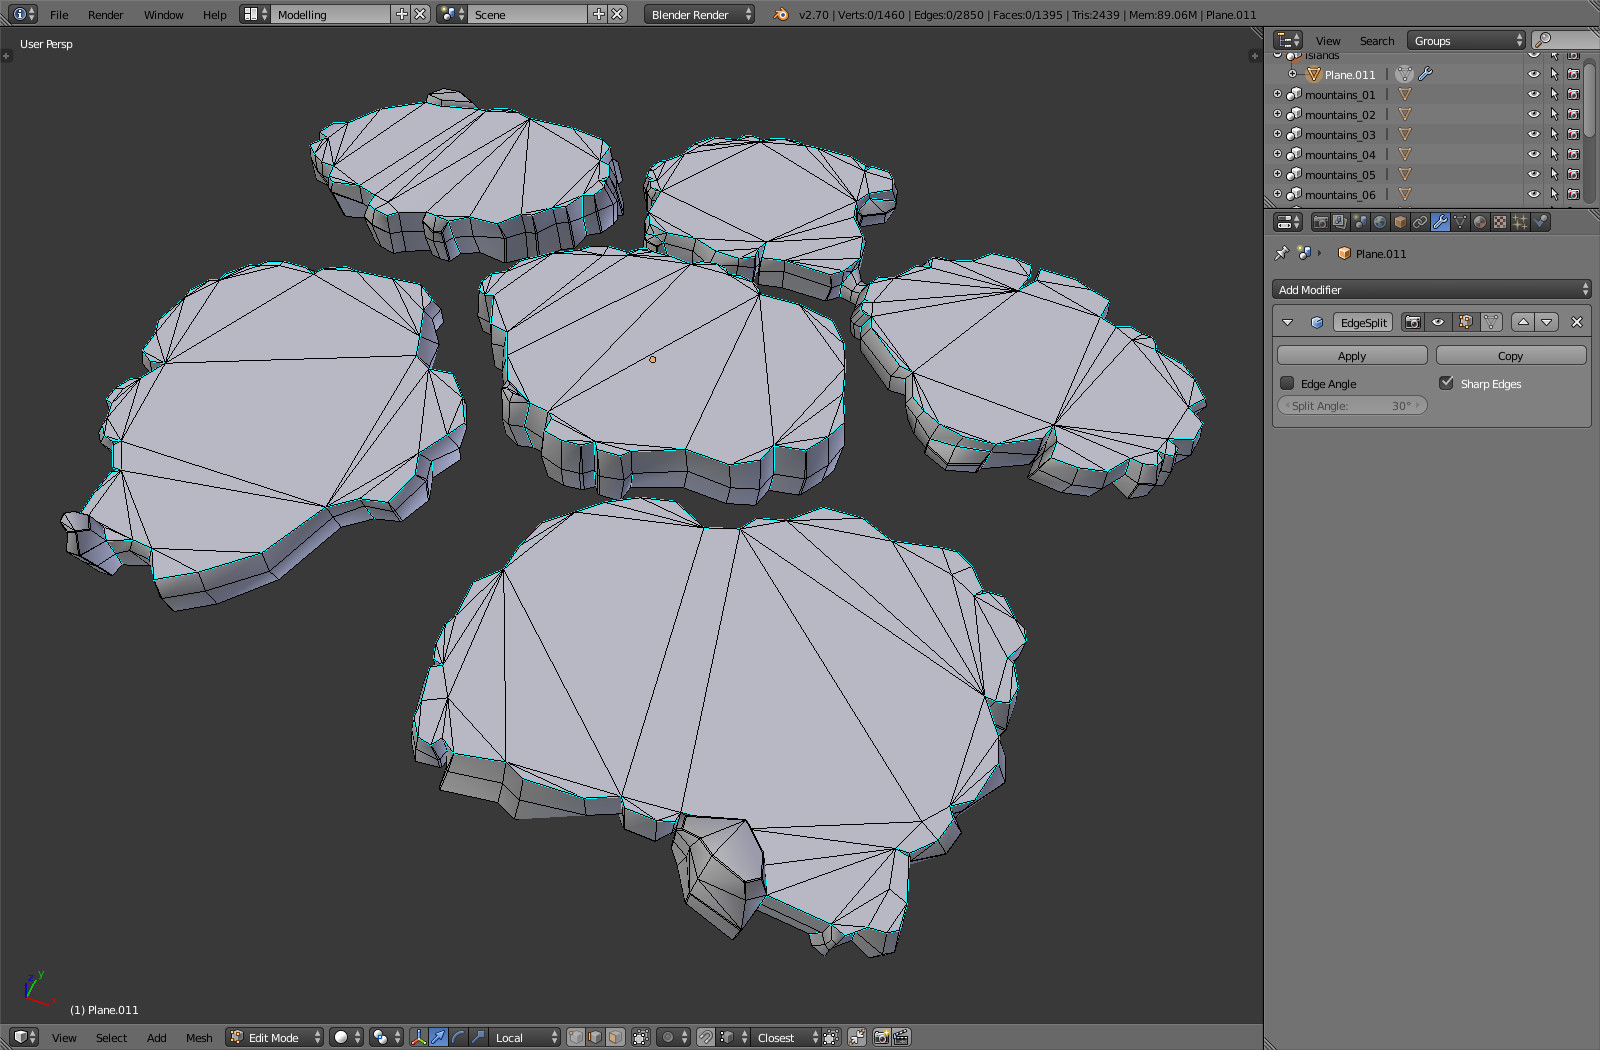
Texturing the central islands
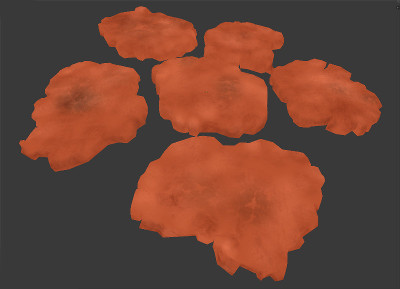
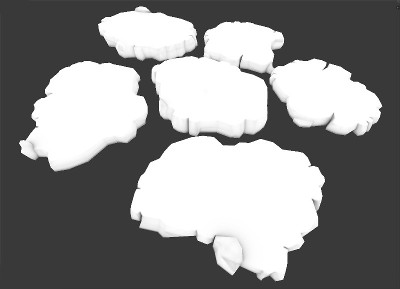
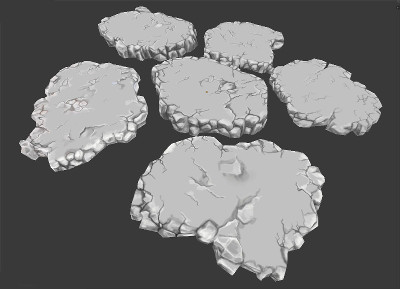
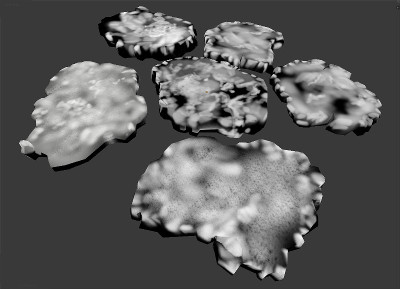
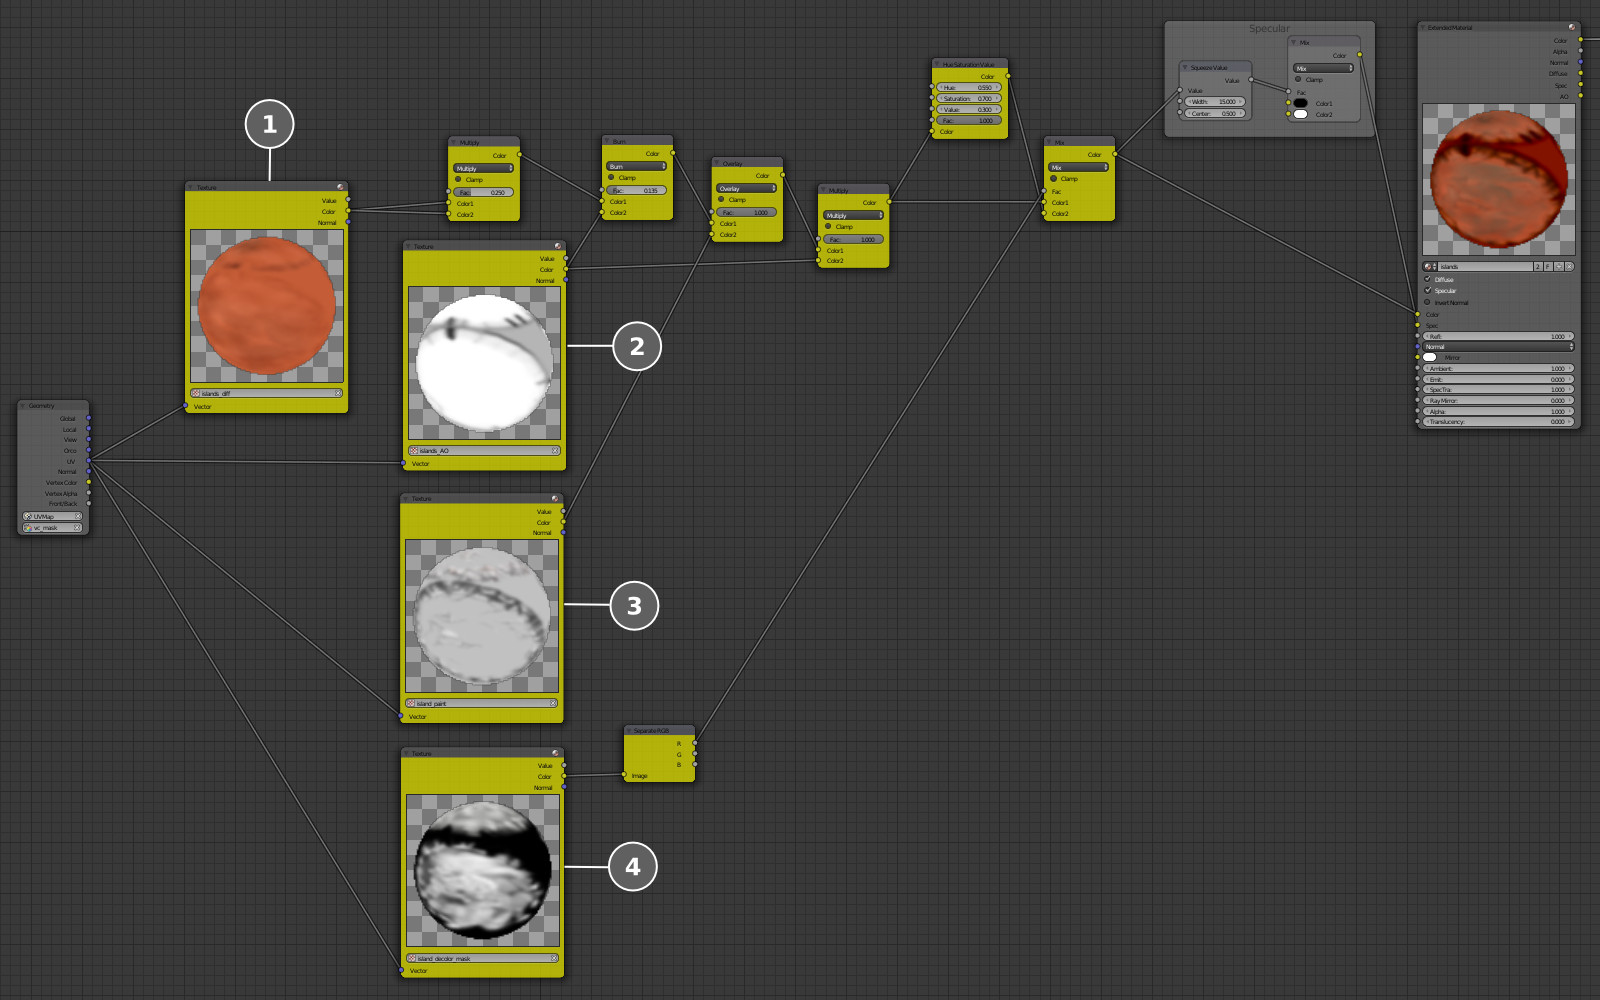
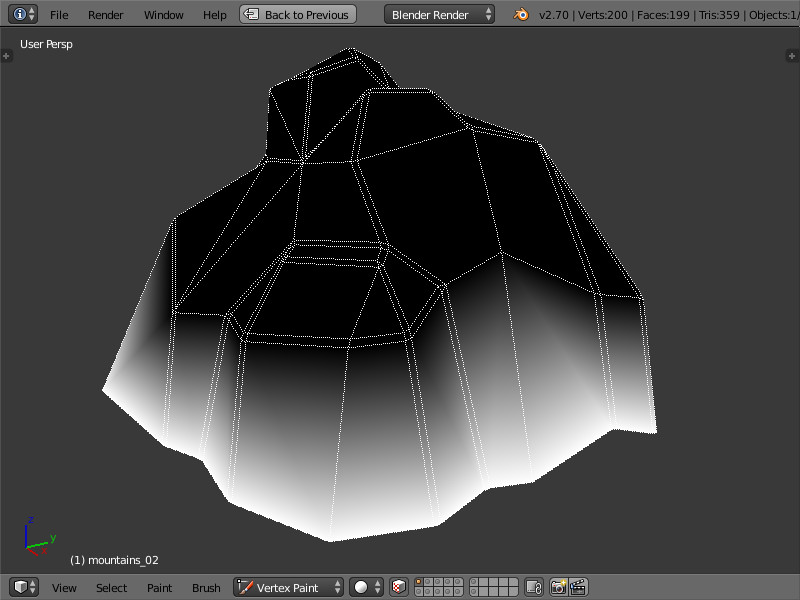
Now that the geometry for the main islands has been created, lets move on to texturing and setting up the material for baking. The textures were created using a combination of baking and hand-drawing techniques. Four textures were prepared altogether.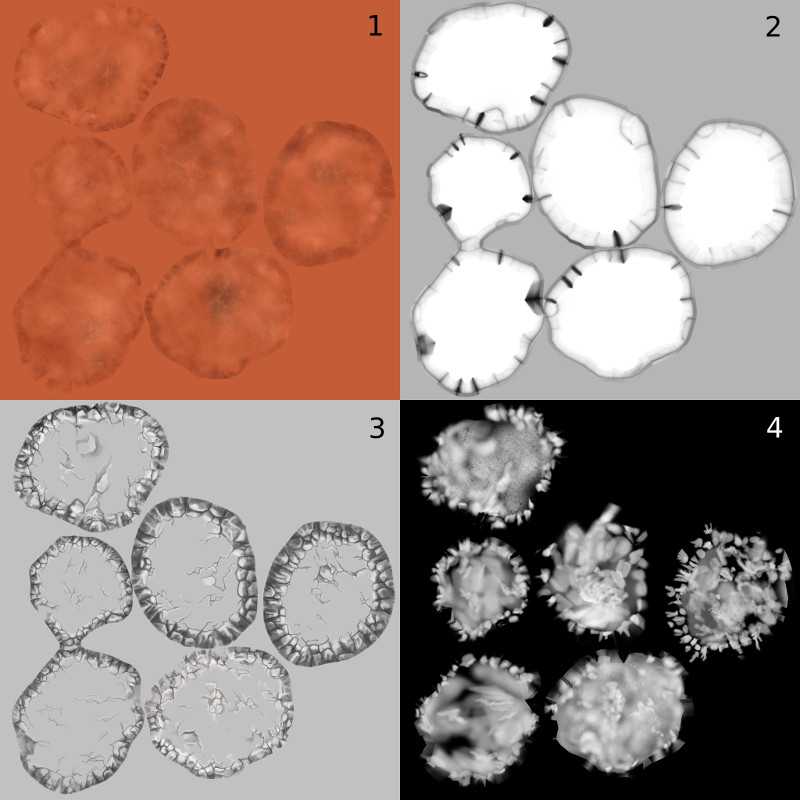
Creating the background rocks
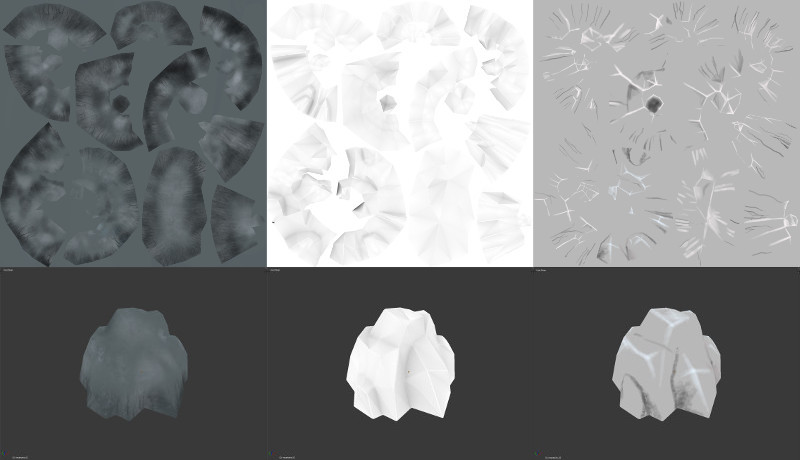
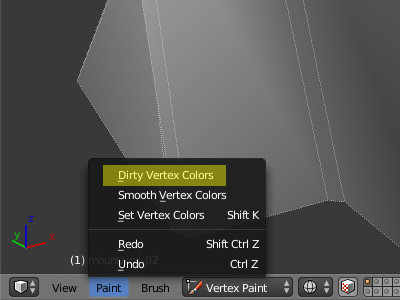
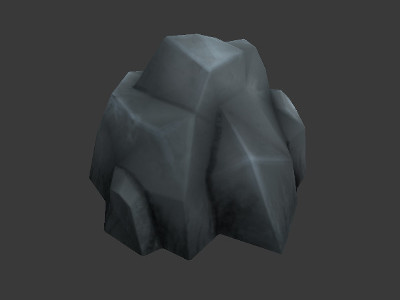
The geometry of rocks was made according to a similar technology although some differences are present. First of all we created a low-poly geometry of the required form. On top of it we added the Bevel modifier with an angle threshold, which added some beveling to the sharpest geometry places, softening the lighting at these places.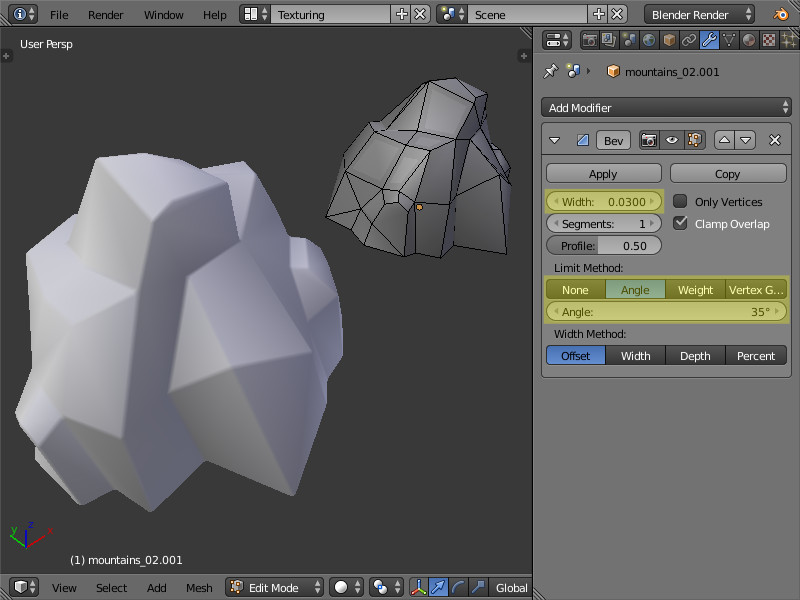
Optimizing the location elements
Lets start optimizing the elements we have and preparing them for displaying in Blend4Web. First of all we need to combine all the textures of the above-mentioned elements (background rocks and the islands) into a single texture atlas and then re-bake them into a single texture map. To do this lets combine UV maps of all geometry into a single UV map using the Texture Atlas addon.The Texture Atlas addon can be activated in Blender's settings under the Addons tab (UV category)
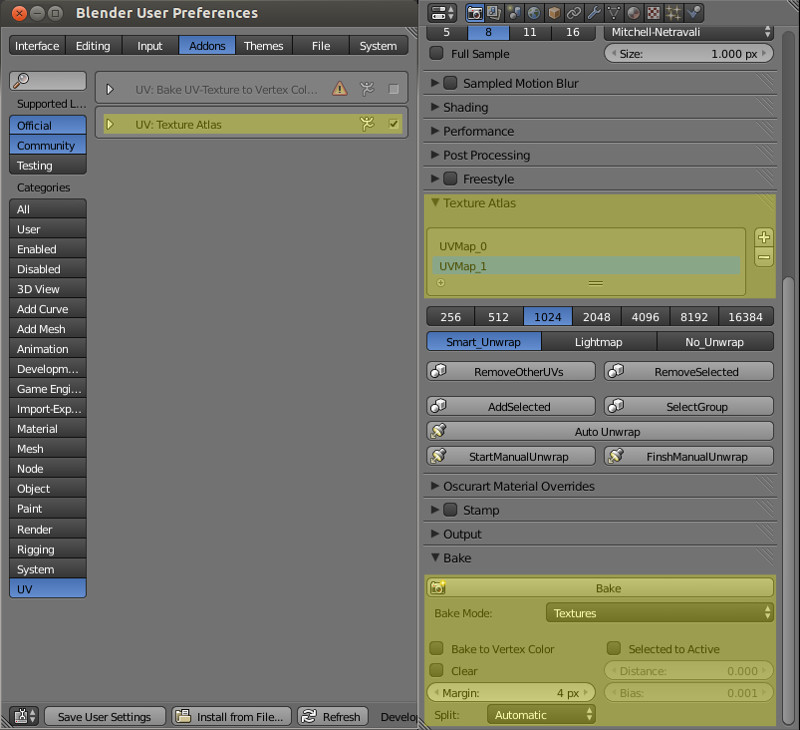
It's not necessary to follow the same scale for all elements. It's recommended to allow more space for foreground elements (the islands).
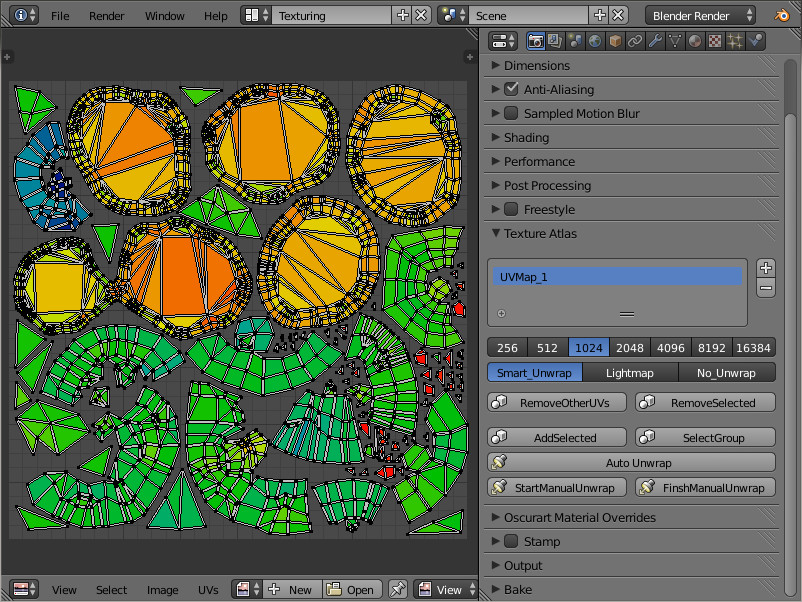
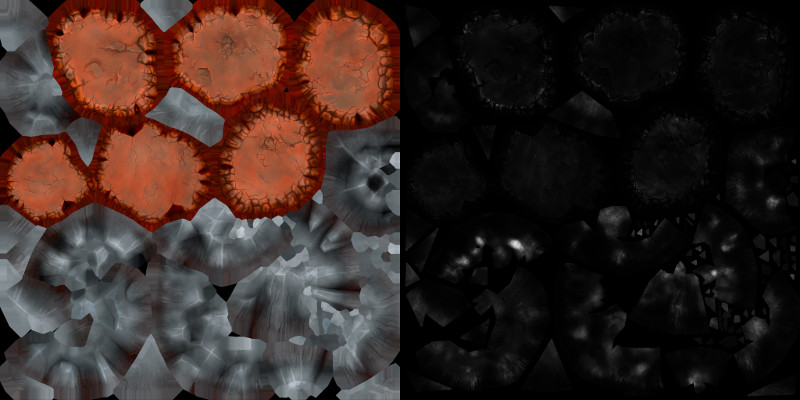
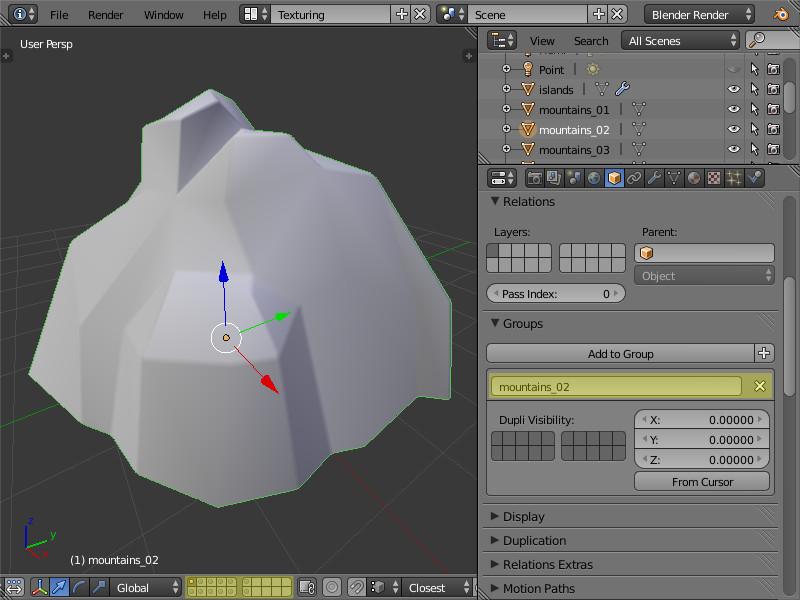
In order to save video memory, the specular map was packed into the alpha channel of the diffuse texture. As a result we got only one file.Lets place all the environment elements into a separate file (i.e. library): env_stuff.blend. For convenience we will put them on different layers. Lets place the mesh bottom for every element into the center of coordinates. For every separate element we'll need a separate group with the same name.
Setting up the material
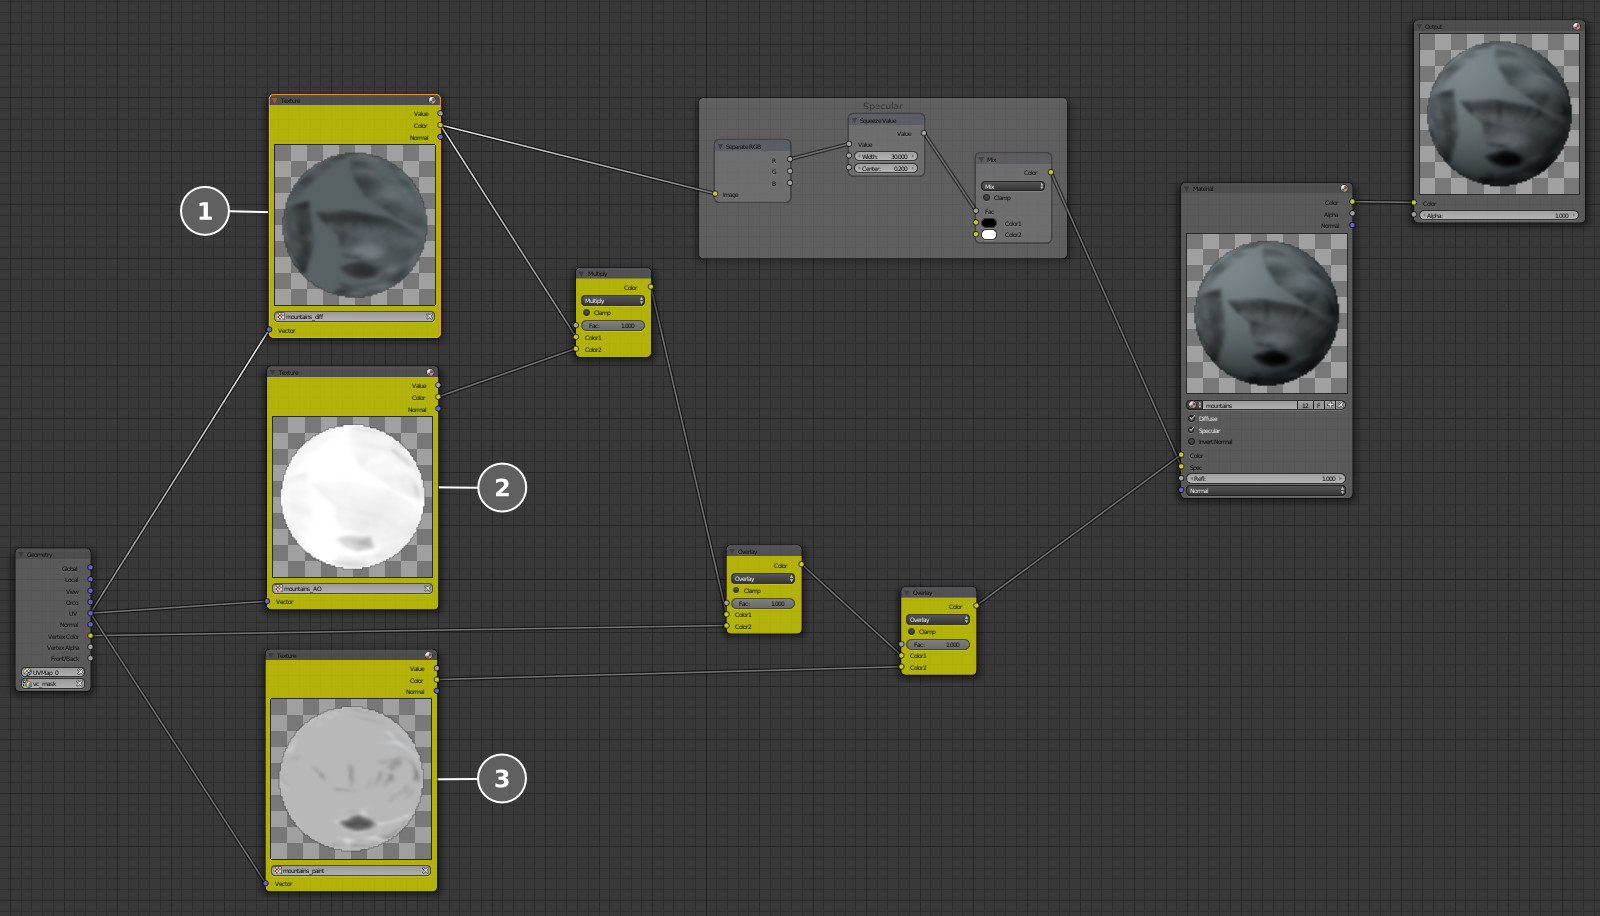
The previously baked diffuse texture (1), into the alpha channel of which the specular map is packed, serves as the basis for the node material.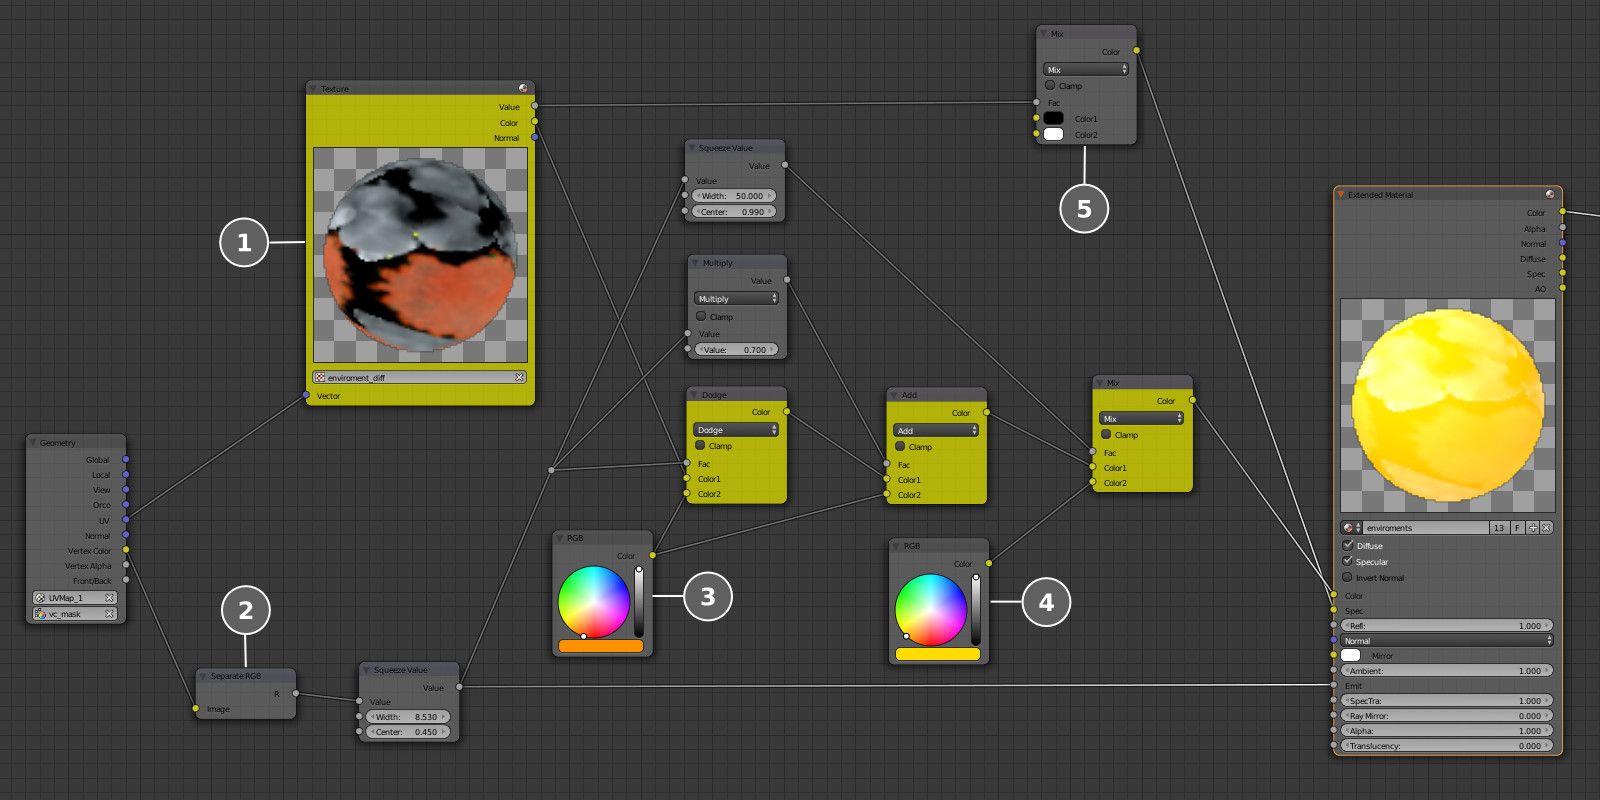
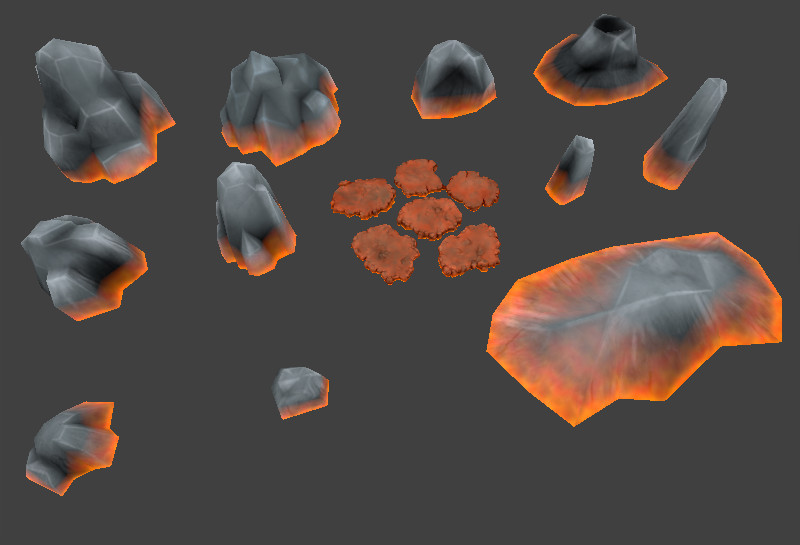
Object settings
Let's enable the "Apply Modifiers" checkbox (as mentioned above) and also the "Shadows: Receive" checkbox in the object settings of the islands.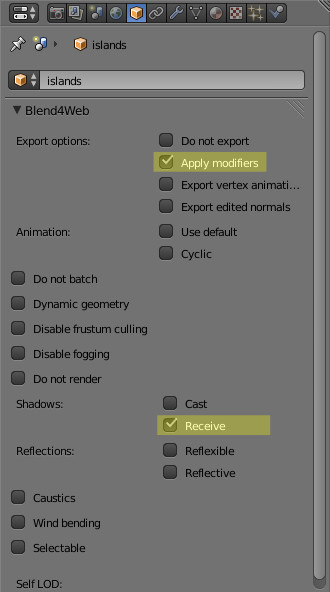
Physics
Let's create exact copies of the island's geometry (named _collision for convenience). For these meshes we'll replace the material by a new material (named collision), and enable the "Special: Collision" checkbox in its settings (Blend4Web panel). This material will be used by the physics engine for collisions. Let's add the resulting objects into the same groups as the islands themselves.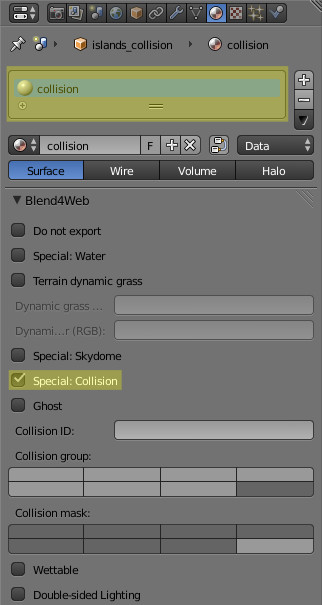
Conclusion
We've finished creating the library of the environment models. In one of the upcoming articles we'll demonstrate how the final game location was assembled and also describe making the lava effect. Link to the standalone application The source files of the application and the scene are part of the free Blend4Web SDK distribution.Related Tutorials
Ai image to 3D Game ready model and animation in 3 minutes
No 3D modeling or animation skills? No problem! In this video, a professional 3D artist, demonstrates how to create a f…
 alex_cgw

Unreal Engine: Creation of Parallax Occlusion Mapping (POM) in details
Parallax Occlusion Mapping (POM) is a complex texture-based approach to add more details for meshes. With POM we get mo…

Generating a SoulerCoaster in Unity
Learn to create a basic SoulerCoaster effect in Unity.
Creating Promo Art: The Process | Hyperclass Ark
Our artist, Philip Bell, discussed the stages involved in creating promotional artwork for the project.
 hyperclassark
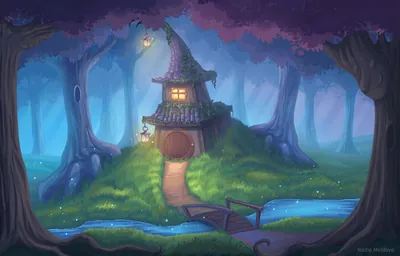
Lessons, Stages of drawing Digital illustration "Fairytale house in the forest"
At the beginning of this illustration, I did the rough sketch, then drawing the outline, then painting in color, applyi…
 Nadia_Meldova
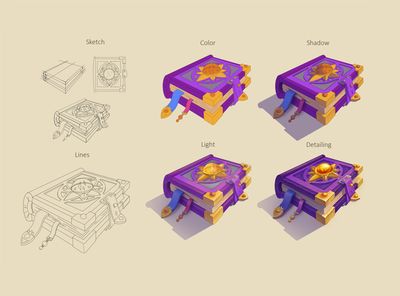
Lessons, Stages of drawing "Magic book"
At the beginning of this illustration, I did the rough sketch, then drawing the outline, then painting in color, applyi…
Nadia_Meldova
Discussion
More from Mikhail Luzyanin
Making a Game with Blend4Web Part 1: The Character
Today we're going to start creating a fully-functional game app with Blend4Web.
Evgeny Rodygin
Making a Game with Blend4Web Part 6: Animation and FX
This article is about character modeling and animation, and also about creating the effect of the deadly falling rocks.
Mikhail Luzyanin
Making a Game with Blend4Web Part 7: Enriching the Game World
In this article, we'll explain how to create environment FX and other details which make the game world more diverse an…
Mikhail Luzyanin
Discussion