
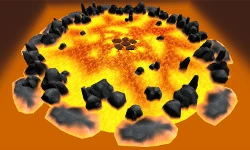
Making a Game with Blend4Web Part 3: Level Design
Third part of tutorial on game development with Blend4Web. This article is about how the game scene is assembled, and also about creating the lava effect.
Assembling the game scene
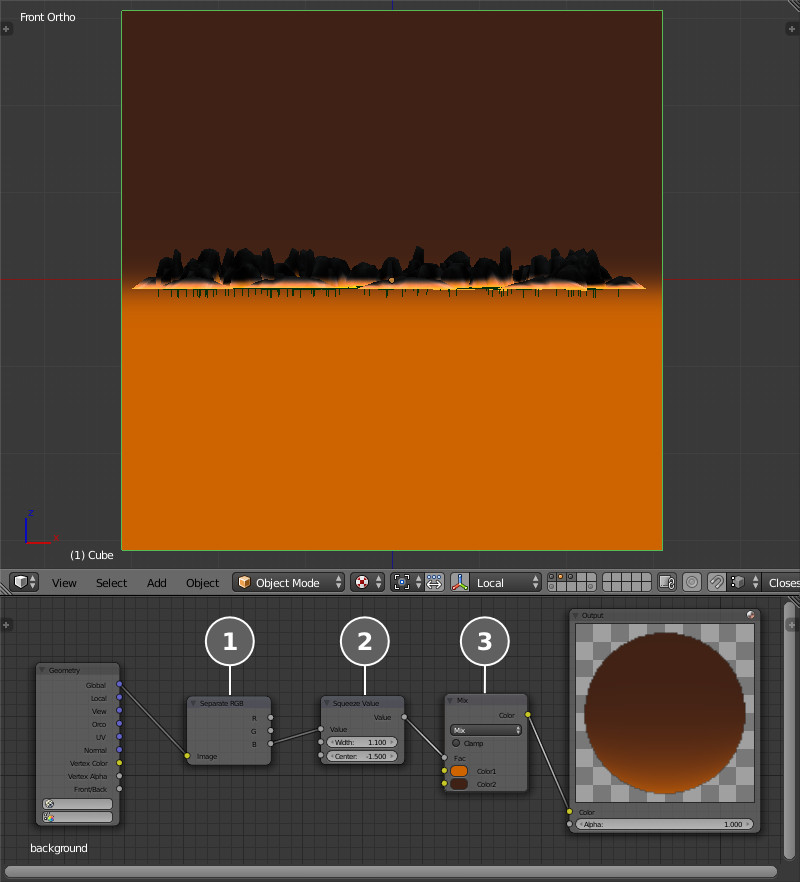
Let's assemble the scene's visual content in the main_scene.blend file. We'll add the previously prepared environment elements from the env_stuff.blend file. Open the env_stuff.blend file via the File -> Link menu, go to the Group section, add the geometry of the central islands (1) and the background rocks (2) and arrange them on the scene.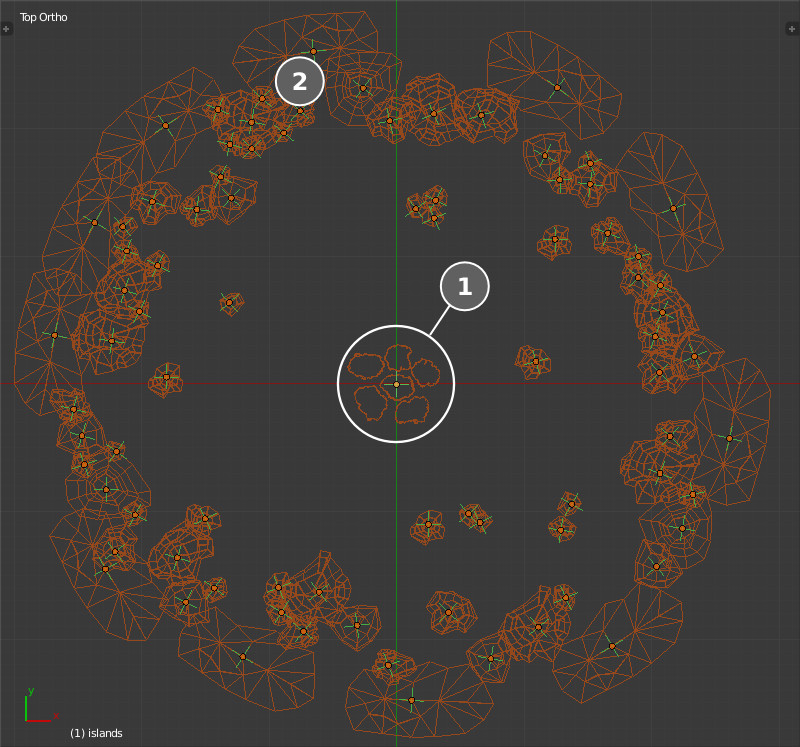
Setting up the environment
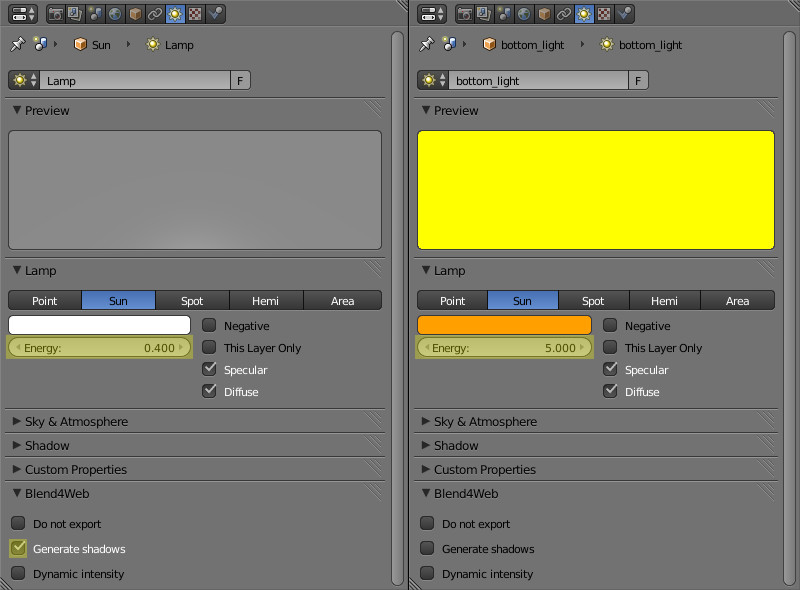
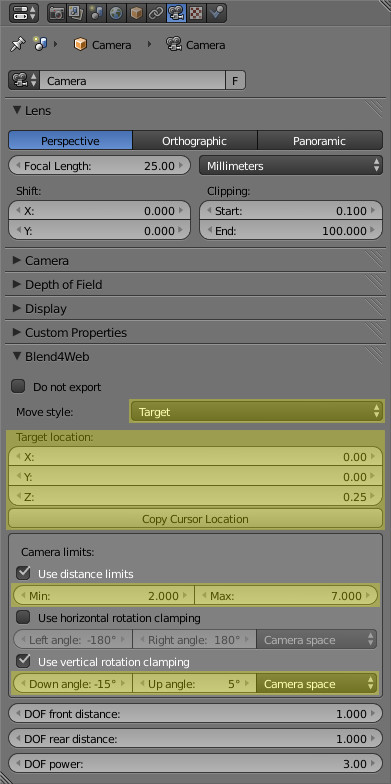
We'll set up the fog under the World tab using the Fog density and Fog color parameters. Let's enable ambient lighting with the Environment Lighting option and setup its intensity (Energy). We'll select the two-color hemispheric lighting model Sky Color and tweak the Zenith Color and Horizon Color.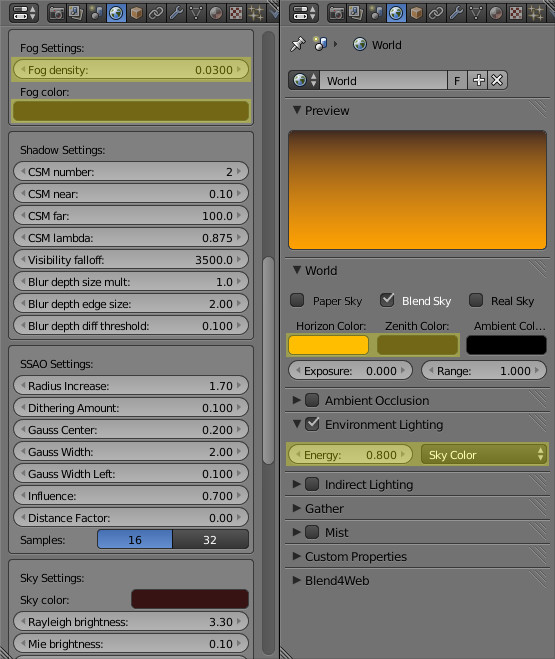
Adding the scene to the scene viewer
At this stage a test export of the scene can be performed: File -> Export -> Blend4Web (.json). Let's add the exported scene to the list of the scene viewer external/deploy/assets/assets.json using any text editor, for example: { "name": "Tutorials", "items":[ ... { "name": "Game Example", "load_file": "../tutorials/examples/example2/main_scene.json" }, ... ] } Then we can open the scene viewer apps_dev/viewer/viewer_dev.html with a browser, go to the Scenes panel and select the scene which is added to the Tutorials category. 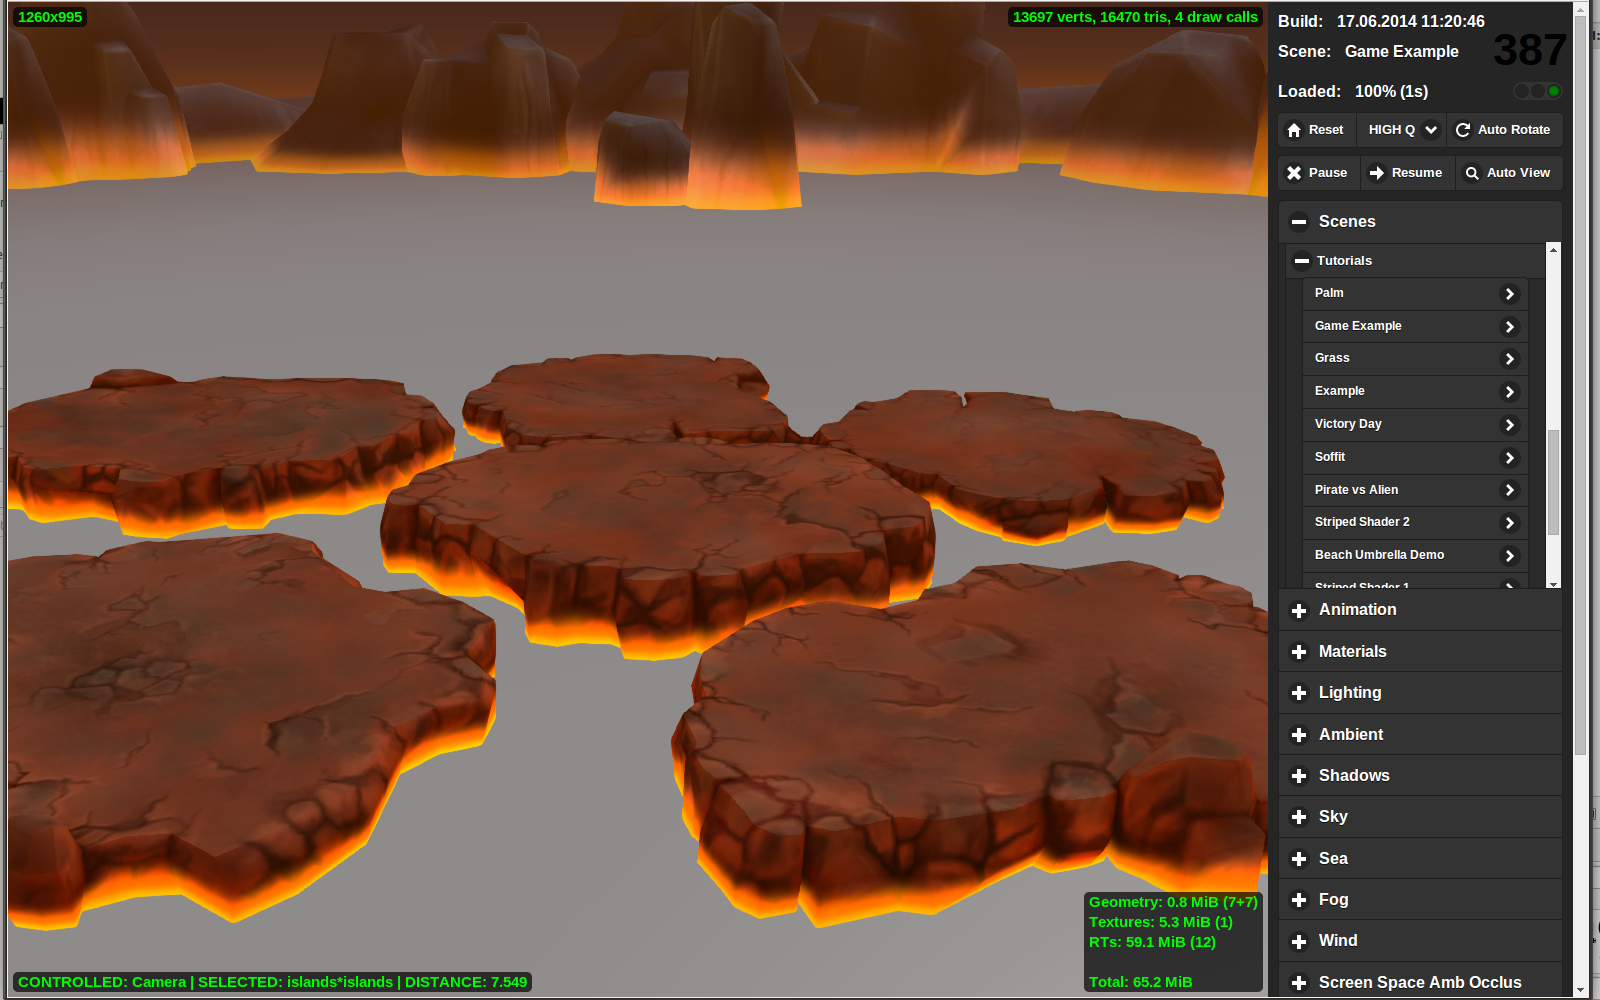
Setting up the lava material
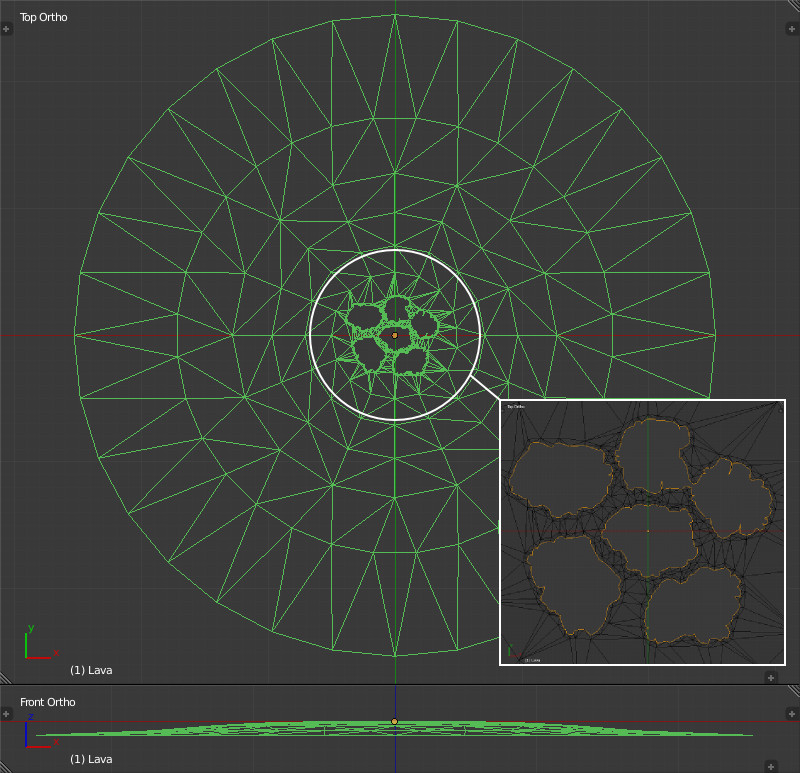
We'll prepare two textures by hand for the lava material, one is a repeating seamless diffuse texture and another will be a black and white texture which we'll use as a mask. To reduce video memory consumption the mask is packed into the alpha channel of the diffuse texture.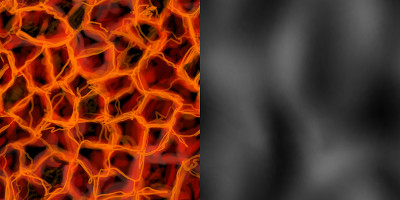
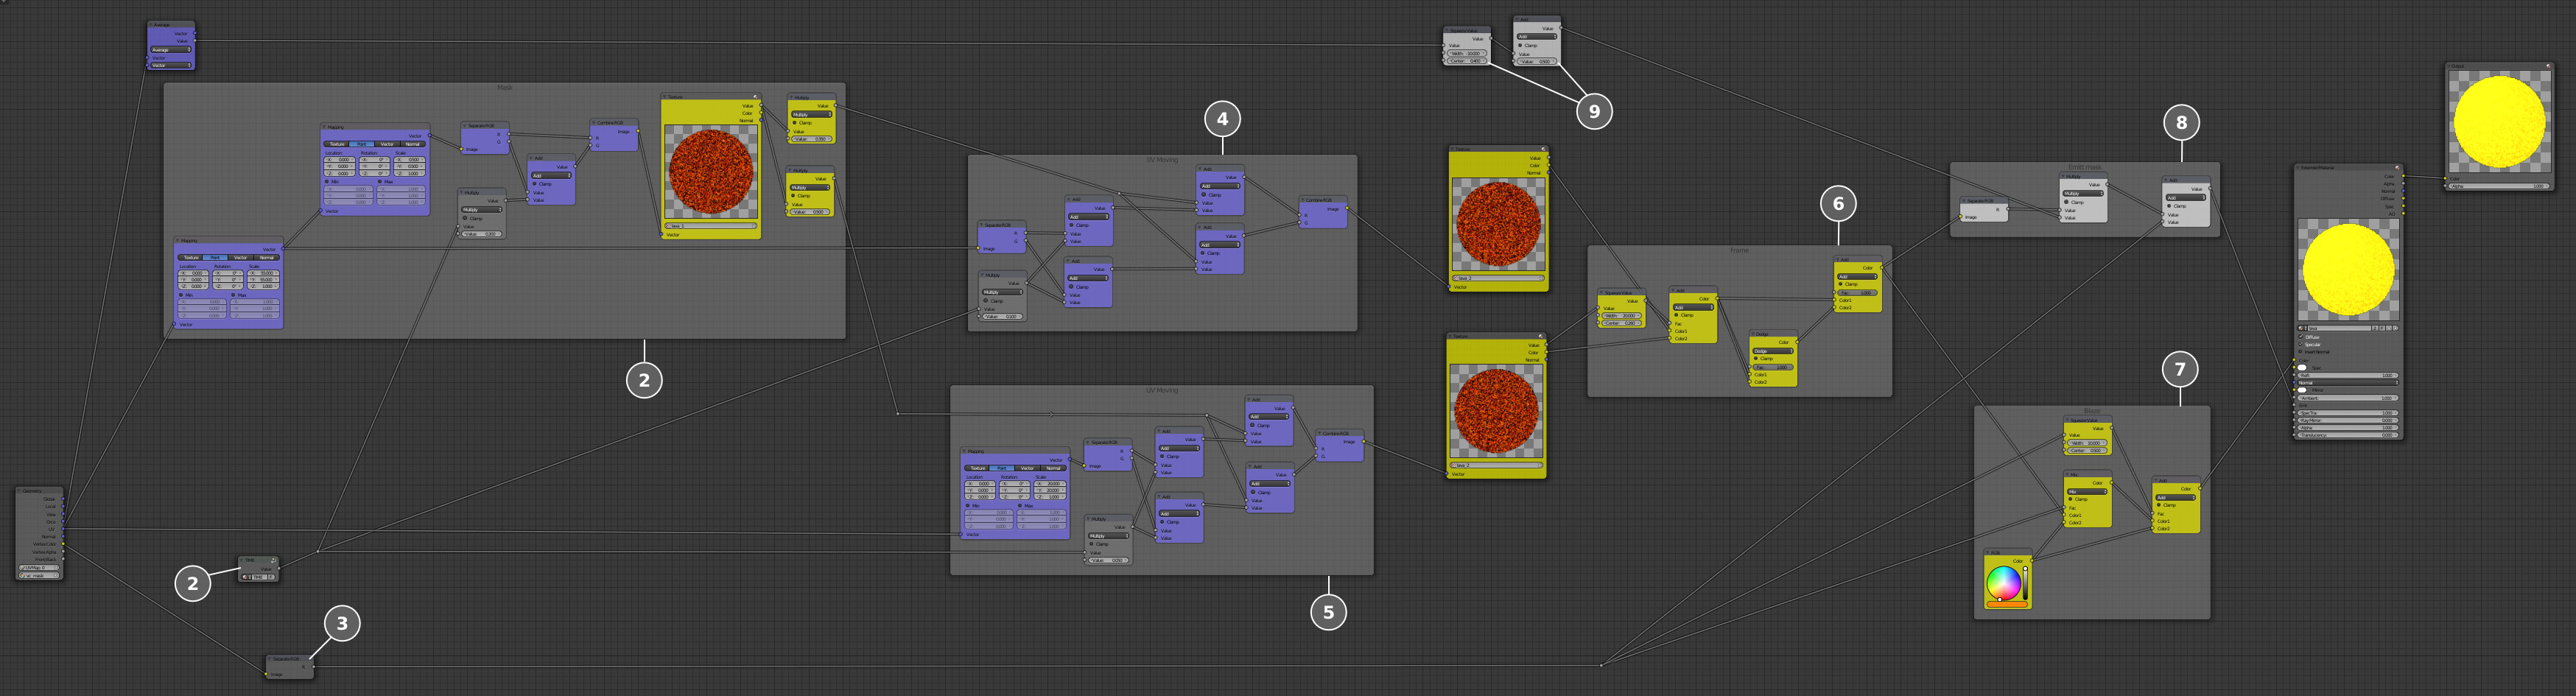
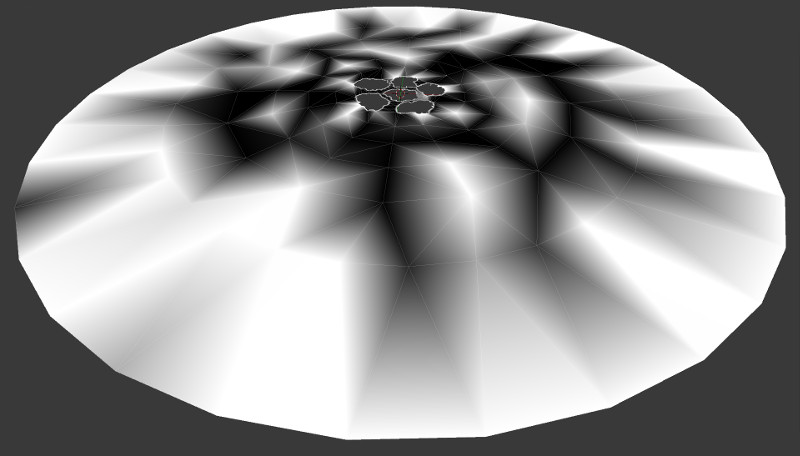
The TIME node is basically a node group with a reserved name. This group is replaced by the time-generating algorithm in the Blend4Web engine. To add this node it's enough to create a node group named TIME which has an output of the Value type. It can be left empty or can have for example a Value node for convenient testing right in Blender's viewport.In the other two blocks (4 and 5) the modified mask stretches and squeezes the UV in certain places, creating a swirling flow effect for the lava. The results are mixed together in block 6 to imitate the lava flow. Furthermore, the lava geometry has a vertex mask (3), using which a clean color (7) is added in the end to visualize the lava's burning hot spots.
Conclusion
This is where the assembling of the game scene is finished. The result can be exported and viewed in the engine. In one of the upcoming articles we'll show the process of modeling and texturing the visual content for the character and preparing it for the Blend4Web engine.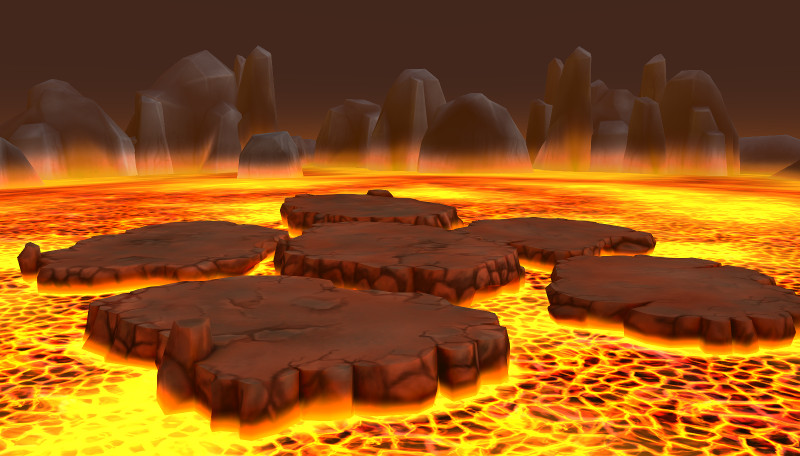
Related Tutorials
Ai image to 3D Game ready model and animation in 3 minutes
No 3D modeling or animation skills? No problem! In this video, a professional 3D artist, demonstrates how to create a f…
 alex_cgw
Unreal Engine: Creation of Parallax Occlusion Mapping (POM) in details
Parallax Occlusion Mapping (POM) is a complex texture-based approach to add more details for meshes. With POM we get mo…
Generating a SoulerCoaster in Unity
Learn to create a basic SoulerCoaster effect in Unity.
Creating Promo Art: The Process | Hyperclass Ark
Our artist, Philip Bell, discussed the stages involved in creating promotional artwork for the project.
 hyperclassark
Lessons, Stages of drawing Digital illustration "Fairytale house in the forest"
At the beginning of this illustration, I did the rough sketch, then drawing the outline, then painting in color, applyi…
 Nadia_Meldova
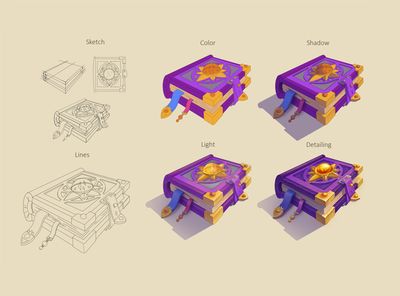
Lessons, Stages of drawing "Magic book"
At the beginning of this illustration, I did the rough sketch, then drawing the outline, then painting in color, applyi…
Nadia_Meldova
Discussion
More from Mikhail Luzyanin
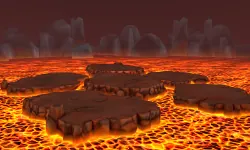
Making a Game with Blend4Web Part 2: Models for the Location
We continue working on a simple game. This time we'll discuss modeling and texturing models for the location. All is do…
Mikhail Luzyanin
Making a Game with Blend4Web Part 1: The Character
Today we're going to start creating a fully-functional game app with Blend4Web.
Evgeny Rodygin
Making a Game with Blend4Web Part 6: Animation and FX
This article is about character modeling and animation, and also about creating the effect of the deadly falling rocks.
Mikhail Luzyanin
Discussion