
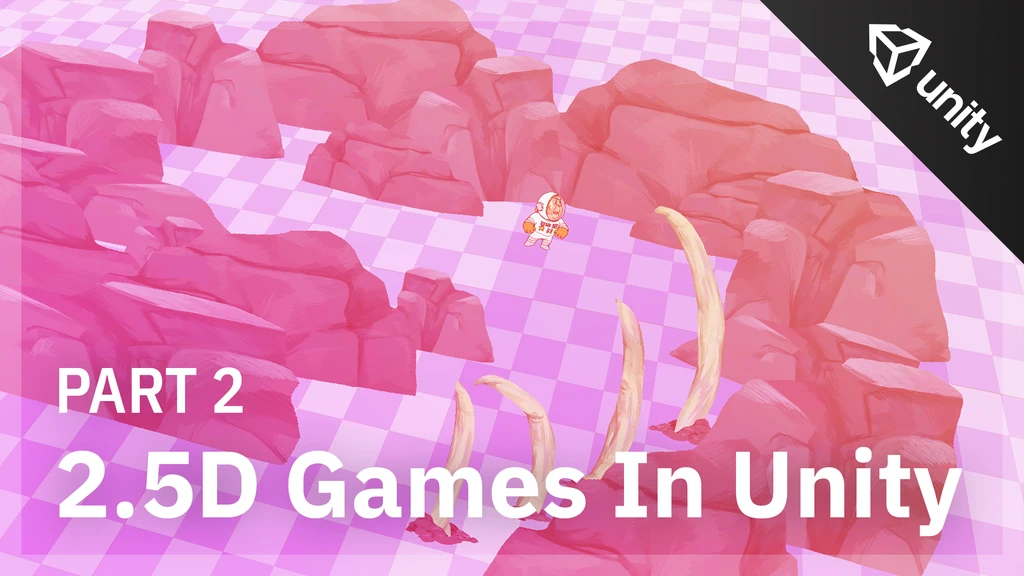
Making 2.5D Game in Unity – Part 2
Customizing the Unlit shader from the Universal Render Pipeline with custom HLSL modifications. Solve common 2.5D issues by rendering the sprite as “full” 3D objects based on depth sorting.

In this part of the 2.5D Game in Unity series, we will write a shader to resolve the depth issues that appeared in the scene we created.
As we observed in the previous part of the tutorial, moving the camera results in rendering order glitches.
This issue originates from the way Unity renders sprites:
On each frame, Unity determines which sprite to draw in front based on its distance from the camera.
Although the Sprite Renderer has options for Sort Point – both do not solve the issue.

To solve this, we will create a shader for rendering our sprites. The main difference is that it treats sprites as “full” 3D objects and sorts their rendering by depth.
Our solution is using the Universal Render Pipeline, note that a similar approach can be applied to the default render pipeline.
A pleasant outcome for our rendering approach is that it also unlocks the possibility to create effects such as Depth of Field, Fog, and more.
Our custom sprite shader will be a modified version of the Unlit shader from the Universal Render Pipeline. Also, we need to change a few files that shader depends on.
Let’s begin by going to the URP repository on GitHub.
Choose the appropriate branch of the Universal Render Pipeline. I’m working with Unity version 2019.3, so I’ll select the matching branch.
Go to the URP directory; its full name is com.unity.render-pipelines.universal.
We need to copy 1 shader file and 4 supporting files to a new Unity project.
From the Shaders directory, copy the following files:
- Unlit.shader
- DepthOnlyPass.hlsl
- UnlitInput.hlsl
- UnlitMetaPass.hlsl
Now, go back and select the ShaderLibrary directory. Copy this file:
- SurfaceInput.hlsl
Rename the file Unlit.shader to UnlitSprite.shader and open it.
On the first line, add the word Sprite after Unlit.
Comment out or remove line 22 to prevent any collision.
Change line 32 to ZWrite On. The shader will now write to the depth buffer and prevent the glitches.
Change line 33 to Cull Off so we could flip sprites.
For the shader to support with the Unity Sprite Renderer, we need to change the property name _BaseMap to _MainTex on lines 5, 82, and 94.
Let’s also replace line 97, I found this line to yield unstable results. Replace it so it will hide the transparent pixels:
clip(alpha - _Cutoff);The shader won’t compile yet, we first need to modify the supporting files we have duplicated.
Let’s begin with the file DepthOnlyPass.hlsl. As in the previous file, change _BaseMap to _MainTex. It appears in lines 27 and 36.
On line 36 also change sampler_BaseMap to sampler_MainTex.
Moving on to the file UnlitInput.hlsl:
At line 7, change _BaseMap_ST to _MainTex_ST.
At line 4, change the #include statement to remove the full path and only include SurfaceInput.hlsl.
Next, in the file SurfaceInput.hlsl at line 8, change both appearances of BaseMap into MainTex.
Now, for the last file, open UnlitMetaPass.hlsl.
You already know what to change, BaseMap appears three times on lines 29 and 36 – change it to MainTex.
Finally, go back to file UnlitSprite.shader. We need to change the #include statements to use our modified files.
We have #include statements on lines 133, 134, 153, 154.
Go to the end of the file, on line 159, change the FallBack shader to Hidden/InternalErrorShader.
The last thing, comment out the line below the previous line – so we won’t use the SRP material editor.
We finished modifying the shader. Let’s create a Material for it. Right-click on the shader UnlitSprite and select Create > Material, name the created Material Unlit Sprite.
We can now use the material on all of our Sprite Renderers.
Before committing to this solution, it essential to recognize a drawback it has. To draw the sprites as opaque objects, we use the Alpha Clipping method. This hides the transparent pixels based on their alpha value. It’s recommended that your art assets have near sharp edges to prevent artifacts.
***
If you prefer not to go through modifying the shaders on your own, the source code of the shader and Unity project is available to download through GitHub: Download Unity Project
In the next parts, we will create two more shaders using Shader Graph. The first shader will allow us to combine 3D into our game harmonically. The second shader will enable opening doors and gates without them getting stuck in the ground.
Recommended resources
Game Engines

Unreal Engine 5 Best Practices
Amazon · Book
Written by multi-award-winning Unreal generalist Tyson J. Butler-Boschma, Founder and Creative Director of Toybox Games Studios, this book addresses common challenges you face when advancing your expertise in lighting, environment design, and cinematic storytelling.
GameDev.net may earn a commission if you purchase through these links. This helps fund the site at no extra cost to you.
Related Tutorials

Procedural Generation of 2D Tile Maps in Games
The article explains how to build a procedural 2D cave map generator using cellular automata. It covers map representat…

Localizing A Game Into French — Which Variant Should You Choose?
So, you’re making an awesome indie game, and now you’re thinking about localizing it into French? Great idea! There ar…
 Level Up Translation

How Long Does It Take To Localize An Indie Game?
So you’re planning on localizing your indie game, but you’re not sure how much time to schedule in. While the timing o…
Level Up Translation

Creating game videos: best practices and pitfalls to avoid
Game video production: practical tips on how to create a game trailer or teaser that you can be proud of. Give your aud…
 Alconost

Adopting CI/CD: How Midwinter Entertainment iterates at speed with the help of IMS
Game development was once like one long sprint: a huge effort until you reached the finish line — at which point you co…
 GameDev.net

5 Things to Consider When Making a Video to Promote Your App or Game
How can you show an app or game in your video in a way that attracts new users? Let’s take a look at what to go by when…
Alconost
Discussion
More from Nirlah
Spine 8 Direction Character | Part 4 – Sword Attack
We will equip our character with a sword and add spine attack animation.
Nirlah
Spine 8 Direction Character | Part 3 – Walk Cycle
In–depth look into the process of Spine 2D walk cycle animation.
Nirlah
Spine 8 Direction Character | Part 2 – Rigging
Rigging our character in Spine, add mashes to create squishy movement, and organize all the different directions to sim…
Nirlah
Discussion