Why hello there, and welcome to this 27th weekly update! I've been cooking up something literally game-changing (sorry for the pun).
Hang on tight and be careful not to fall, and let's get right to it!
Steppin'
In my previous post, I've ended on a bit of a teaser. I've talked about an algorithm that helps to create varied types of floors.
In essence, the idea is to be able to "paint" different floor type onto a 2D array (or an "image" if this is abstract enough for you). Once that image is painted, we simply render it and generate special floor types all around the level.
The Array
Because I've previously used this Unity tutorial as a basis for building my level generate, reusing it was really ideal. I've simply added another 2D array that describes floor types at a given position.
Because I've also previously worked on another 2D array algorithm for prop placement, I've also taken the liberty to reuse those drawing algorithm too.
By mixing both codes I was able to create a reliable 2D array that was easy to modify and access, which is arguably really nice to have.
The Rendering
Now that the array is set, we now need to somehow render that array to the level, which wasn't as straight forward as it seems...
Because I've followed that tutorial, the algorithm I use is the mighty Marching Square algorithm, which does work nicely on binary maps...
However, my floor map isn't binary. This creates a pretty glaring issue: corners. While I can treat each floor type as their own binary map (and consequently as their own mesh altogether), their corners won't match up and will create holes where there should be none.
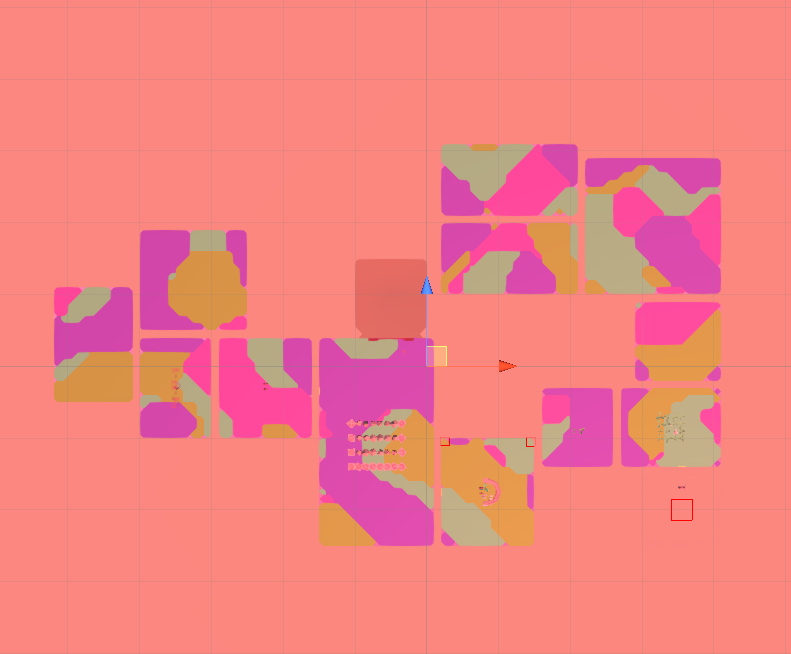
Notice the small bright pink triangles on this map
So we need to tweak the algorithm to fix that: we don't want the ground to be swiss cheese...
Patching-up holes
After thinking about it thoroughly I could list up the "problematic" cases.
First, we could narrow down the problem by simply stating that because a square only has 4 sizes then there could only be as much as 4-floor types per square. this limits the amount of case to search.
Then it was only a matter of visually scanning every problematic case possible.
Here's what I've found:

As we can see, there's a pattern forming. We can state that problems only occur when the following conditions are:
- The floor type we are currently rendering only has one active node for a problematic floor square.
- There are more than one floor type for that square
- The biggest sum of the total number of active nodes between two types of floors is less than 4.
Aside from that, there's also the idea that only non-corner floors can be problematic.
One thing to note is that there are two configurations that are exempt for it:

As you can see, when there are exactly 3 types of floors with these configurations then there are no holes at all...
The algorithm
In order to fix those problematic cases, a new algorithm was in order. After snooping around and searching different marching squares tutorial and/or general discussions, I've decided that the best course of action was to use dual squares at these junctions.
For those who don't know, dual squares are the more conformal cousin of marching squares.
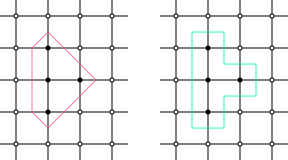
From left to right: marching, dual
In essence, with marching squares, we want to create a "triangular" meshes with "rounded" corners (Think of it as a "smoothing" function for pixels), while with dual square we take their dual point.
Like marching squares, dual squares also works by building indexes for particular squares. It's just that when it comes to rendering, duals are far more square that their marching counterparts.
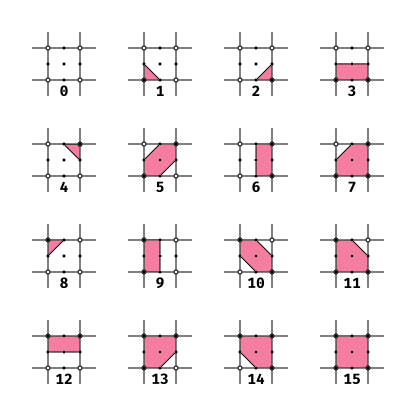
To illustrate this, here are the possible configurations for marching squares:
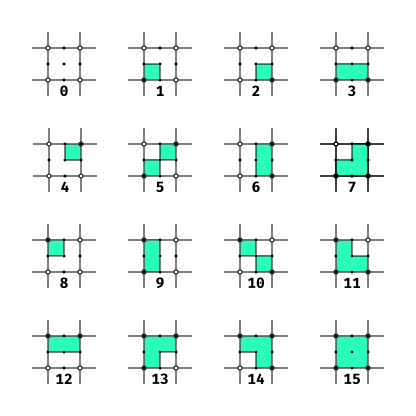
And here's the same thing for dual squares:
One particularly alluring thing about dual squares is that I can simply reuse the code for building marching cubes meshes but just create another vertices-creating function which creates those squares meshes.
This is far easier to plug into the previous code.
Walkable floors types
Another important thing to note is that even though we now have a hole-free ground we also need to do another step in the rendering.
The way the enum is organized is that there are certain floor types that are marked as "non-walkable" (i.e, they aren't your typical floors). Every non-walkable floor type has a chance to be completely invisible.
This means that the player could see holes where those type of floors would be. Not really aesthetic if you ask me...
So, in order to fix these, I've decided to create walls that would surround every walkable floor. Thus, if a non-walkable floor is completely invisible, there would be a wall and possibly a dark "bottomless" pit too.
Because the tutorial also shows how to create walls you would think that just reusing that code would be great, and you'll be partially right.
Although that walkable floor map would be binary, we also need to take into consideration the aforementioned junctions, and more specifically their configuration.
If we have one of these dual junction squares then the extended walls need to only encase walkable floor. Otherwise, you'll get holes in the floor again.
Notice the black triangle on the upper-left.
To fix this we'll simply store an additional square for each junction that actually describes not whenever or not there's a floor there but whenever or not that node relies on a walkable floor.
This way, while building those extended walls, we could simply check these "junction" square instead of the real ones.
Paired with a nice fading shader this makes for a believable bottomless pit.
Foor patterns
Much like the props placement algorithm, this one also comes with room-specific floor patterns.
It works much like the prop placement ones, but it renders directly onto the floor type map.
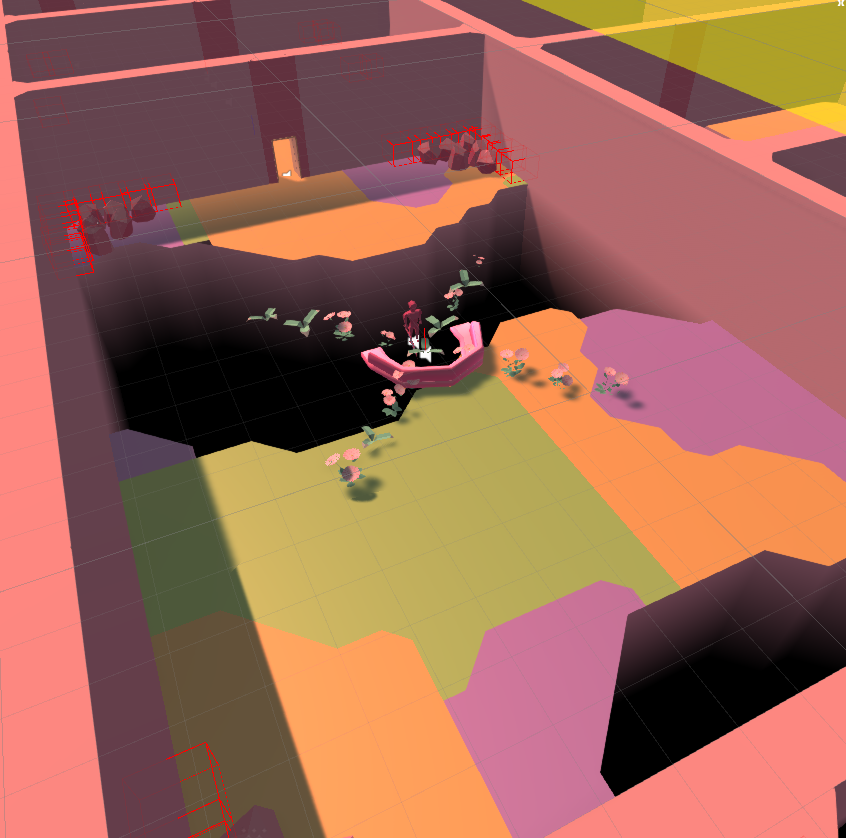
Right now, aside from a generic random one, there's only one other arrangement: the Island pattern.
Basically, the pattern consists of a central island surrounded by non-walkable floors. There are also ridges along the rooms' entry and exit wall side.

Everything is connected by semi-procedurally generated bridges.
There will be a lot more different floor patterns... There will also be huge structures here and there too, like lakes or chasms.
Of course, some room patterns will override these, but not all of them.
Floor types
Now that the technical stuff is done then let's talk about the floor types.
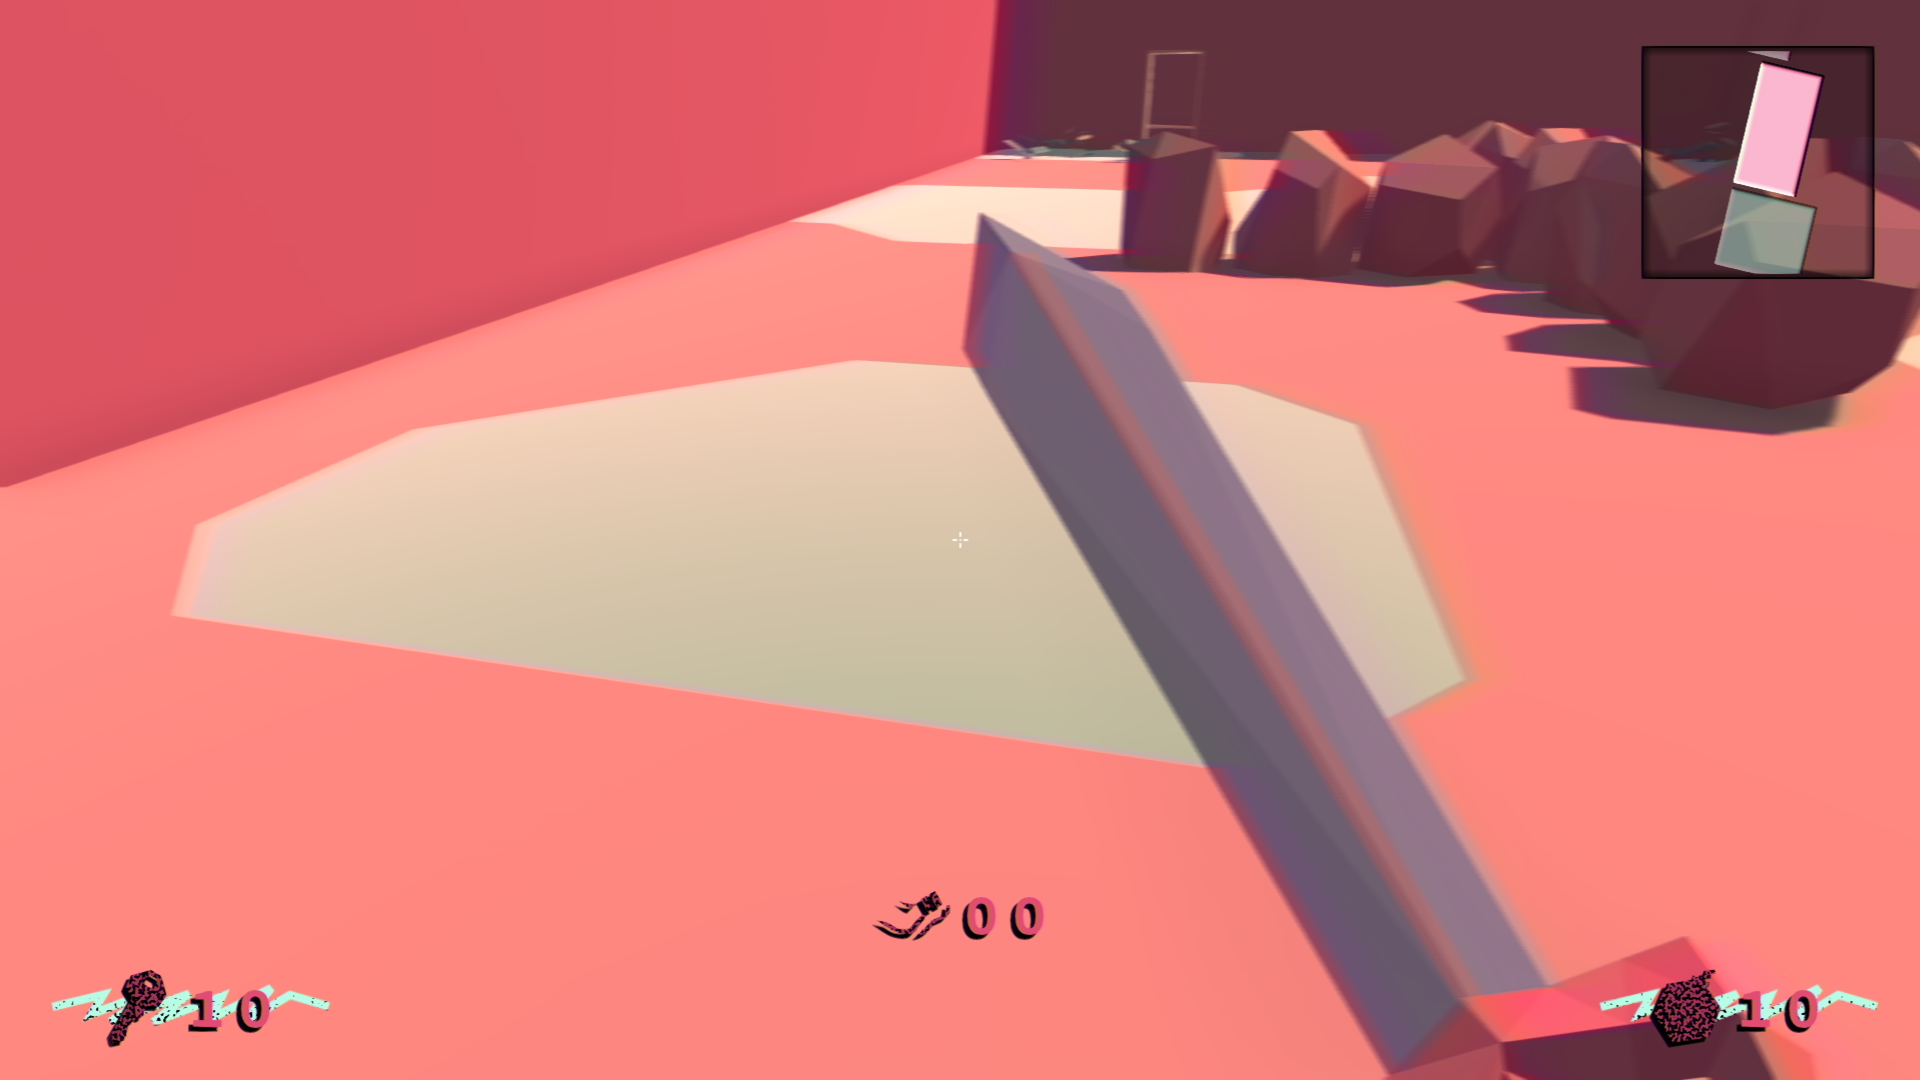
Normal Floors
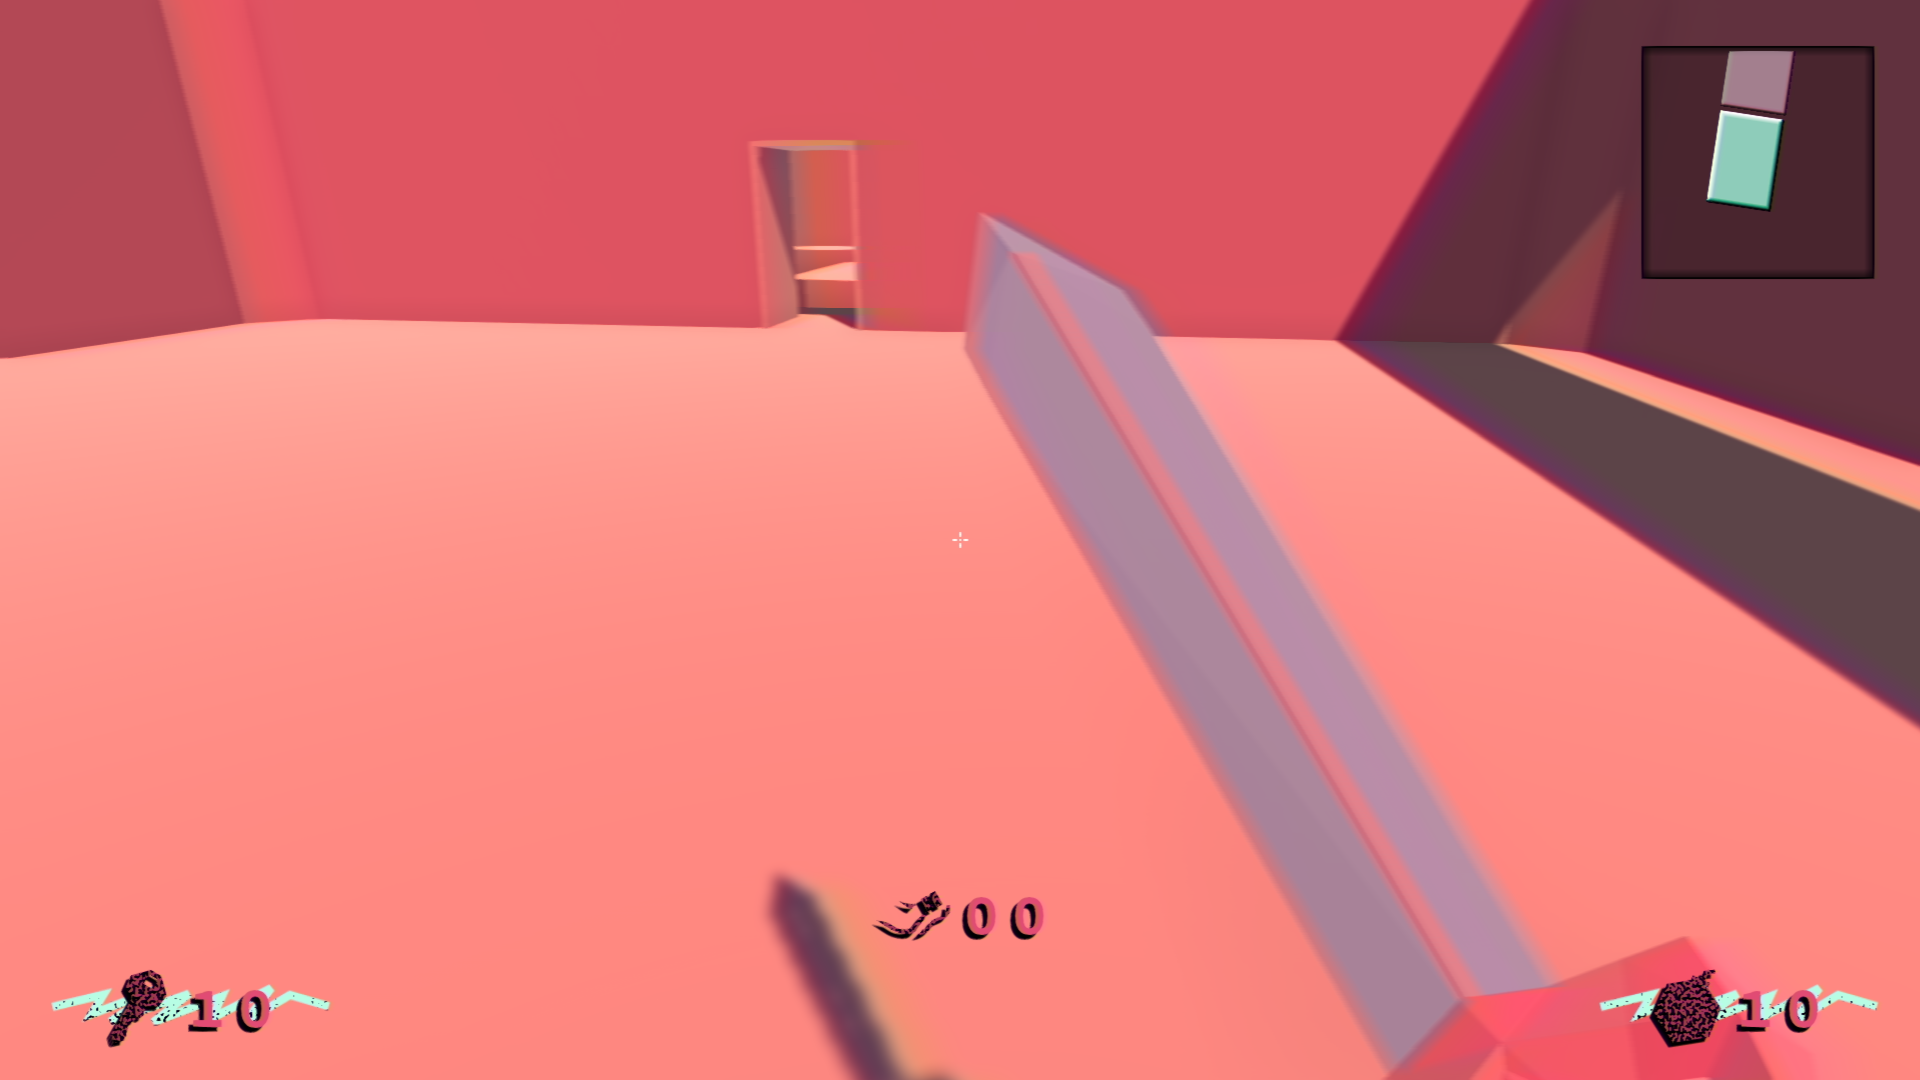
This is your typical floor. Nothing special here
Grass Floors
A typical grass-filled ground. It is very noisy and will get instantly noticed by enemies while walking on these.
I'm not sure how to make this type of floor more interesting... (A Geometry shader perhaps, or maybe an actual separate mesh of simple billboarding triangles...)
Grass Wetness
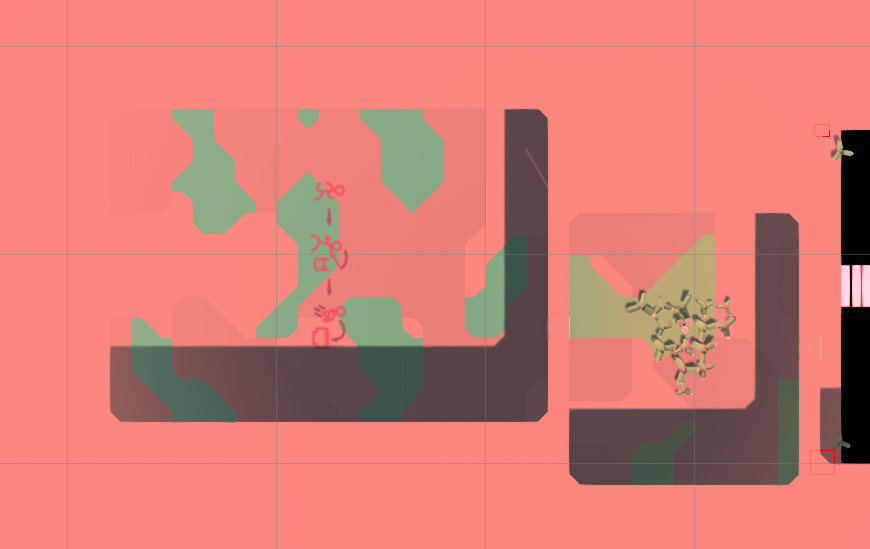
One particular thing to notice is that this type of floor will have different coloration depending on the wetness level of a room.
To achieve this I've decided to have another 2D array of the float that describes the wetness of a particular square. Like the floor types 2D array, there are many utility functions to draw on that array.
I've also wanted to have some blur going on so I've decided to look into the gaussian blur algorithm, which is quite useful here.
With it, I can control the amount of blur applied between different zones.
After that, I store the wetness of a particular floor square in an unused UV map.
In the shader, I just sample the U coordinate of vertices to get their wetness and that's it.
Take a look:
Here's the algorithm I've looked at.
Sand Floor (WiP)
This is a sandy floor. Jumping from it yields a really low jump.
Mud

Ew, mud! Careful not to get yourself dirty!
You can't go really fast while walking in mud.
Chasm
This is a chasm. Falling into them results in death, so be careful.
Lava (WiP)
This is your old friend lava. It is a heart-warming friend that is always there for you.
But seriously, don't get in there or you'll catch on fire.
Ice
A nice clear floor, yet it's quite solid. It is quite slippery, so be careful.
Water
Ah, nothing feels quite like a nice swim, especially when you're on fire.
Poisonous Water

This isn't like your normal water. Bathing in it will poison you, so be careful not to slip!
Liquid Nitrogen (WiP)
This is quite a scene: a sea of liquid nitrogen.
It's impossible in real life, but this is a video game.
But like real life, touching this will freeze you, so be careful!
Spikes (WiP)
I didn't finish their design yet, but it's your old friend the spikes.
You get the gist: stepping on them will hurt you so be careful!
Love Potion (WiP)
A bit of a stretch, but it's there!
Stepping in this will make you frenzied, so be careful!
Liquid Floors
Another thing to mention is that I've also cooked up a wavy vertex shader that makes models wavy, which is quite useful to simulate big bodies of liquids.
Here's a good look of the shader in action:
wavyWaves.mp4
I've followed this tutorial to achieve this if you're interested
Minor updates
-
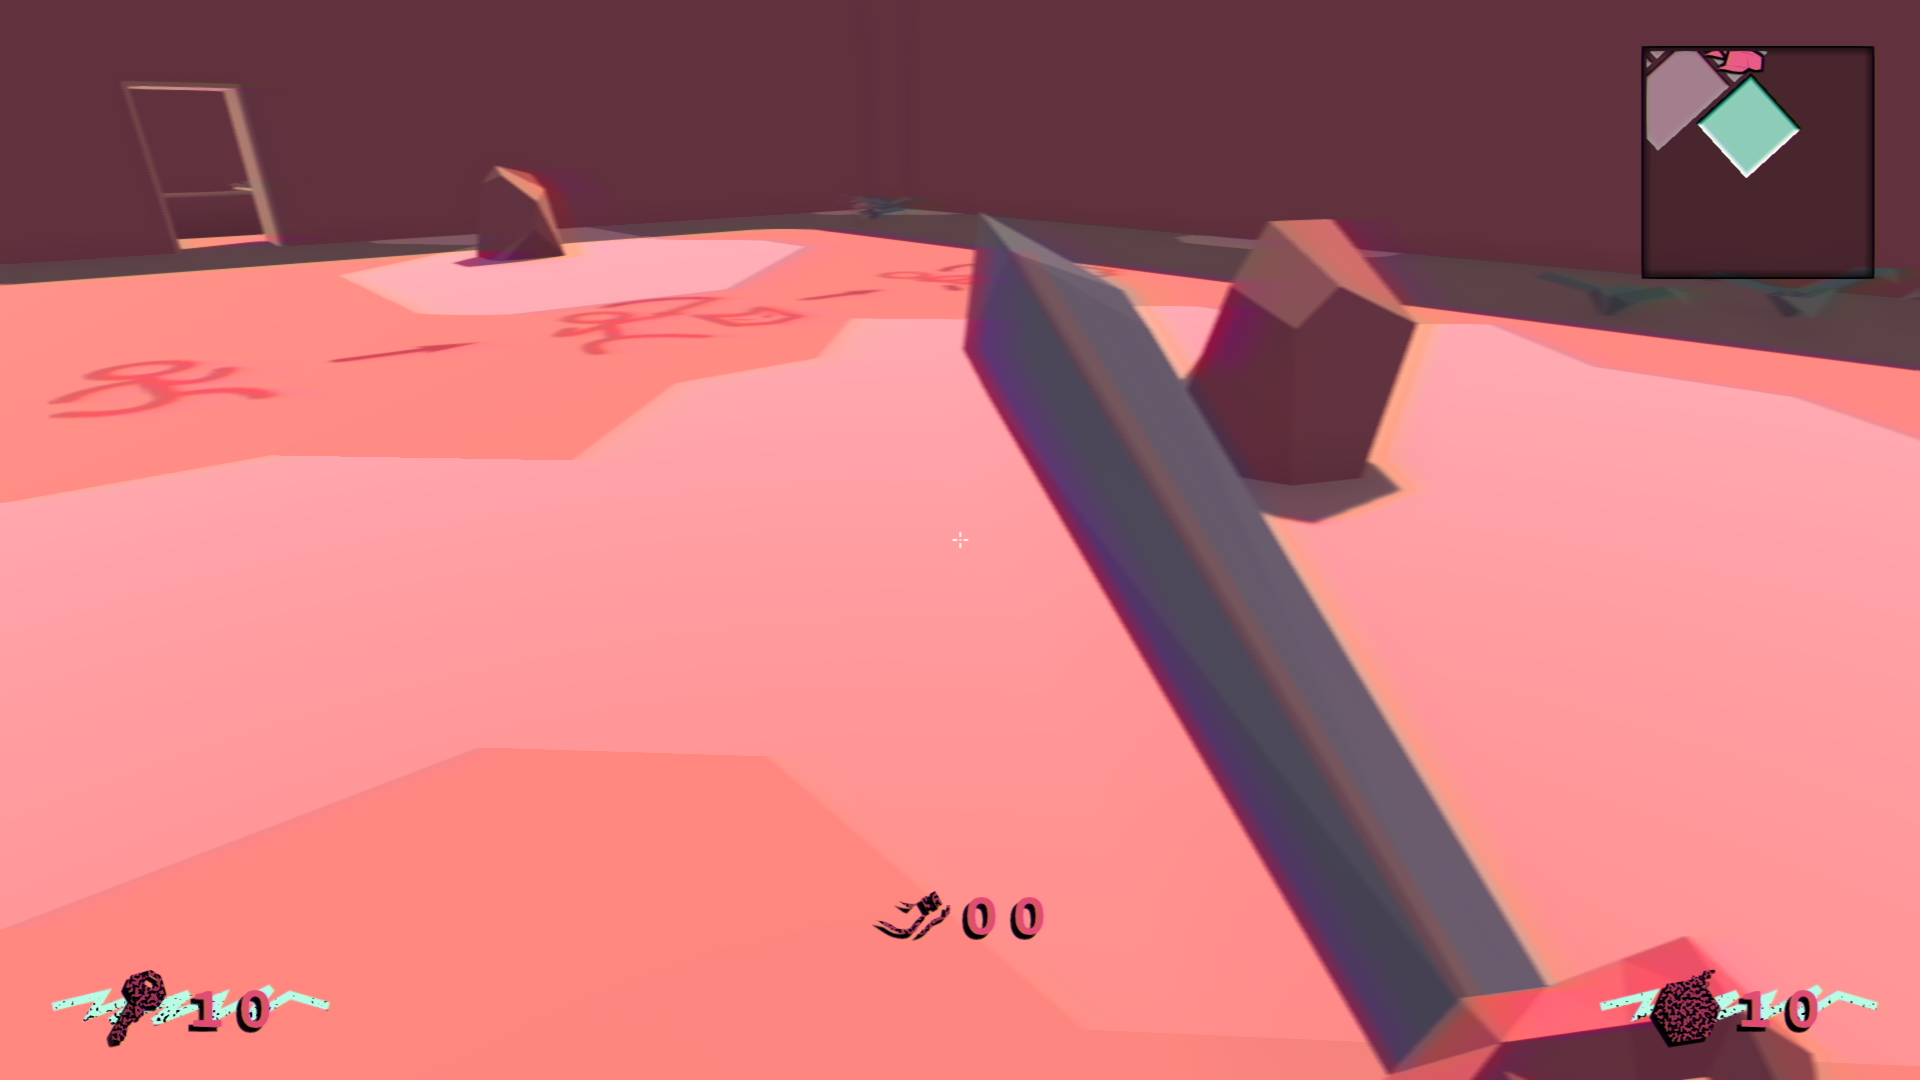
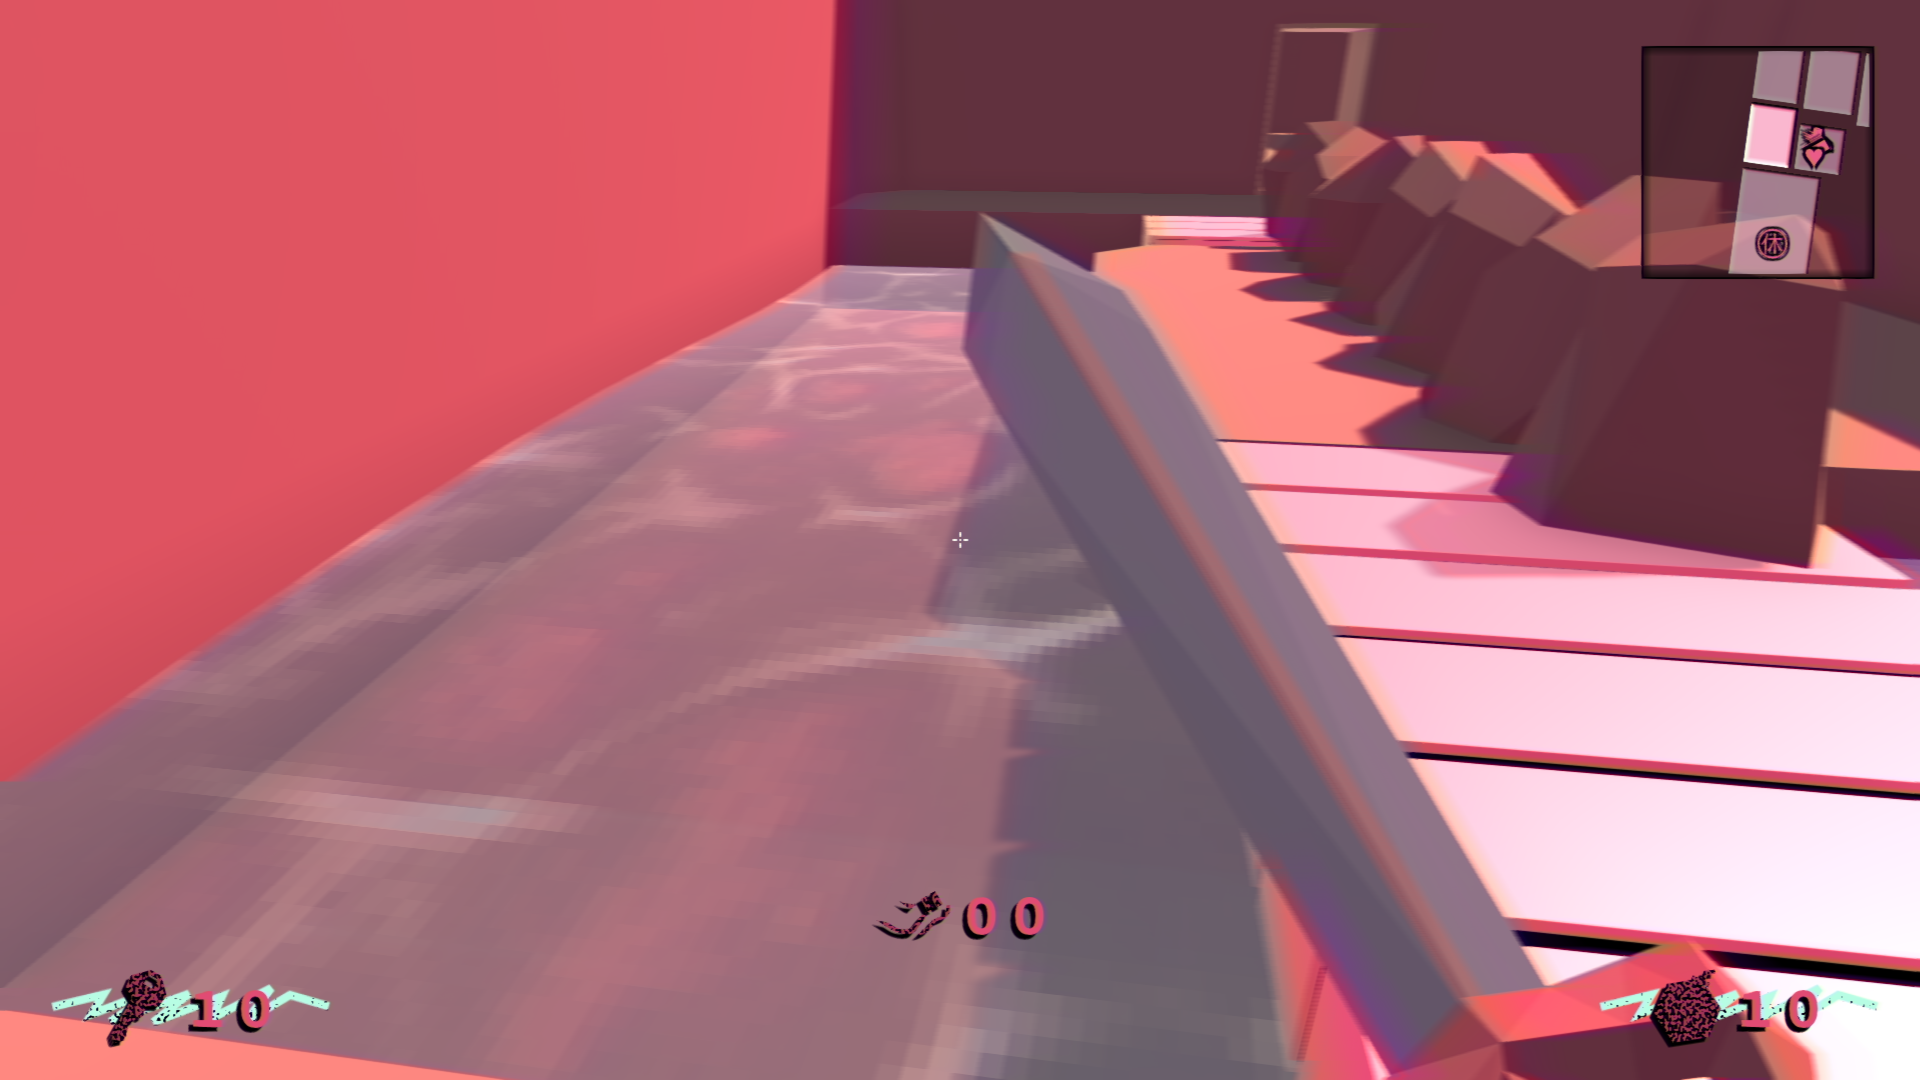
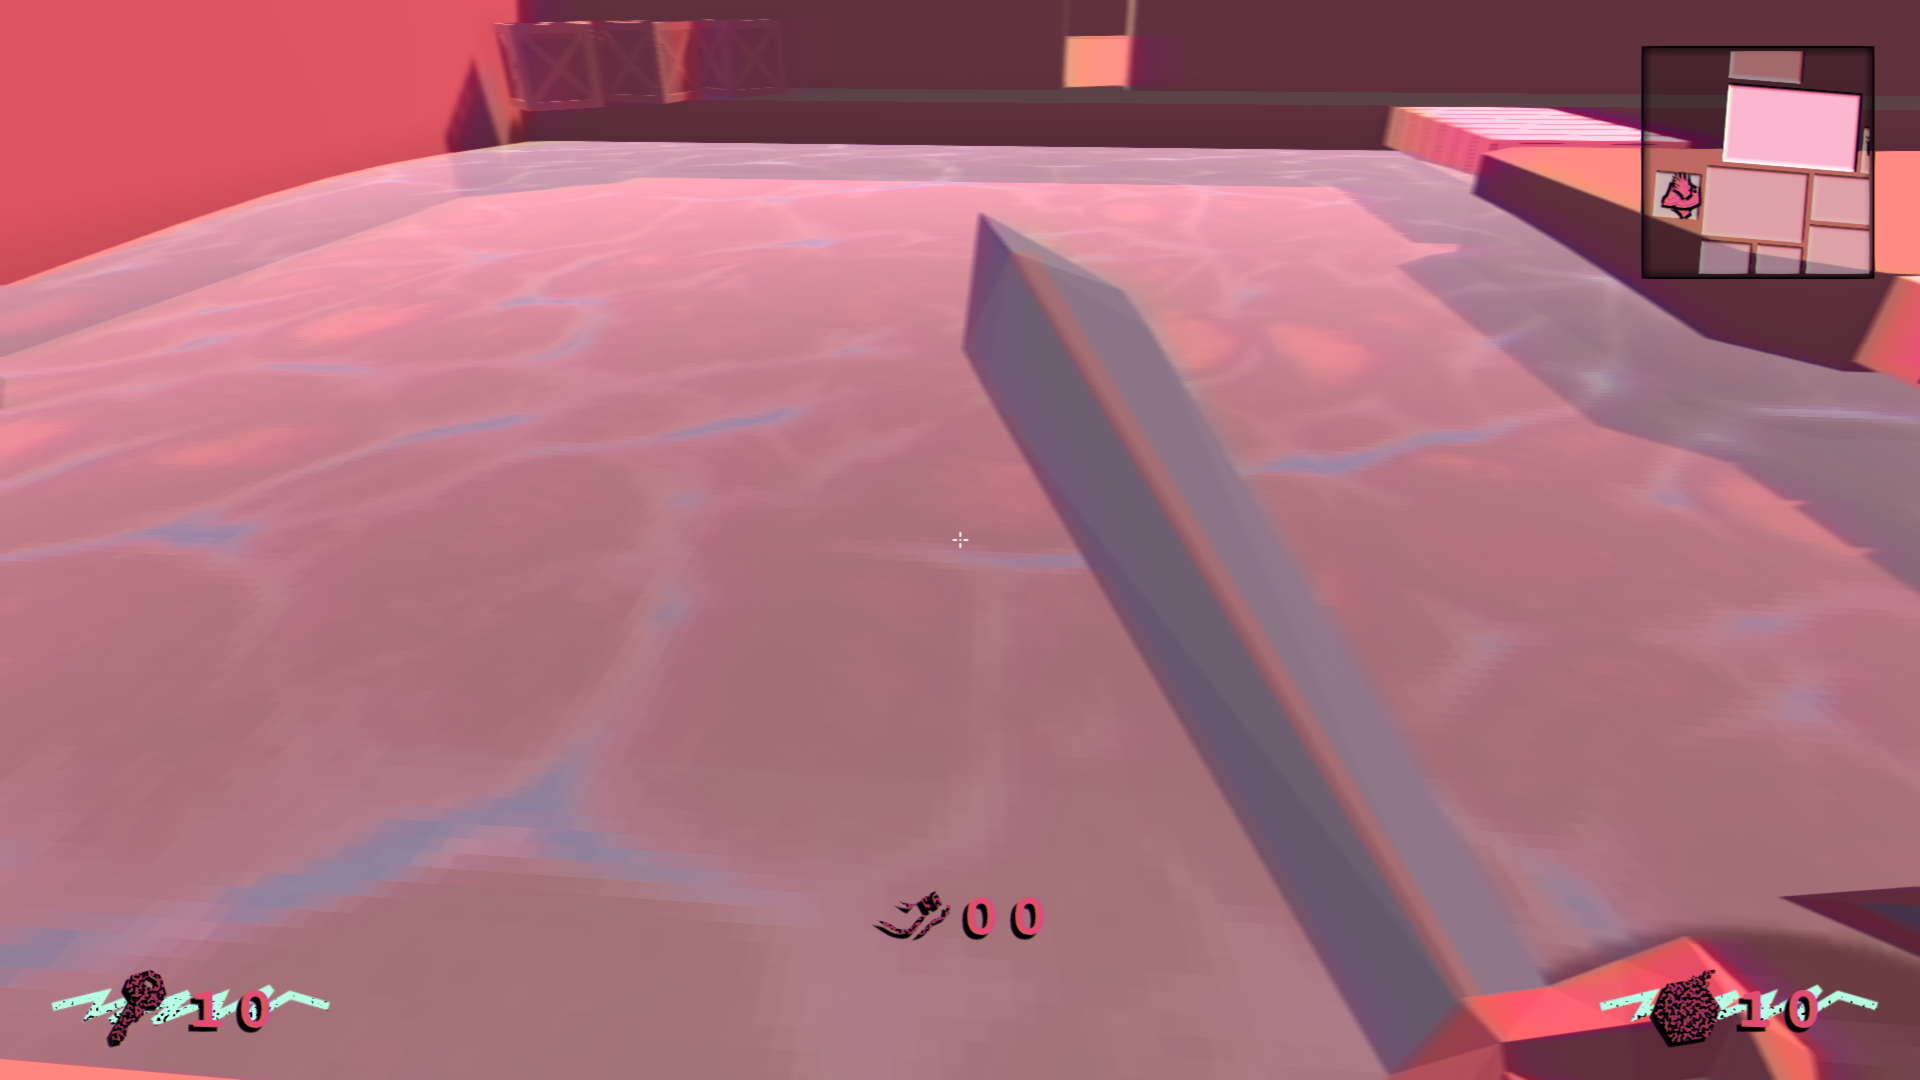
I've finally decided to fix most melee weapons hitboxes. Previously I've used the actual weapon's hitbox to basically see if the attack hit something. This was unreliable at best, mainly due to by both animation and code being wanky. I've changed it so that hitboxes are now more reliable and will always hit where the player aims their crosshair. This makes weapons like sword relevant again!
- This applies to both players and AIs
Next week
Last week was insane! That floor algorithm really took a lot of my time and I think it can really pay. With things like chasms, jumping now gets the importance it should have.
Lately, I'm trying to somehow fit AI in this. I want to give the player the ability to "push" enemies in chasms. Right now AIs are restricted to their navmeshes, which is neat but it makes them immune to chasms, so there's a lot of thinking ahead.
There's also some polishing to do with, especially with floor formations and stuff. I also need to change the visual of some floors, like for example the spikes or the grass.
Afterwards, I really want to diversify enemies. This would be an important step towards having a public demo of some sort.
Nicely done sir. This just keeps looking better and better. I'm super curious to give it a whirl.")